|
Just when I thought STEAM camp couldn’t get any better...
HOLOGRAMS. That’s right, holograms. I stumbled upon the idea of turning your phone/electronic device into a hand held hologram device a while back. I thought it would be too difficult and let it slide by. Fast forward to a few weeks ago when I was putting together my plans for STEAM camp… I was struggling. I knew I wanted to do catapult action painting for day one, but I needed another activity to teach on day two. I was cleaning out my e-mails and I found the e-mail my STEM teacher (aka the best person ever) sent me about the hologram devices. I decided to give it a try. I made my practice hologram alone in my classroom and went into my dark storage closet to try it out. I screamed (probably too loudly) and ran around the school showing every adult I saw. Every. Adult. Not only can this project be super easy, but it is also AWESOME. I went to this website: How To Make A Smartphone-Powered Hologram
Not only does the have an amazingly easy pattern to follow, it breaks things down so even I could understand it.
Then I showed the kids this video. Even though the video used a different material (CD cases instead of old transparencies), he does a really good job of explaining the process and showing a finished product. He showed off some examples and the kids oohed and awed over it. I did a quick demo for the project, gave them some tips on creasing the folds in the transparency, and let them begin. Students were given the following materials: Transparency sheets (the thicker the better) Pattern sheets (on the website above) Sharpies (to trace pattern) Transparent tape Scissors The students traced their pattern on the transparency sheets. They cut their pattern out, folded it, taped it, and jumped up and down waiting for the next step. Literally. If you search prism videos on google or YouTube there is a plethora of options. Here are some of the videos my students liked: Jellyfish Top 3 Video Plasma Dubstep Michael Jackson
C
Hologram Prism from kerri waller on Vimeo.
0 Comments
STEM camp added the A this year at my school. Yay, STEAM camp!
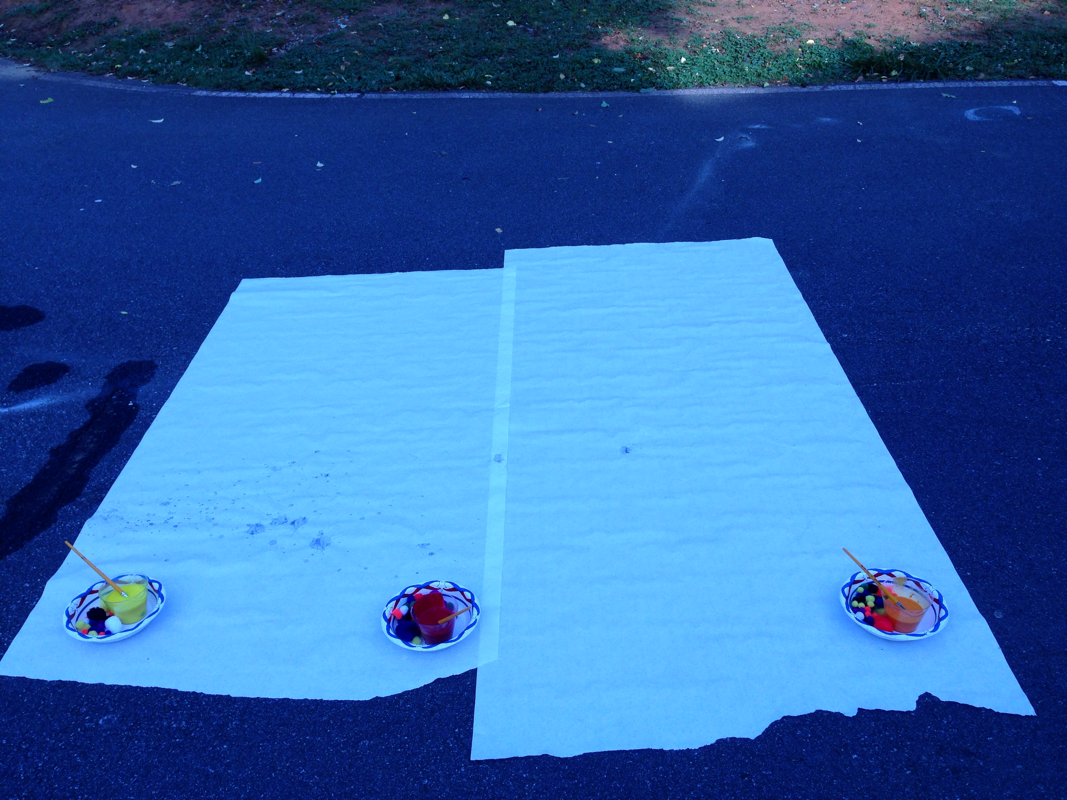
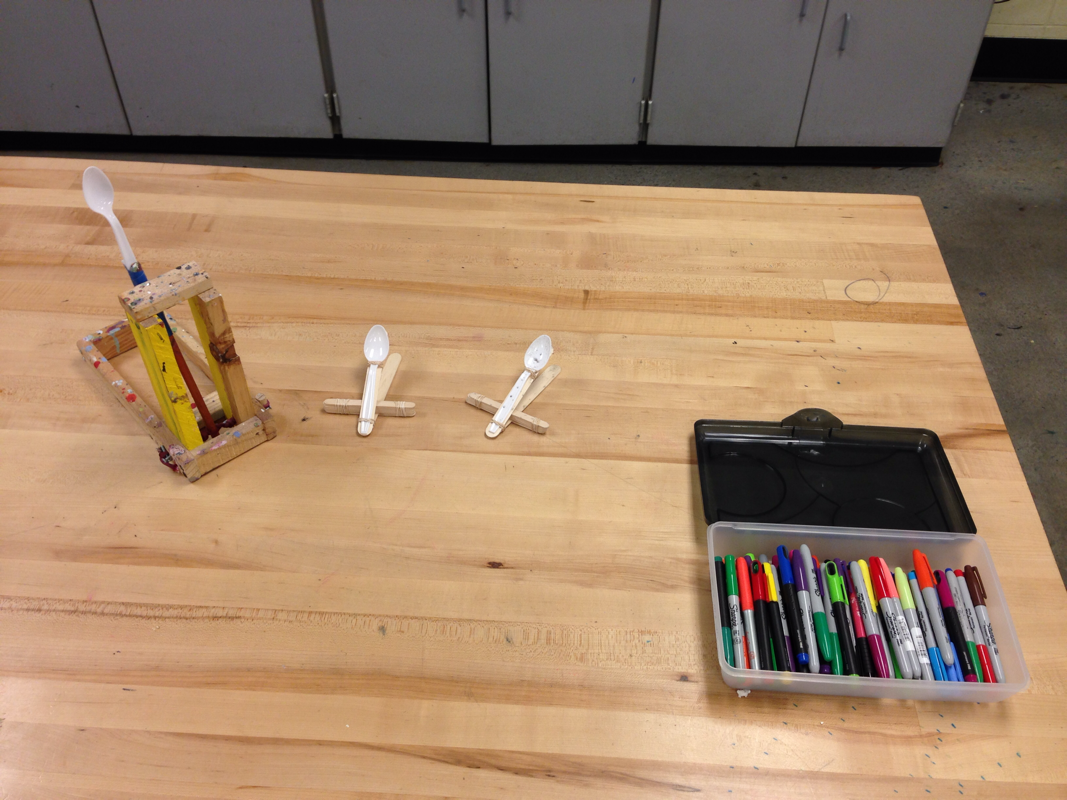
STEAM is not a scary concept. Truthfully, it's just giving a new name to some of the things most art teachers have been doing for a long time. My activity today was AMAZING. Middle school students, summer, catapults, action painting... What's not to like? So ladies and gentleman, I introduce to you... CATAPULT ACTION PAINTING. The setup: Catapult Action Art from kerri waller on Vimeo.
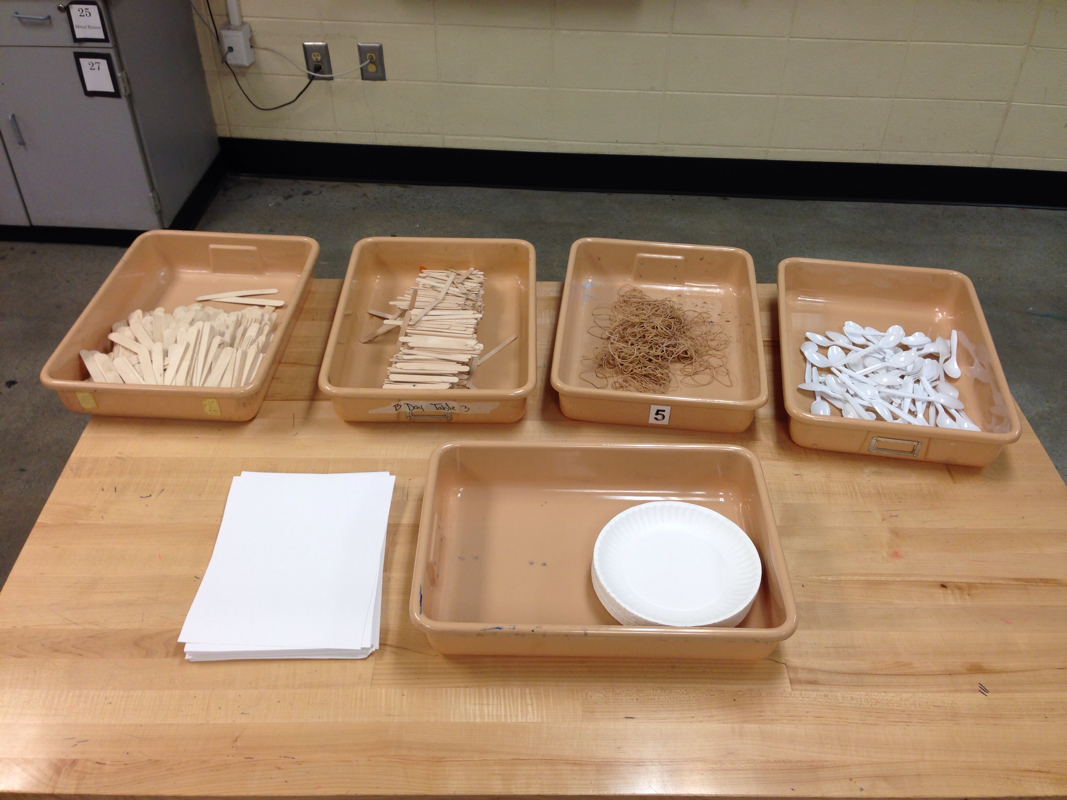
Students engaged in the building of their own catapult. They spent time analyzing force, distance, and accuracy. Some students researched on their own device how to get the best results from their catapult. We painted, regrouped, and discussed our observations on the project. Here are some things we discovered:
1. If we added extra small Popsicle sticks between the 2 larger sticks, the paint covered pompom would go a longer distance. Students used 6-10 smaller sticks each. 2. Smaller pompoms went further than bigger pompoms. 3. The pompoms in the more transparent paint went further than the pompoms in the more opaque (less diluted) paint. 4. The quicker the release the better. 5. The larger the amount of smaller Popsicle sticks, the less accuracy noted. 6. If the pompom is not positioned correctly and the angles of the catapult are not right, there is a larger amount of kick back in the form of splatter (as I learned from a face full of paint) 7. Holding the the side of the catapult (the ones we made) holds more firmly than if you hold the back. 8. Re-position the rubber-bands and spoon... make changes. Make more changes. It is absolutely fine to make changes and regroup as many times as needed. Mistakes happen. Rubber bands break. Paint splatters in the wrong directions. It's the process that matters, not the product. |
AuthorArtist living and teaching in Georgia. Archives
March 2019
Categories |


 RSS Feed
