|
Today I attended an amazing art tech camp (mini conference). I presented the Osmo device and a few apps that one can use to further the Osmo experience. I love my Osmo and I was happy to share. I am including my presentation below incase anyone is interested.
0 Comments
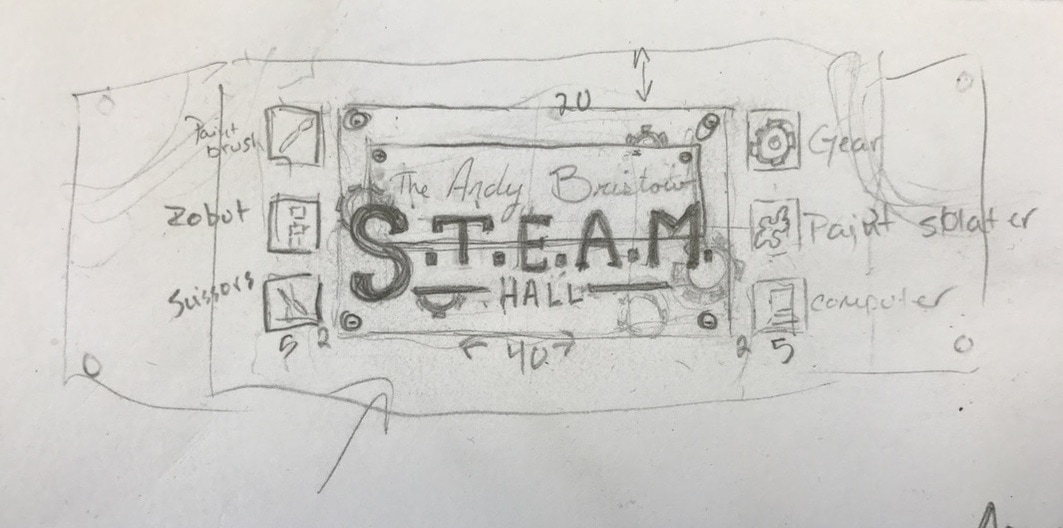
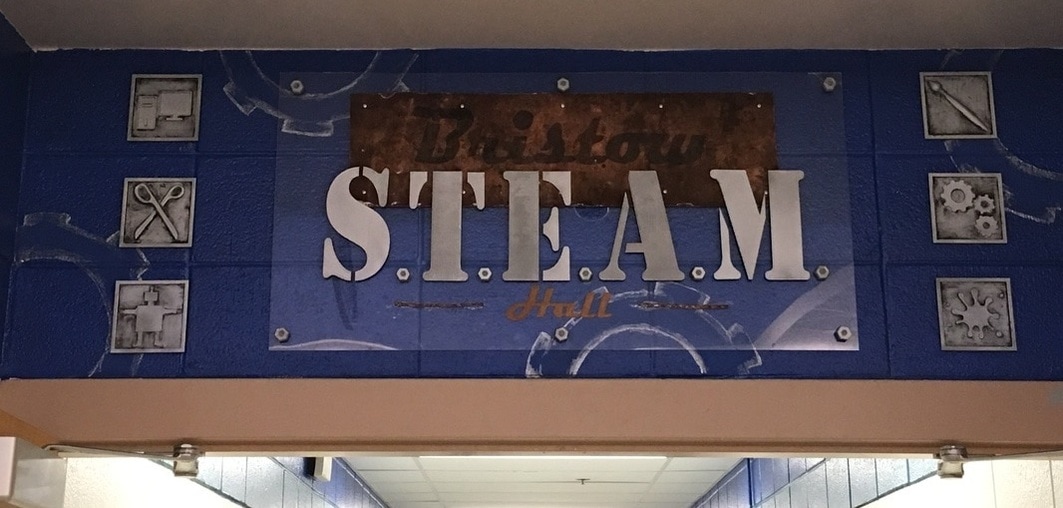
One of my professional goals is to try to STEAM it up. I have been working closely with the STEM department at my school and helped to create this awesome new sign for our hallway:
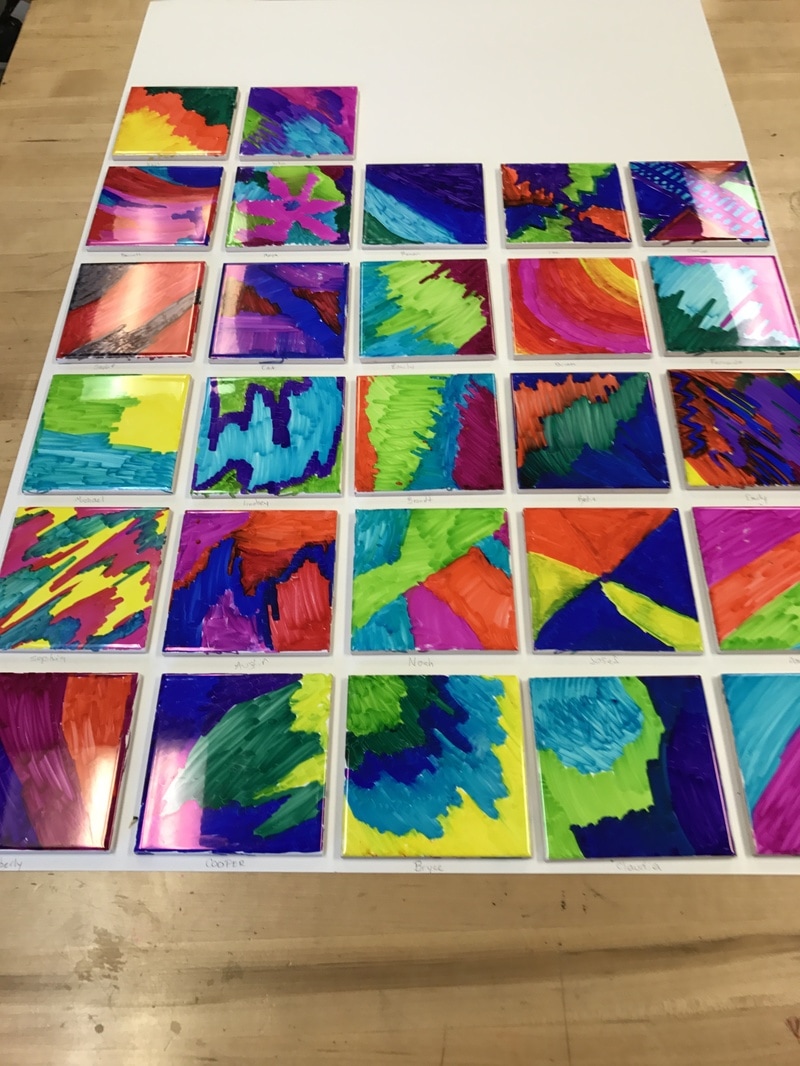
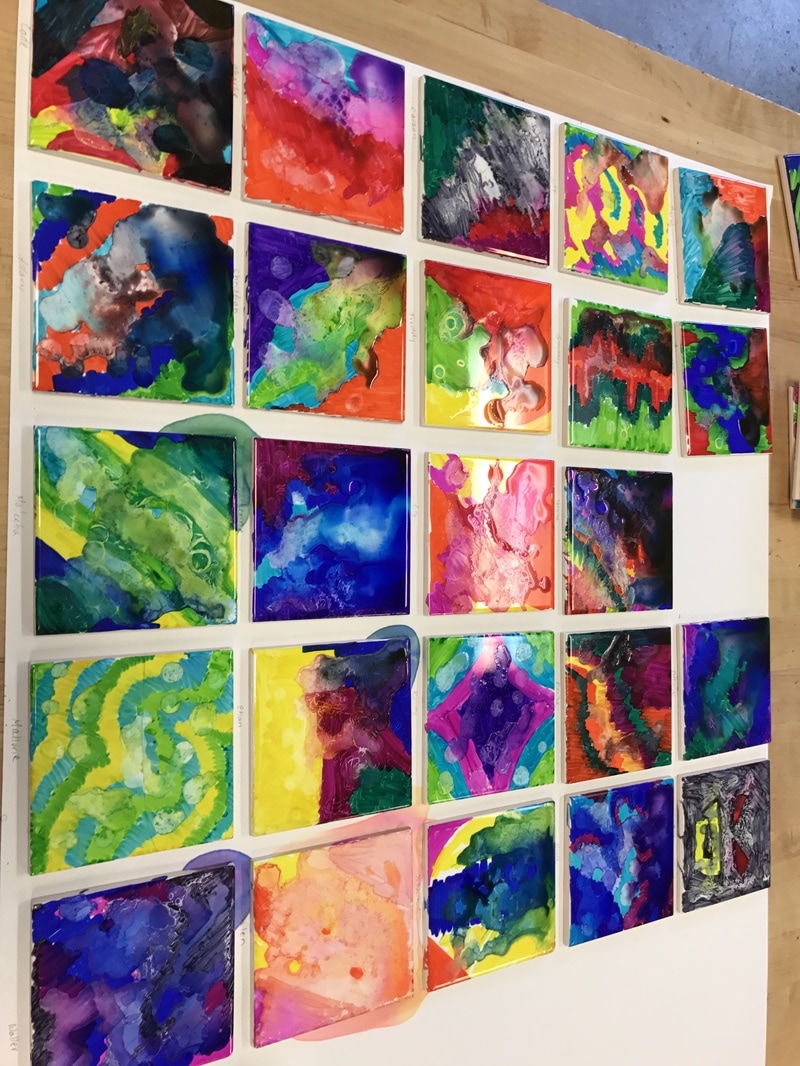
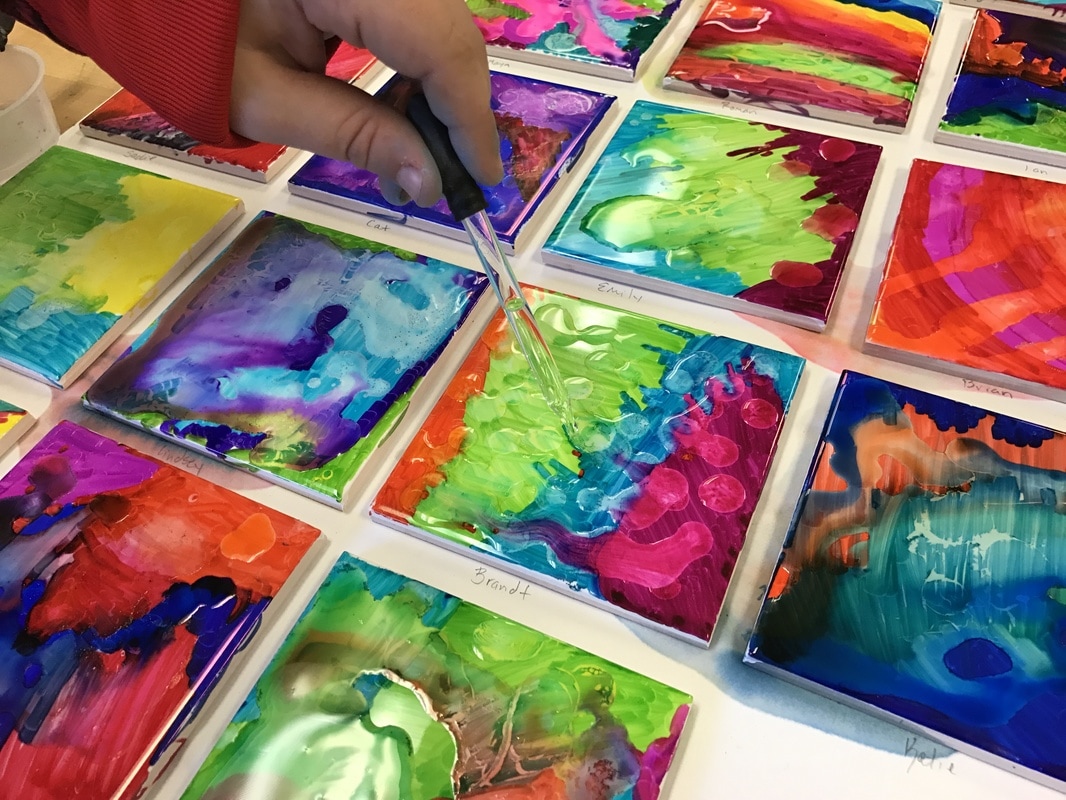
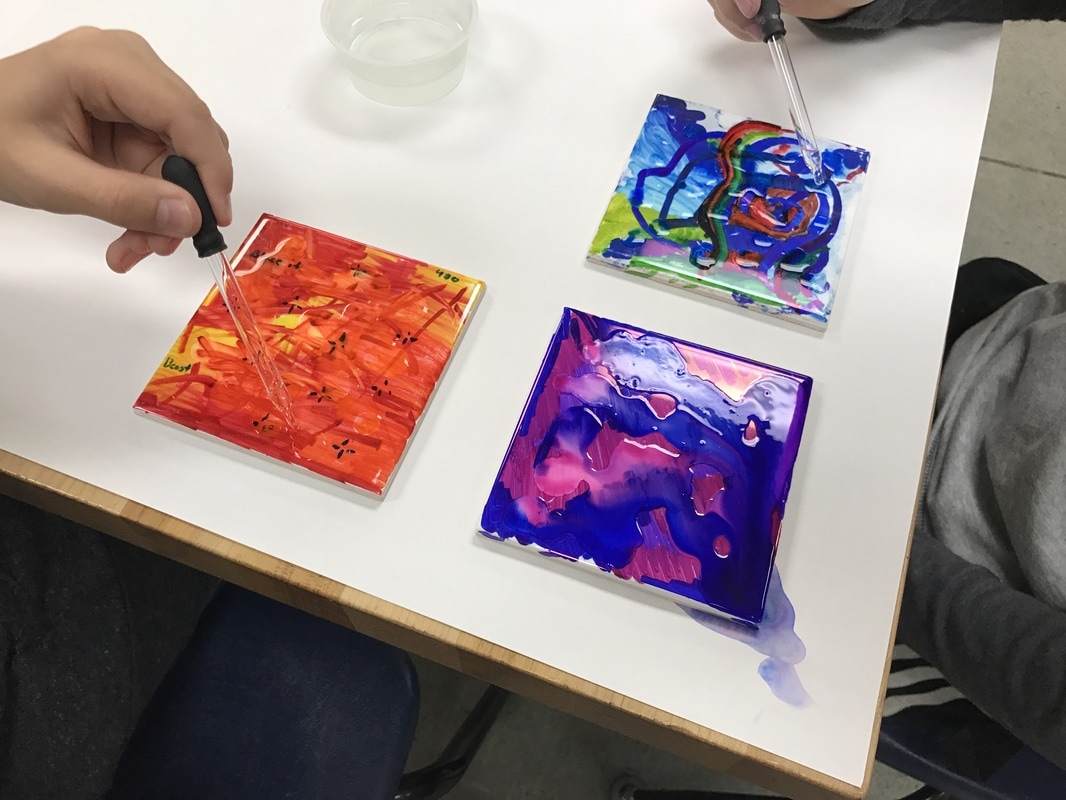
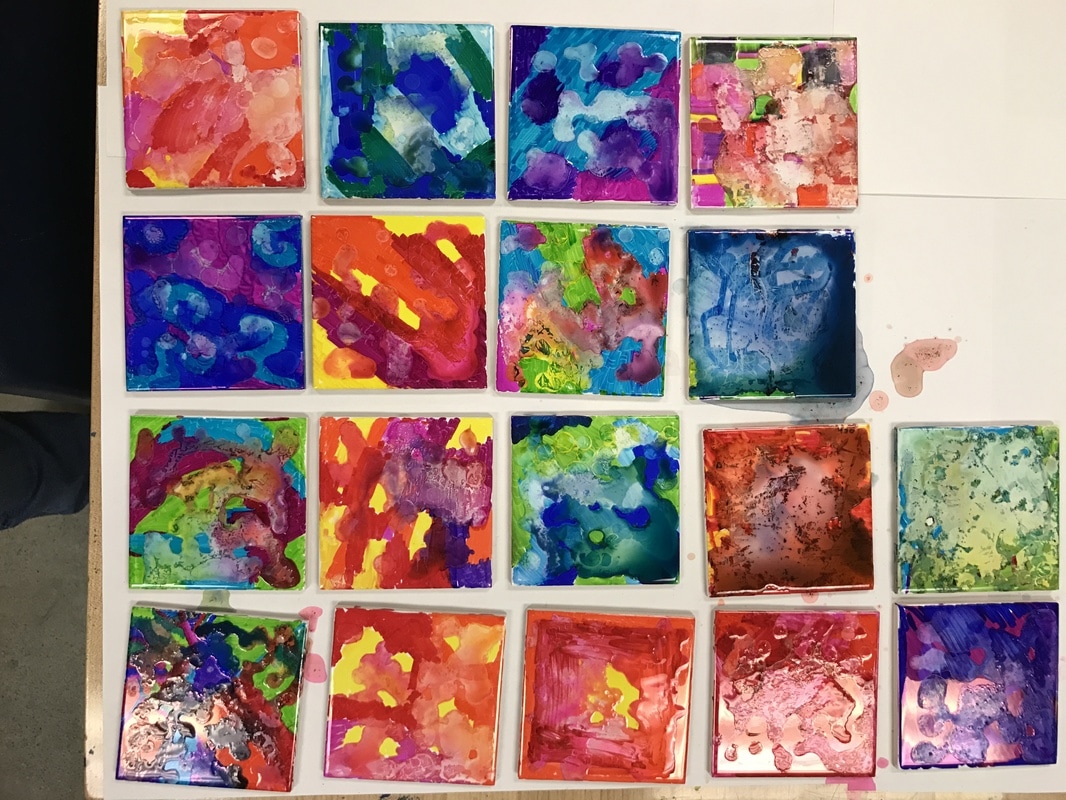
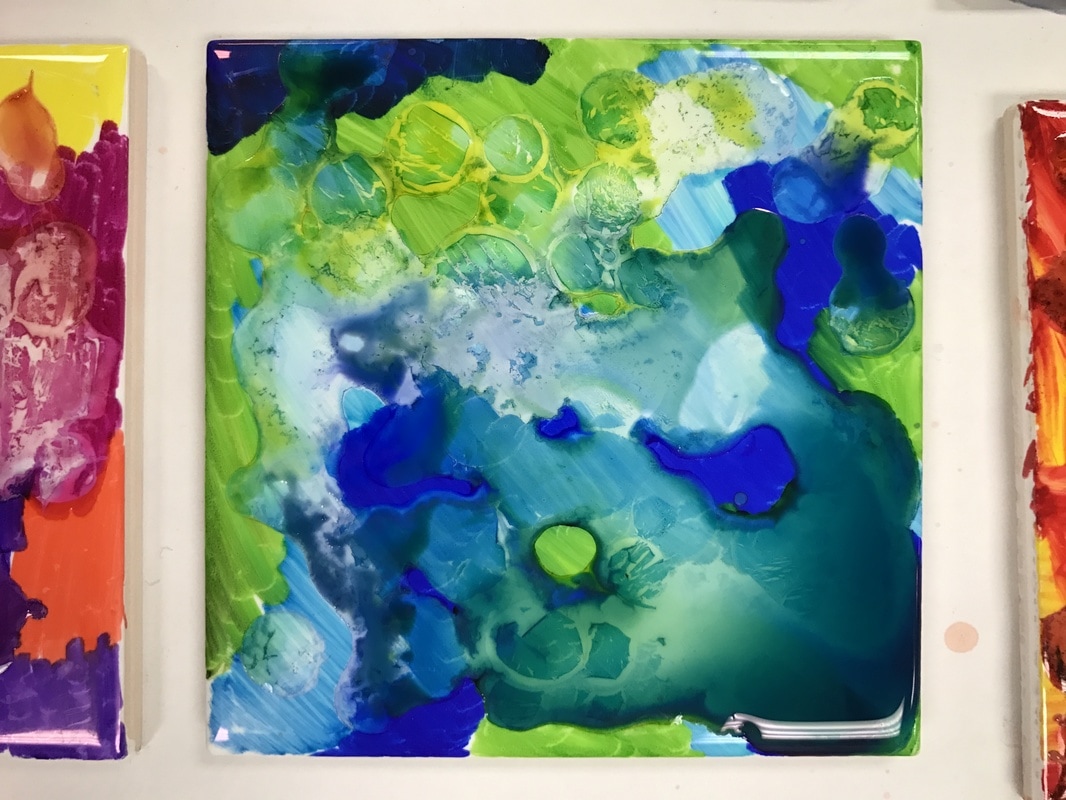
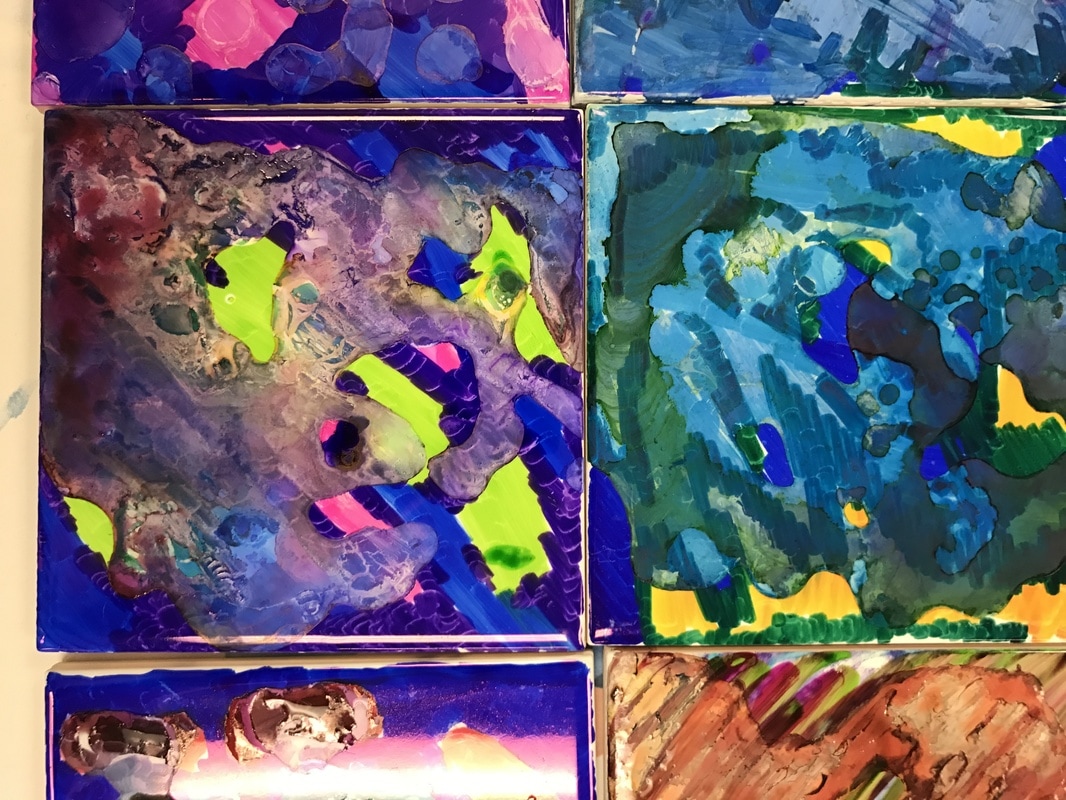
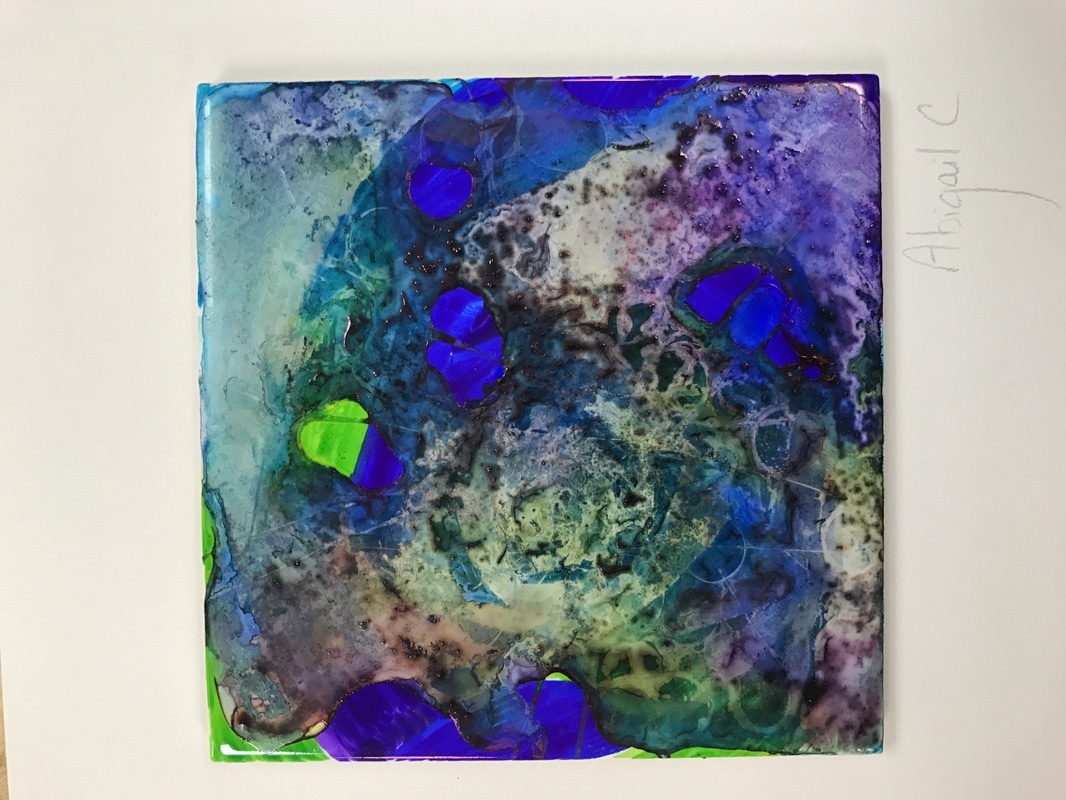
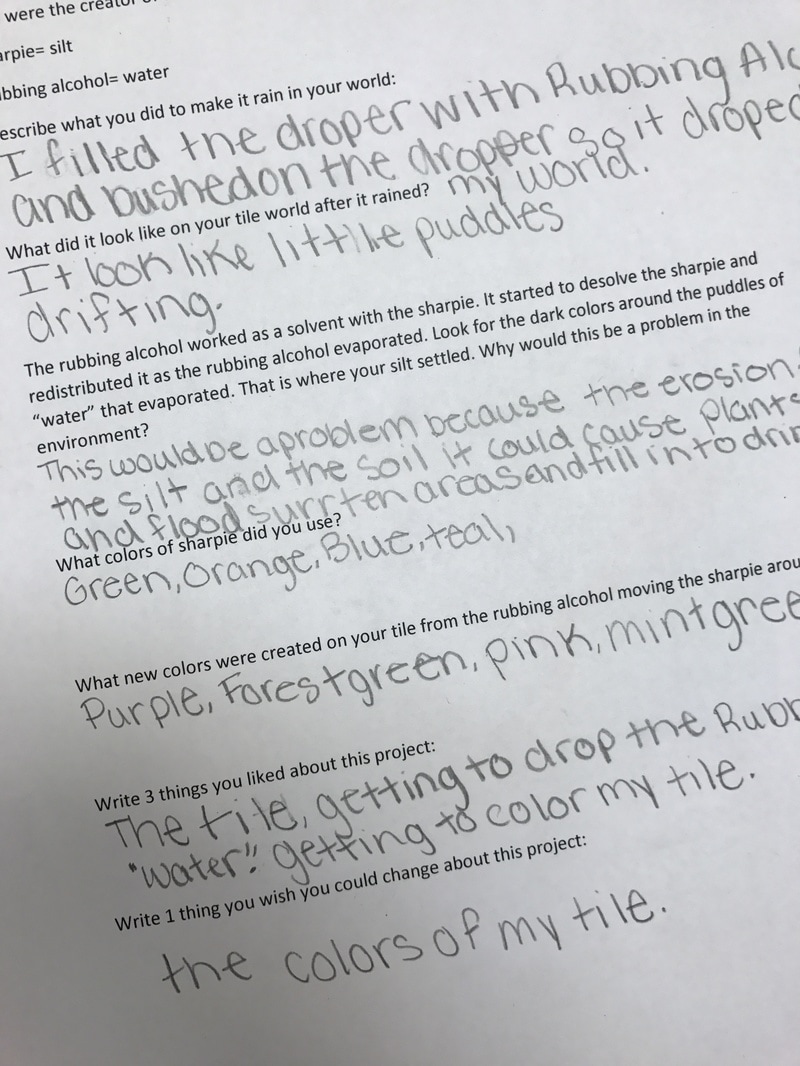
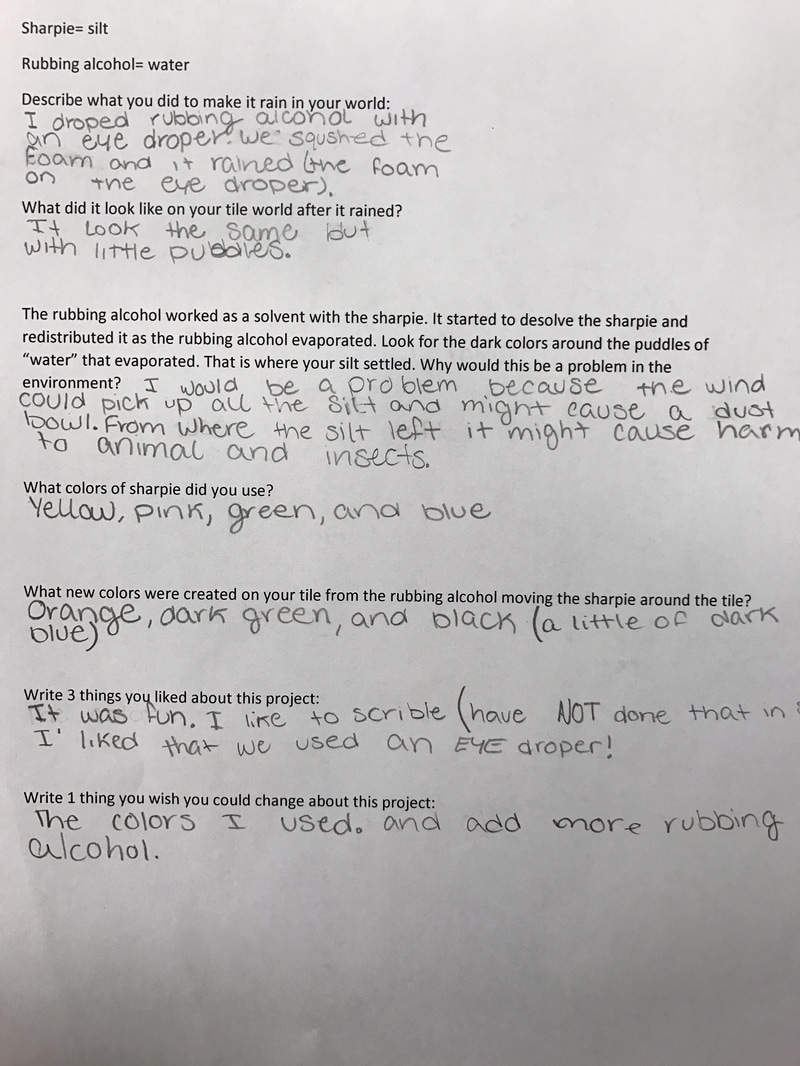
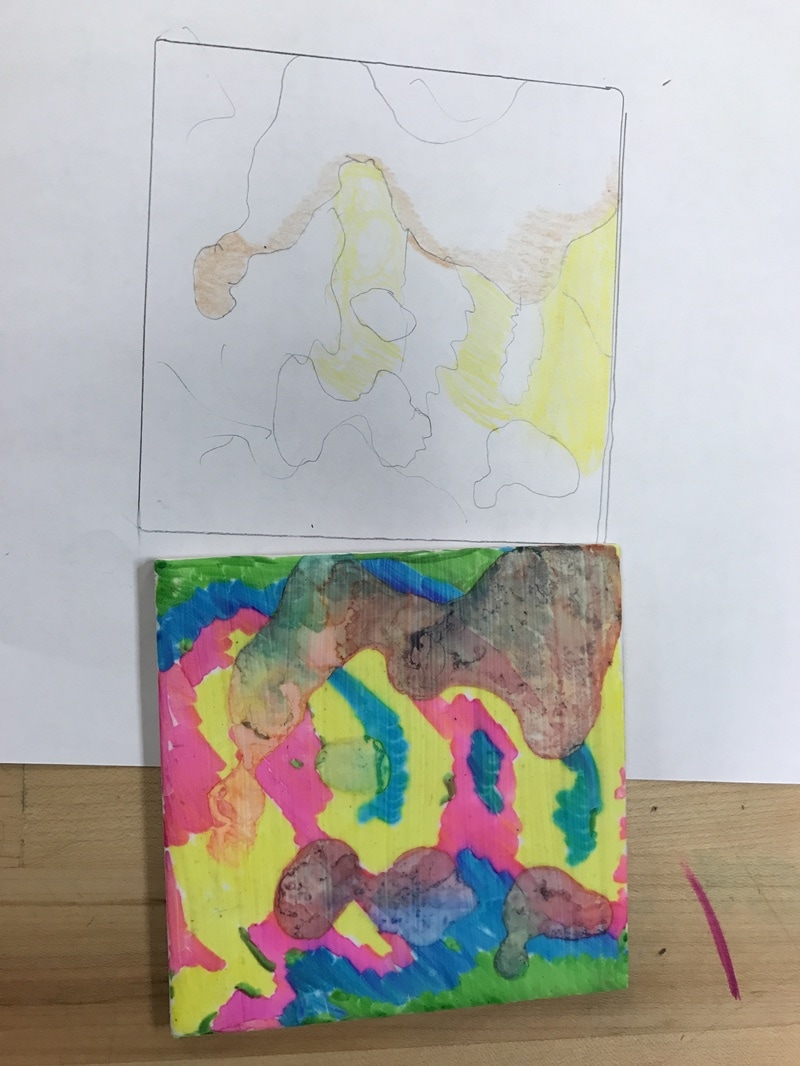
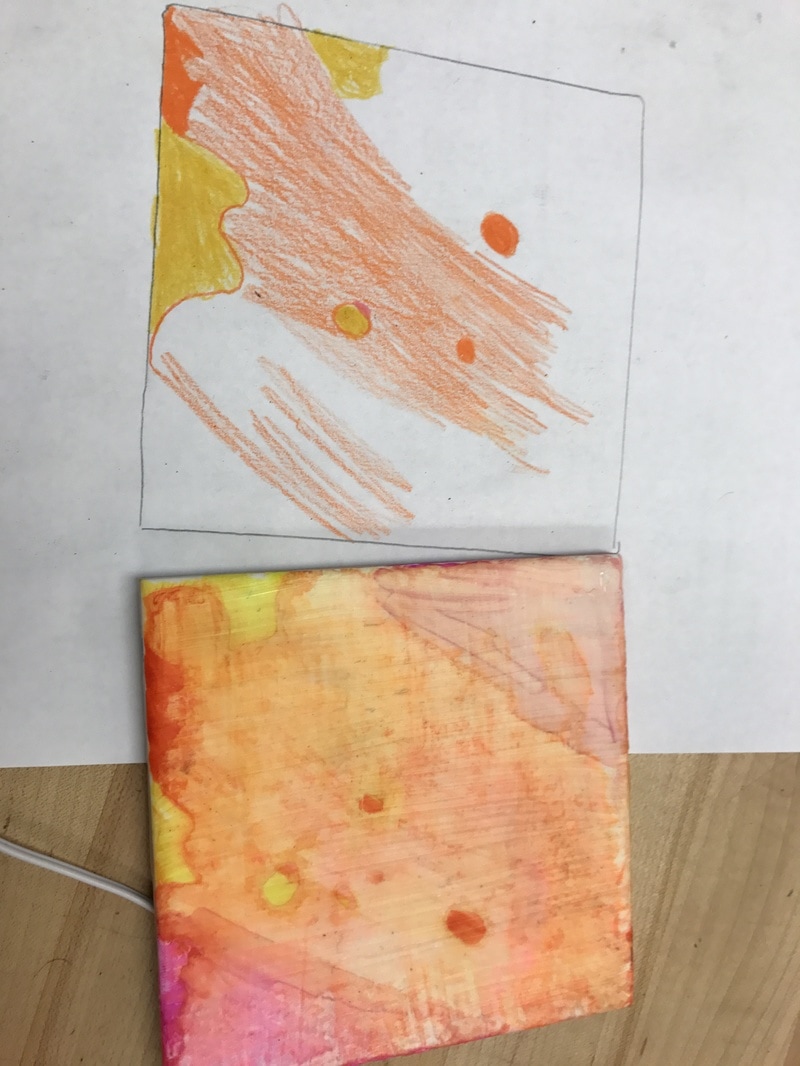
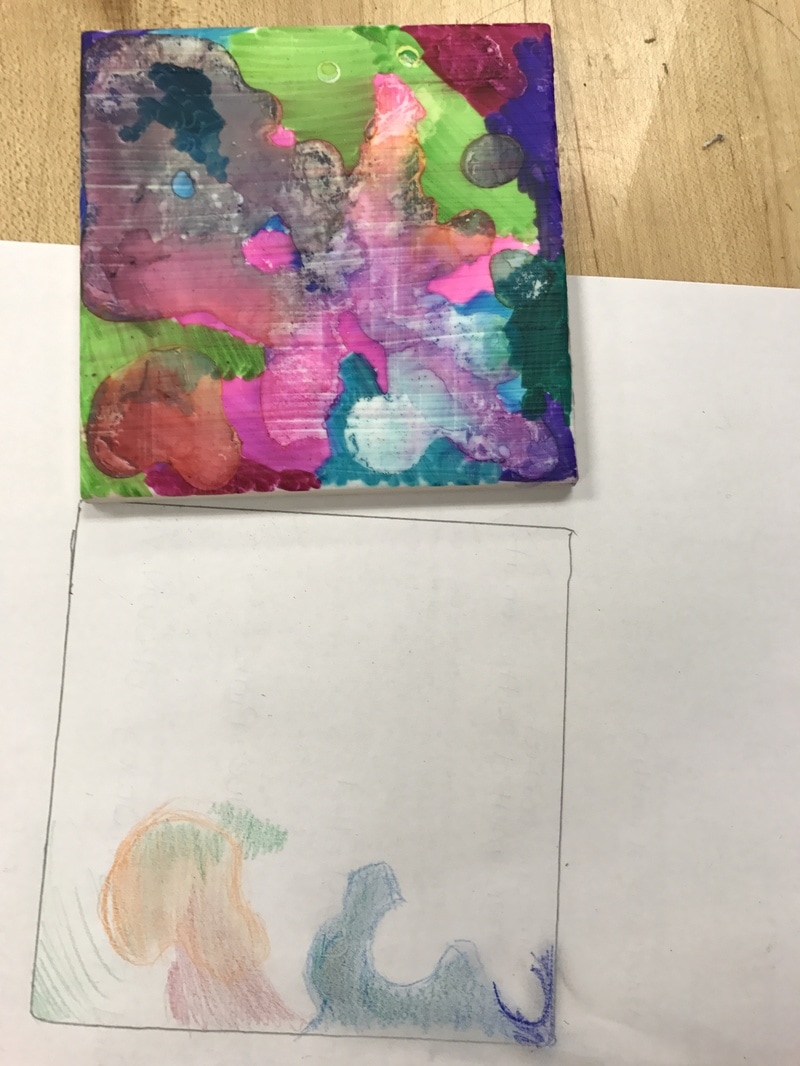
I want to incorporate more STEAM concepts and ideas into my art room. We have a strong STEM department that is willing and to work with me and help me grow as an educator. I have found that opening my mind to STEAM in the beginning was more difficult than the actual incorporation. I realized that STEAMing up my art room was less about changing what I was doing and more about verbalizing the ties to science, technology, engineering, and math that were already happening. Inspiration: Recently I was inspired by a collaborative tile wall created by Janet Malone in her elementary school studio. Students were each given a 4x4” prefabricated glazed white tile. They used Sharpies to add color, dropped on rubbing alcohol, and Janet sprayed each tile with clear acrylic. The tiles would have been beautiful on their own, but together they made up an amazing, eye-catching wall above her sink area. I knew that my middle school students would respond to the aesthetics and process of the project, and I knew that I could manipulate the lesson to hit some of my STEAM goals. 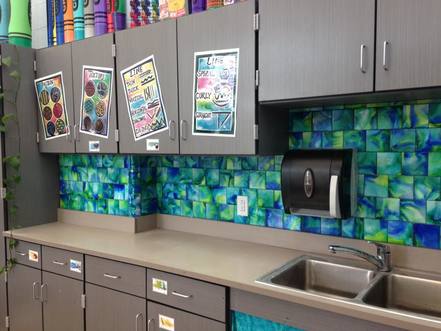 Photo of Janet Malone's tile wall. Permission granted for use of image. Teacher Pre-Work: My journey began in a local home improvement store. I bought 100 4x4” glazed white tiles in a box for about $15. I then headed over to Walmart to pick up some rubbing alcohol, a few eyedroppers, and clear acrylic spray paint. I pulled out my massive stash of Sharpies and started experimenting on my own to get the process down before introducing it to the kids. I discovered that I like the way the brush Sharpies worked when the rubbing alcohol was added better than the fine point Sharpies. I also realized that a limited color palette worked best to keep the colors from getting muddy. STEAMing Up: While making my own tiles, I started seeing the ties back to STEAM. I was able to come up with a lesson that embraced concepts like solvents, environmental impacts, silt distribution, evaporation, weather, and color theory. For the build up to the project, students spent time rediscovering color theory concepts previously taught. Students were each given a tile and told that the tile was a representation of land. The Sharpie on their tile was representative of silt while the droppers of rubbing alcohol represented rainstorms. Students were guided in the process of ‘making it rain’ on their tile by dropping 2 full droppers of rubbing alcohol onto the tiles. I asked students what events could happen to their silt that could change the flow of the water. Some students shook the table to imitate earthquakes, some students blew across the surface of their tile to create wind. A few students added an extra dropper full of rubbing alcohol to create monsoons, while other students did all of the above! As the rubbing alcohol worked to dissolve and lift the Sharpie from the tile, we discussed how the rubbing alcohol worked as a solvent. Students made scientific observations about the changes in their tile periodically during the class period. The next day we made connections to evaporation. Students studied their tile and were able to infer that all of the rubbing alcohol evaporated leaving the Sharpie behind. We revisited the discussion we had in the previous class on the silt/Sharpie analogy. We explored the idea of silt disruption due to weathering and construction. Students were asked to think of what construction sites look like, and we talked about what steps construction workers take to keep silt from filling the streets and drains. Students brainstormed the lasting effects in the environment due to erosion and silt displacement. I asked students to study their tiles. In each tile there are very evident dark lines that surround the evaporated puddles of rubbing alcohol. These areas are where the Sharpie was displaced from its original spot and then resettled during the evaporation process. Students made connections to what they saw in the tile and where soil would be left behind after being displaced. The tiles were given two coats of clear acrylic spray paint and left to dry. Taking it further: Students were given a 10 minute wrap-up review to help reinforce the concepts, ideas, and explorations of the lesson. I asked students to write as many ideas down as they could from the project within a 10 minute period. They then shared those ideas to their peers at their table groups. Students were given a sheet of paper cut down to the same size as the tile and were asked to mimic the colors and color blending seen on the tile onto their paper. This extension activity allowed students to study color in a new way. The Standards:
Georgia 6th Science: S6E5. Students will investigate the scientific view of how the earths surface is formed S6CSI. Students will explore the importance of curiosity, honesty, openness, and skepticism in science and will exhibit these traits in their own efforts to understand how the world works. Georgia 6th Art: VA6MC.2 Identifies and works to solve visual problems through creative thinking, planning, and/or experimenting with art materials, tools and techniques. VA6PR.1 Understands and applies media, techniques, and processes. VA6PR.2 Creates artwork reflecting a range of concepts, ideas, and subject matter. VA6C.1 Applies information from other disciplines to enhance the understanding and production of artworks. |
AuthorArtist living and teaching in Georgia. Archives
March 2019
Categories |


 RSS Feed
