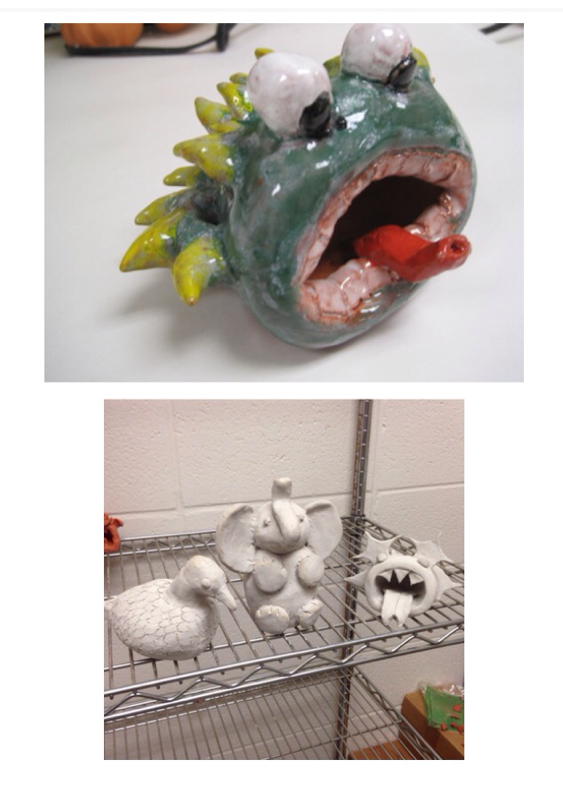
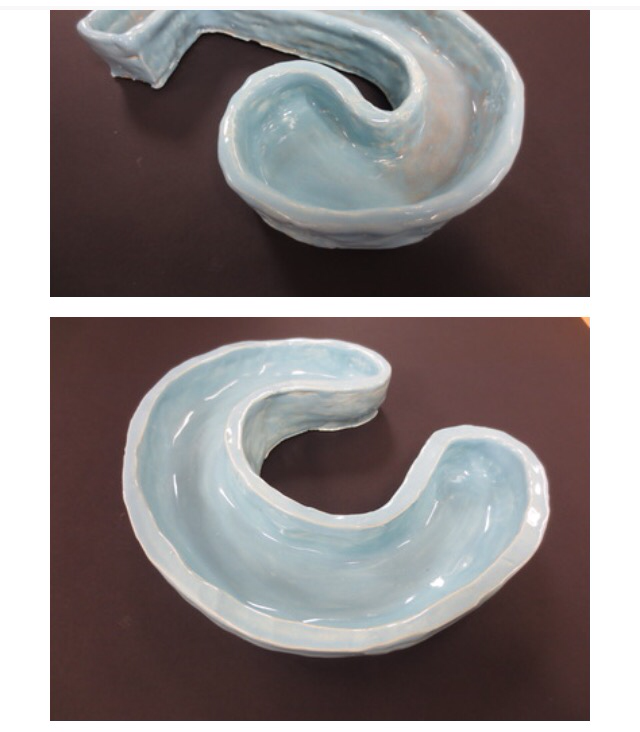
   Clay week is the Shark Week of the art room. The fun! The excitement! The anticipation! I love working with clay. I like the feeling of clay in my hands, the smell of clay in the air, and the ability to build with the earth. We create something from nothing and, in the end, have a lasting expression of our creativity and ability. I used to DREAD clay week with the students. Each grade level has its own clay week, so for three weeks I was on high alert. I was obviously stressed and I was not letting my students truly get what they needed out of the learning experience. The main problem was rooted in my lack of knowledge of the medium. Sure, I created my yearly art projects when I was in grade school. I took my semester of hand building in college. However...I was never taught how to TEACH clay. Almost everything I know about clay came from my student teaching experience. All the other bits and pieces I taught myself. I have been lucky enough to have built a peer group of very knowledgeable teachers to help me when I have questions. Are their ANY colleges that offer a “Teach Clay to 40 Eighth Graders 101” class? Things I learned while student teaching or AFTER college: The parts of a kiln How to load a kiln How to use cones How to set an electric kiln Why looking at the safety of the glaze is important How long I need to let things dry Air bubbles and their relationship to the devil Ways to create clay projects with an entire class of students and not just as an individual Clay prep Class Review Day: Students spend about two days prepping for clay week. On day one, I talk to the students about the process and all expectations of the project. I explain the project, our standard, and our clay vocabulary. I have even shown a short video depending on the project and my current video resources. They spend the rest of the time working on drawing out their ideas. I explain to the students that this drawing is a 2D picture of their idea and that they can change it however they would like when they get to the clay. On class review day, I remind kids to cut their nails, and to not plan on wearing rings, bracelets, or long necklaces. I also tell kids that that if they have long hair to stick some extra hair ties in their backpacks. I let them know that they may want to buy a travel sized bottle of lotion for their own personal use because clay is a moisture thief. Prep: One of the things students are asked to bring in at the start of each year is a box of gallon Ziploc bags. At least some of the kids end up bringing them in and I always end up with enough. I pre-cut the clay and put the clay into Ziploc’s for when the students come to class. When you only have 50 minutes for class, it saves some time. Each student gets his or her own bag of clay. He/She keeps the clay piece and any extra clay in the bag. We take the time in class for students to use a Sharpie to write their name on the top of the bag near the zipper so each bag is identifiable. I gather all materials on one table so I can pass them out easily. We have a bowl for slips, a cup for tools, and paper towels for spills. I also keep a bag of extra clay out just in case it is needed. I write my set up on the board: our standard, our essential question, any key vocab, and our daily step-by-step directions are written in a localized place for all students to easily see. The Big Day: Students come into the art room excited. It’s the BIG CLAY DAY! They know from the minute they walk in what is expected of them. They can smell the clay in the air and they can see the piles of clay at the prep station. I go over the lesson, we may have a few “watch and do” steps in the beginning. I may give a demo. It depends on the students, their readiness, and the class’ ability to follow directions. The rest of the week is each student’s time to learn, manipulate, create, and explore. The first day I clean up slowly and early. We clean up together step-by-step to set my expectations for clay cleanup for the rest of the week. As the week progresses, I use a more hands-off approach and students clean up quickly and on their own. Just Another Clay Day: Students come in each class period and gather their clay piece from the cabinet. They sit and listen to a brief review, and spend all class working. After clean up, I ask for any questions, review what we did that day, and set the expectations for the next day. The Last Day: As students finish their clay piece, I have them show me where they put their names on the bottom of their work before they put their uncovered piece in the cabinet. Students that finish the piece early may draw their finished work and compare and contrast the finished drawing with their pre-work drawing. Things To Think About: 1. Have gloves available for kids in casts. 2. Peer partnering for students with low dexterity. 3. Setting up an isolation clay station for kids that can’t focus at their own tables. My isolation station is set up at an empty table and I call it Ireland. When kids misbehave I tell them to take a trip to Ireland. It relaxes the atmosphere with a joke and gets them back on task. 4. I’m not a huge fan of taking clay away as a punishment. HOWEVER… sometimes… it happens. Some kids lose the clay after multiple warnings. Maybe they created something inappropriate, maybe they were sticking clay to the ceiling, and maybe they were daring each other to eat it. Having book work ready, available, and visible gives students a little extra motivation. 5. Some students have problems with the texture of clay OR the way the clay makes their hands feel. IF wearing gloves does not help, these students can learn the same skills with air dry or oven baked clay. I have even used play dough. 6. Make extras for students who move to the school after the clay project starts, but before students glaze. 7. Let students do MORE. If a child comes to me with an idea that changes the project, I will normally let them. They have to have a plan, a reason, and they have to ask permission first. My job is to lift up creative thought, not squash it. 8. Buy a big bottle of lotion. 9. Breathe Last Words: Clay can be one of the most difficult things to figure out as a new teacher. Find a clay buddy to show you the ropes. Search the art education sites for ideas. Don’t be scared to try something new. Ask questions, give choices, and dig in! 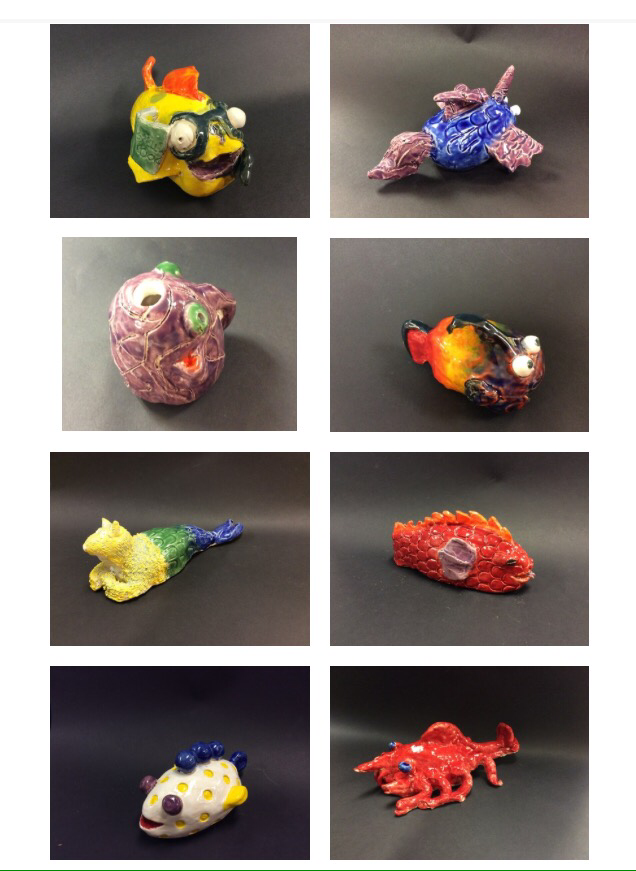 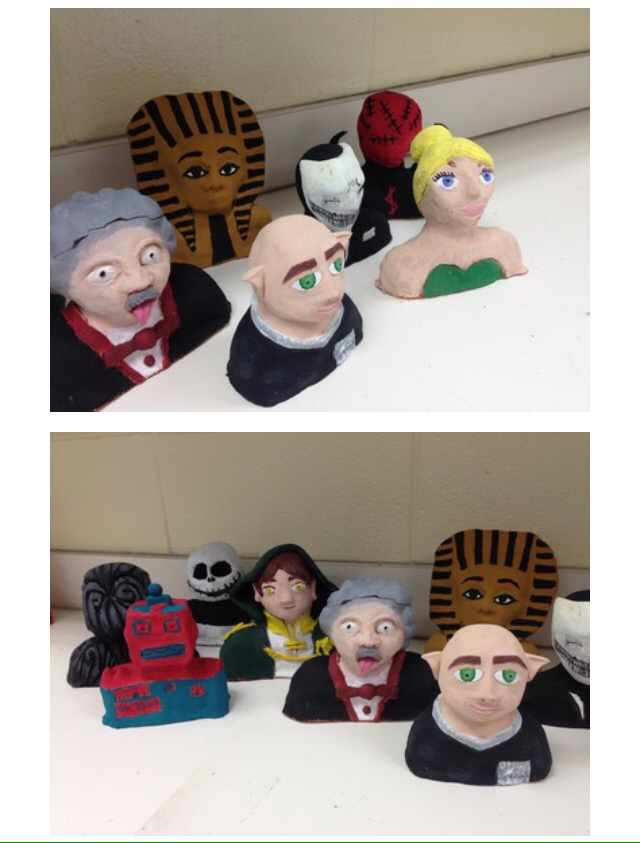
0 Comments
Your comment will be posted after it is approved.
Leave a Reply. |
AuthorArtist living and teaching in Georgia. Archives
March 2019
Categories |
 RSS Feed
