|
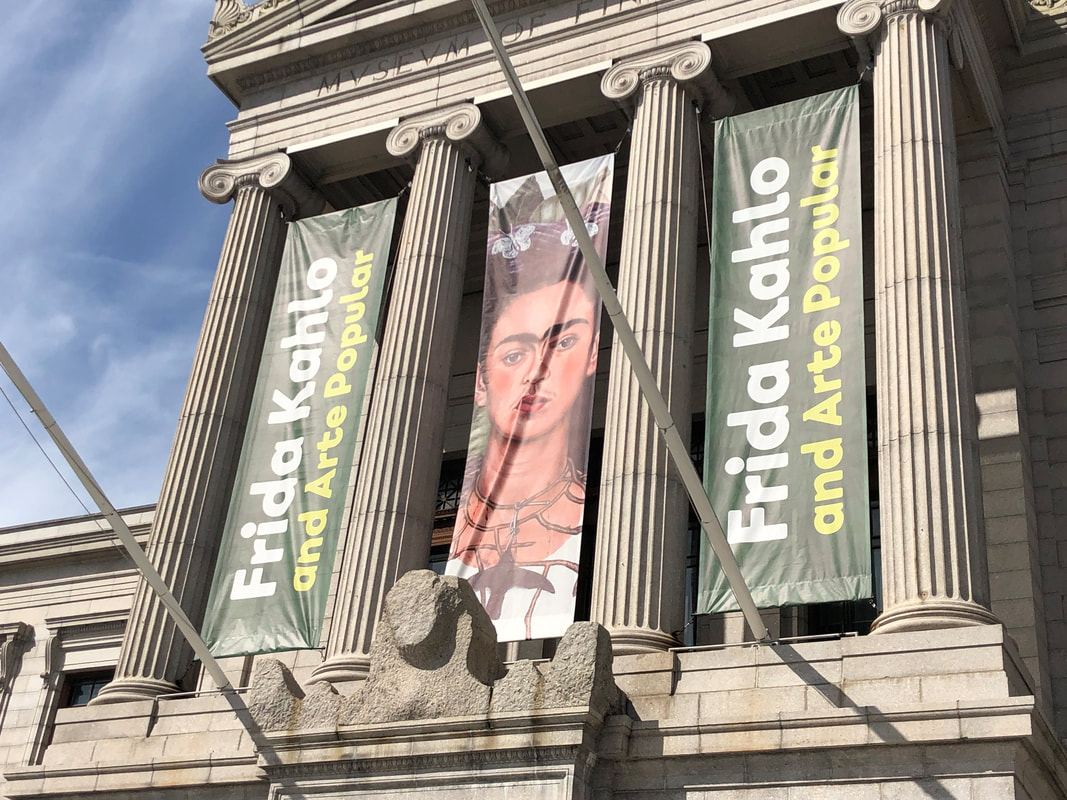
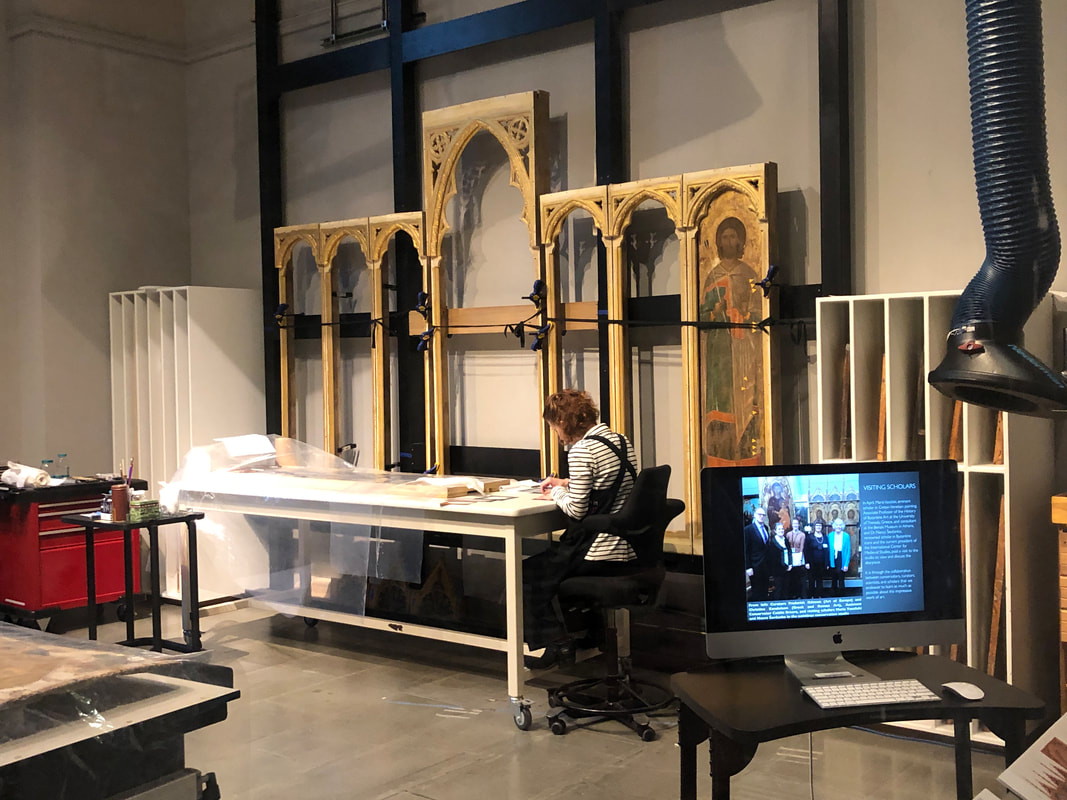
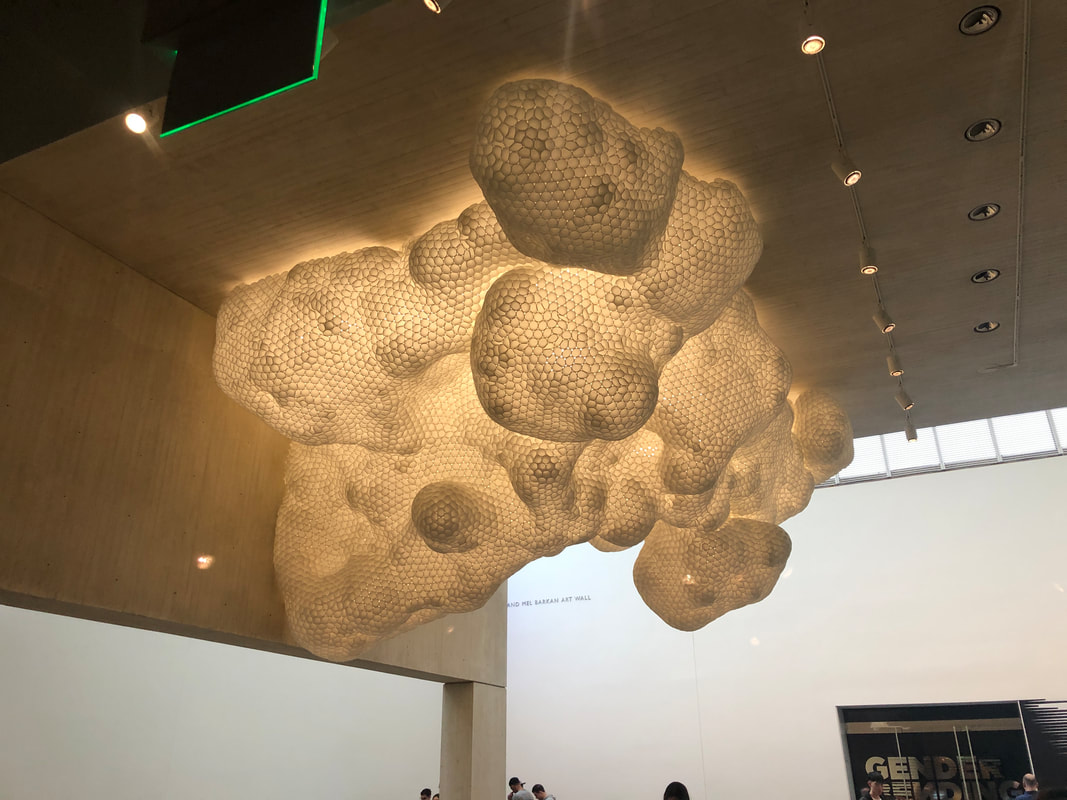
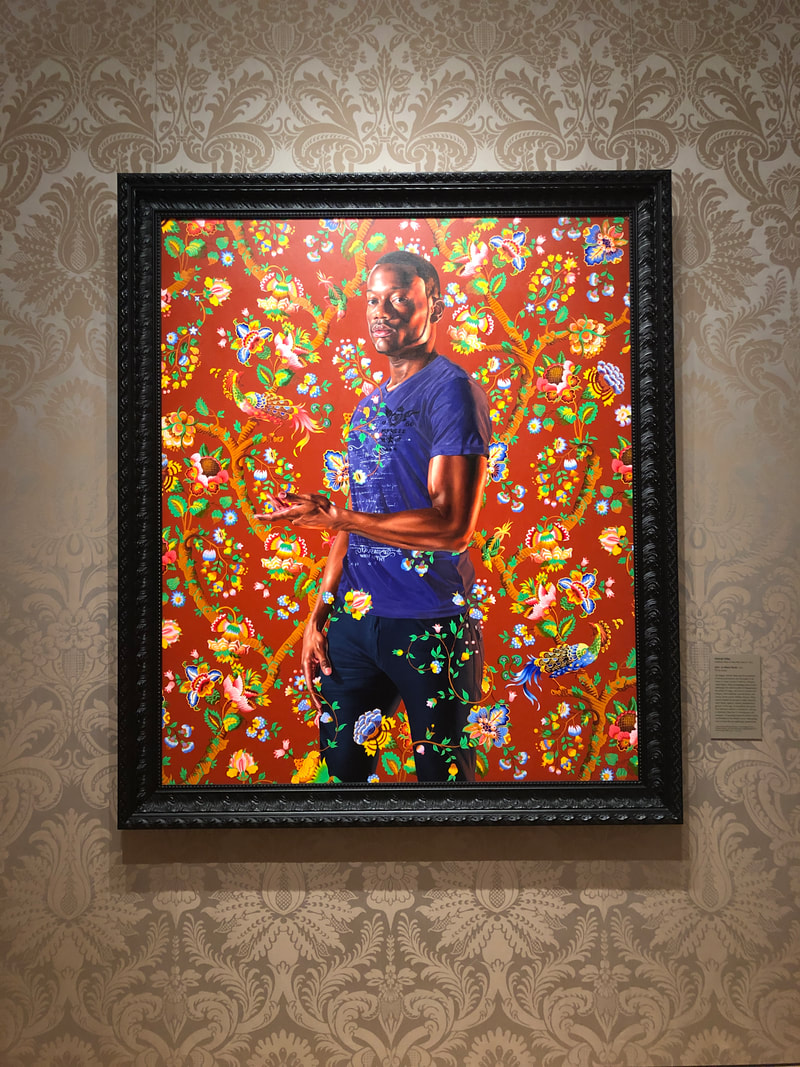
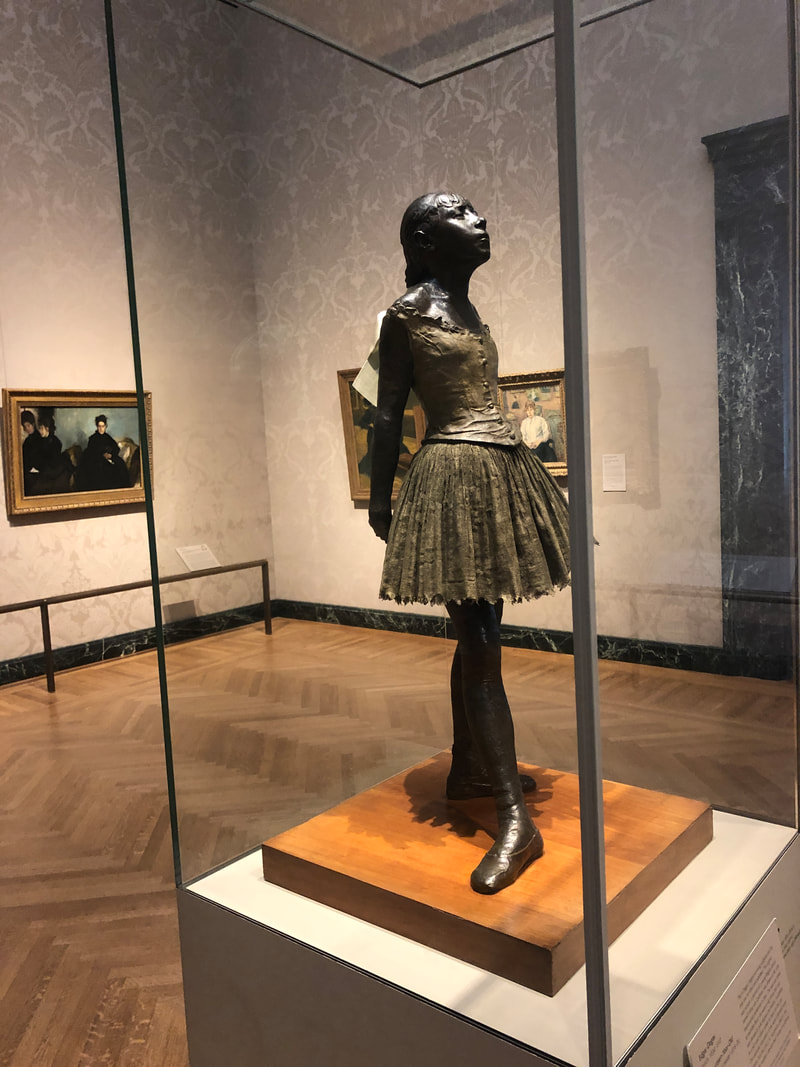
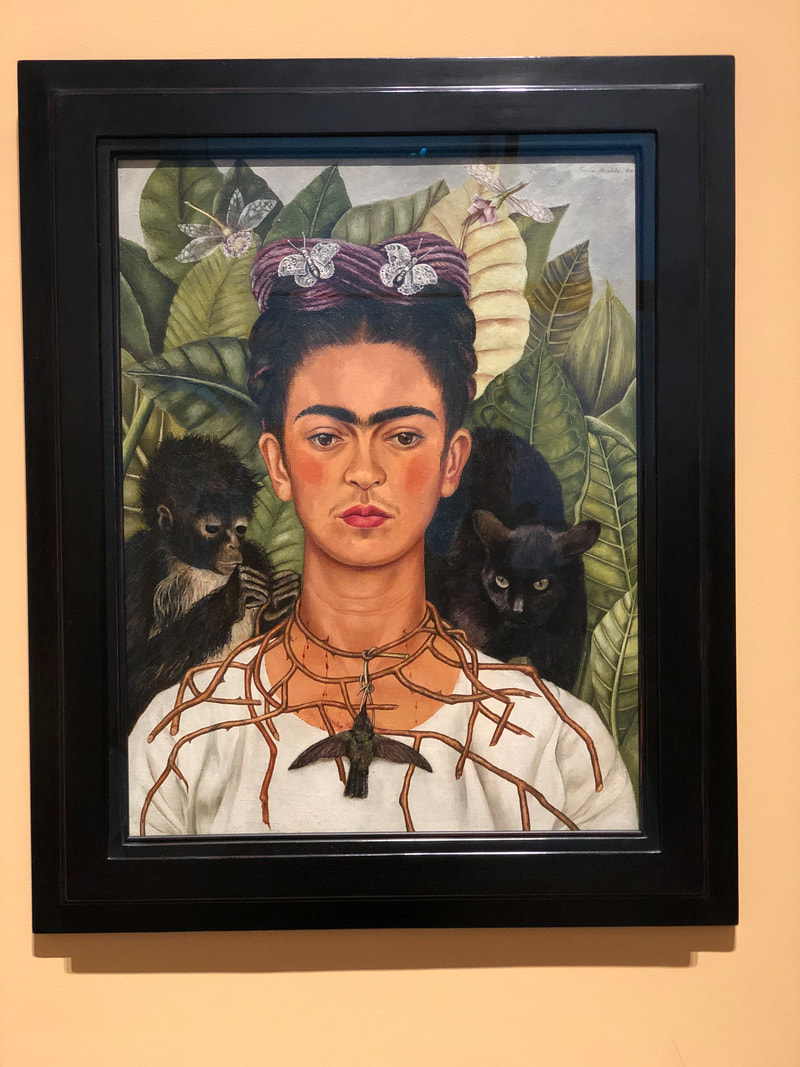
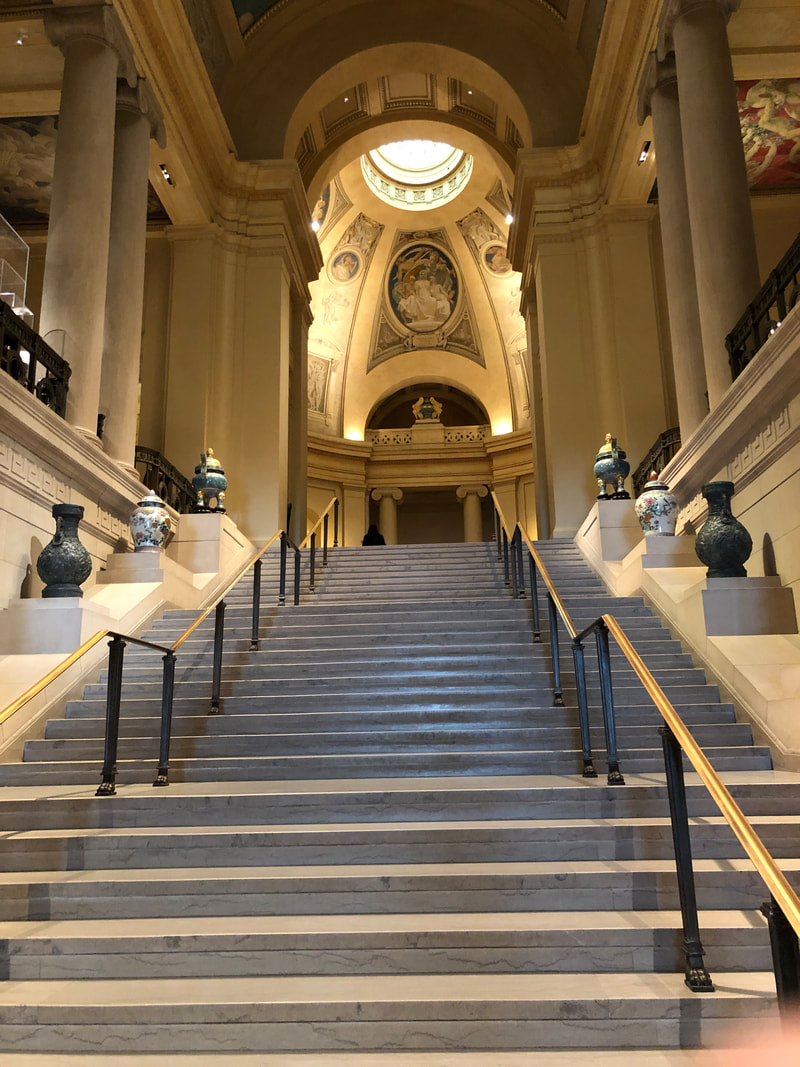
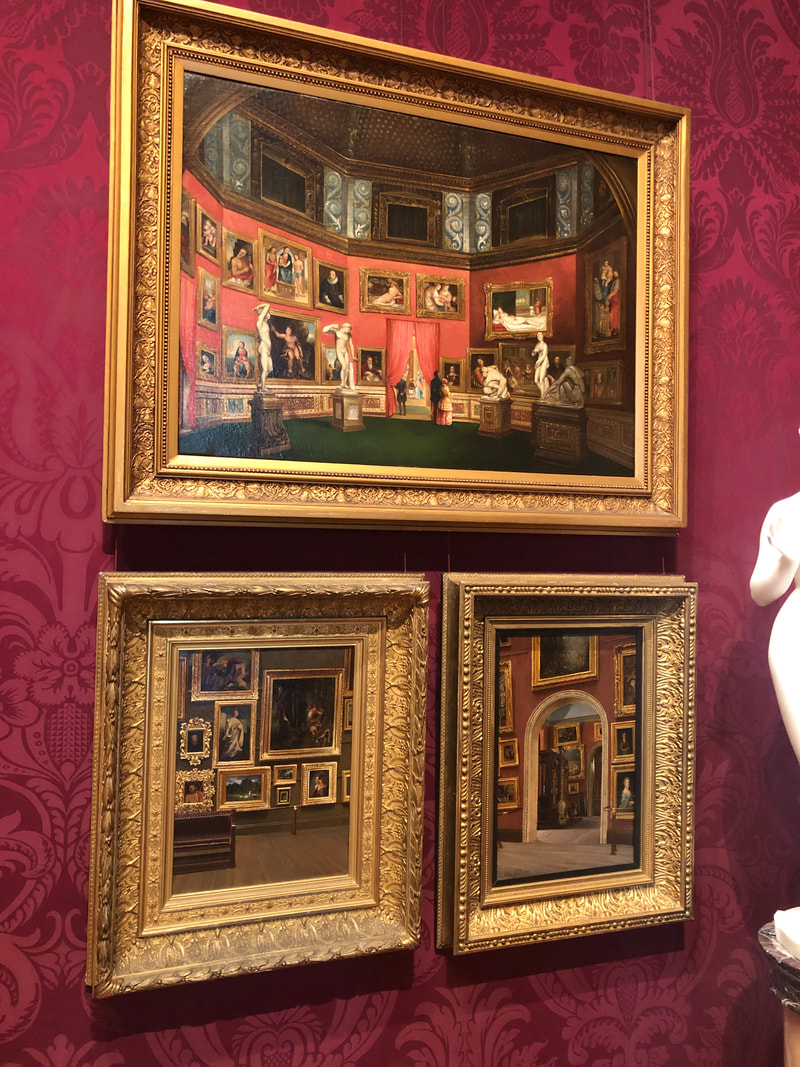
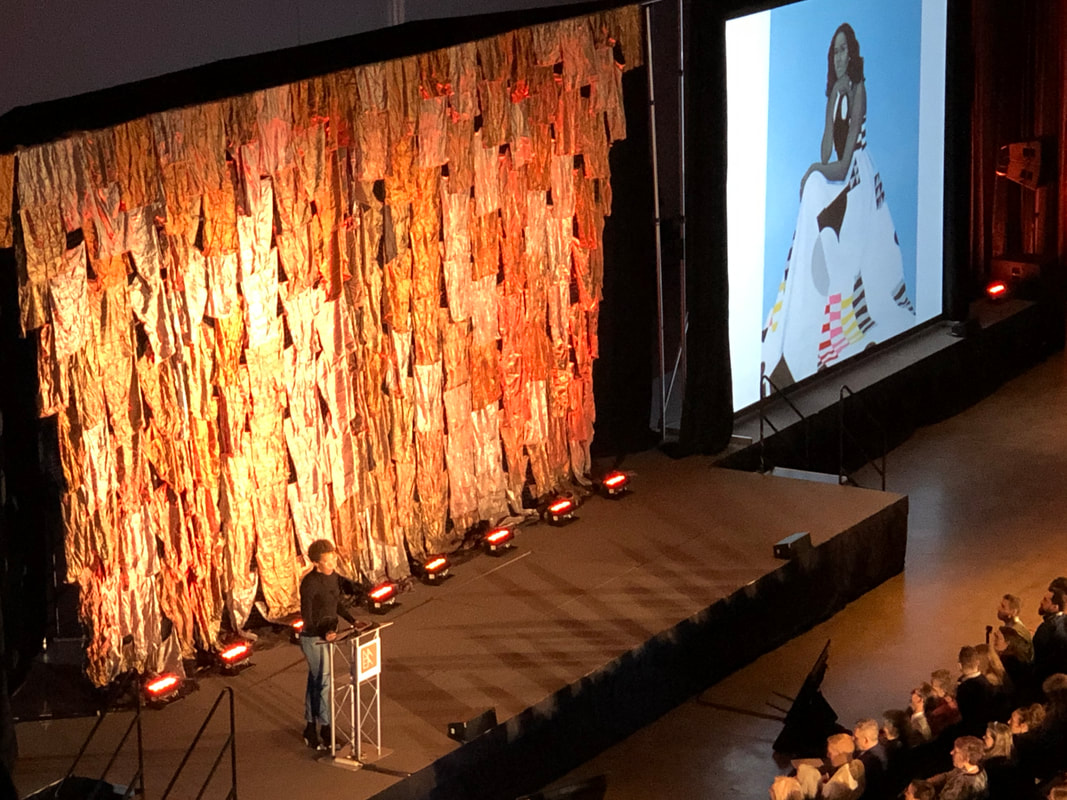
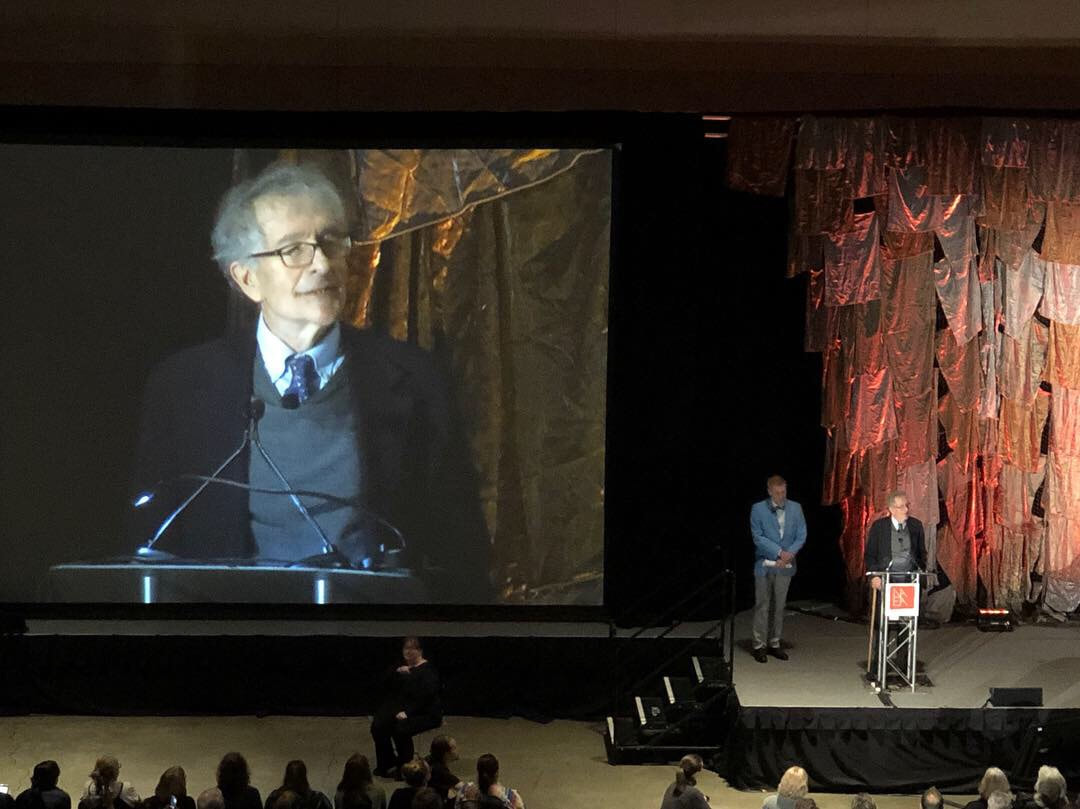
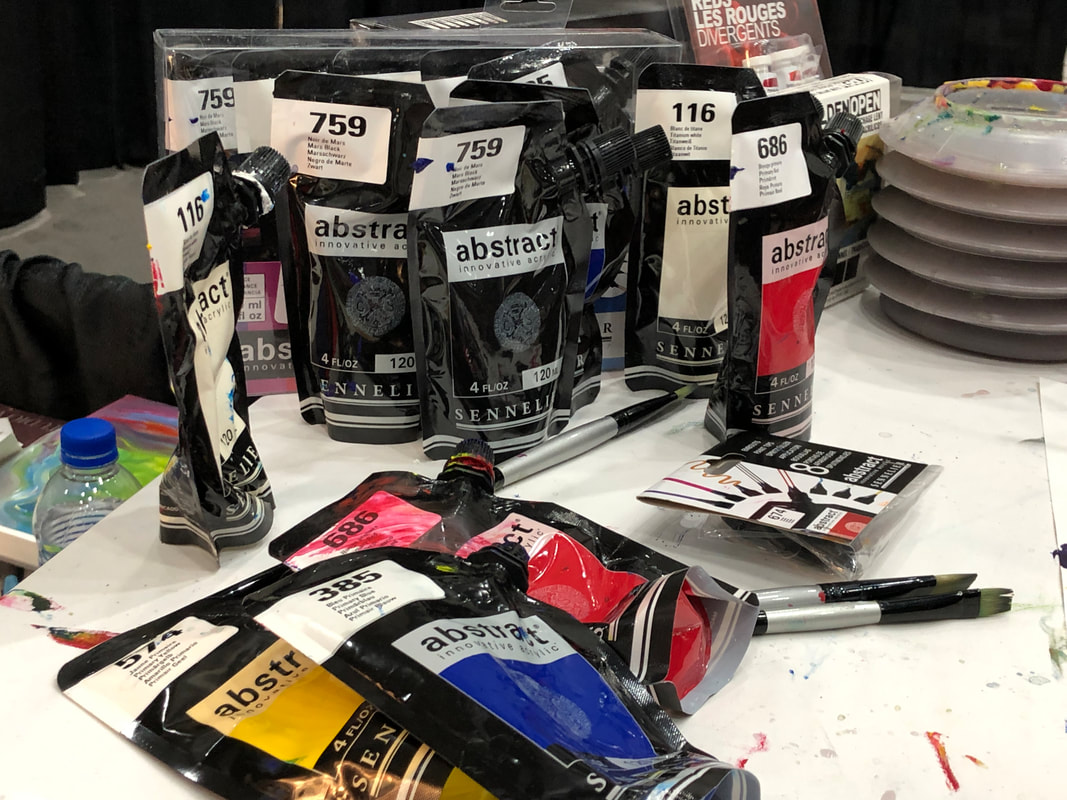
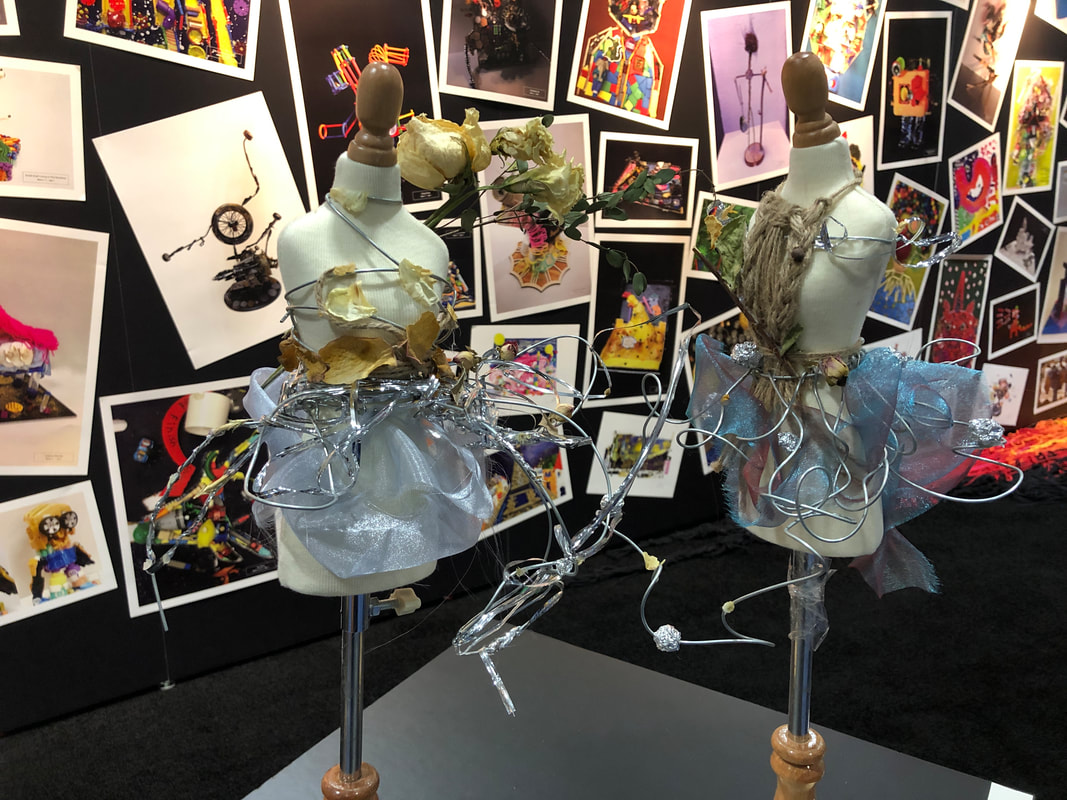
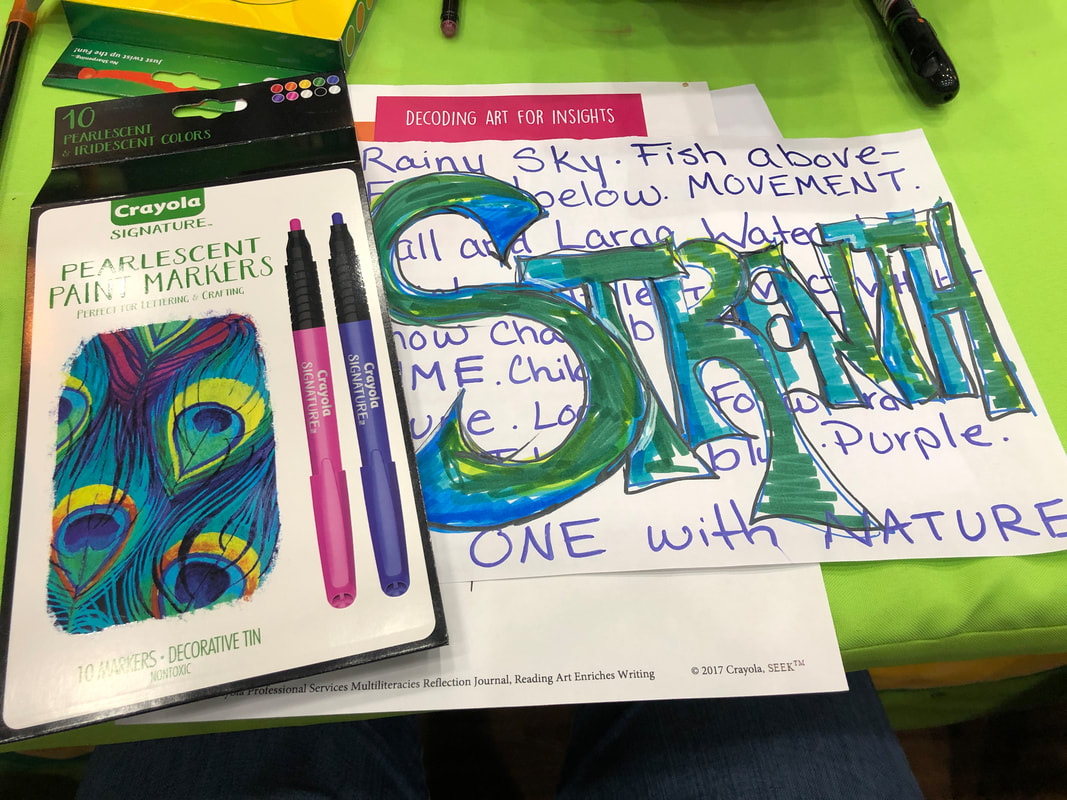
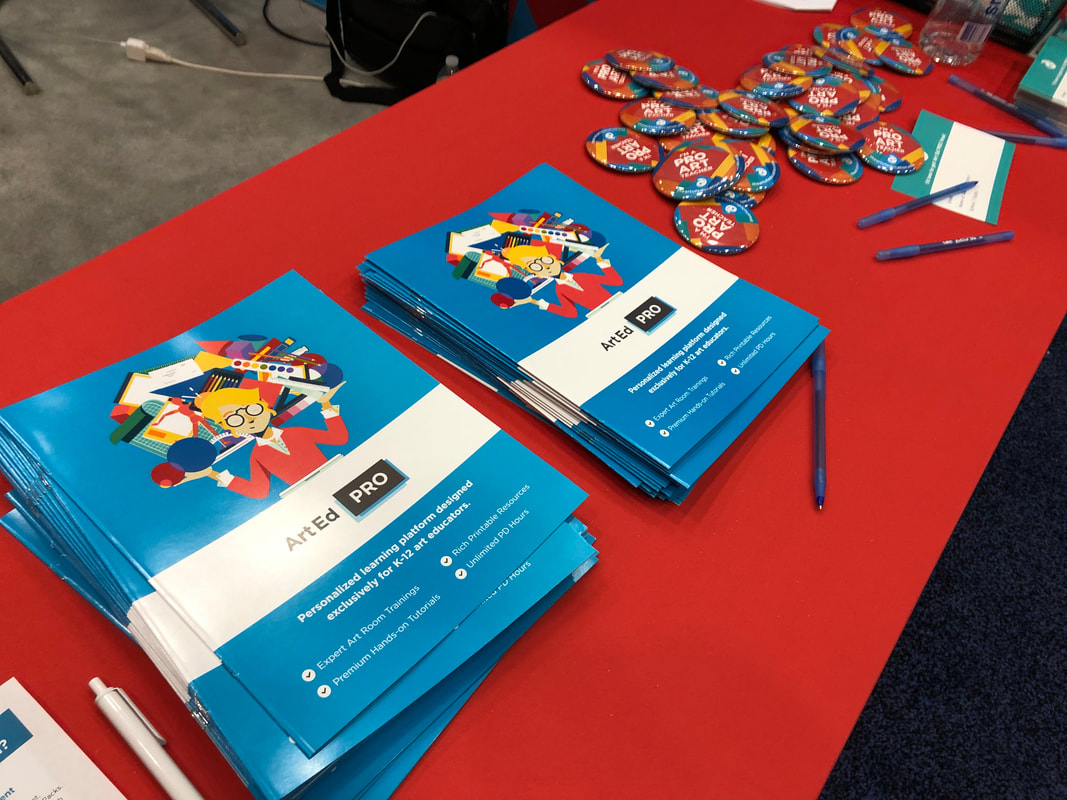
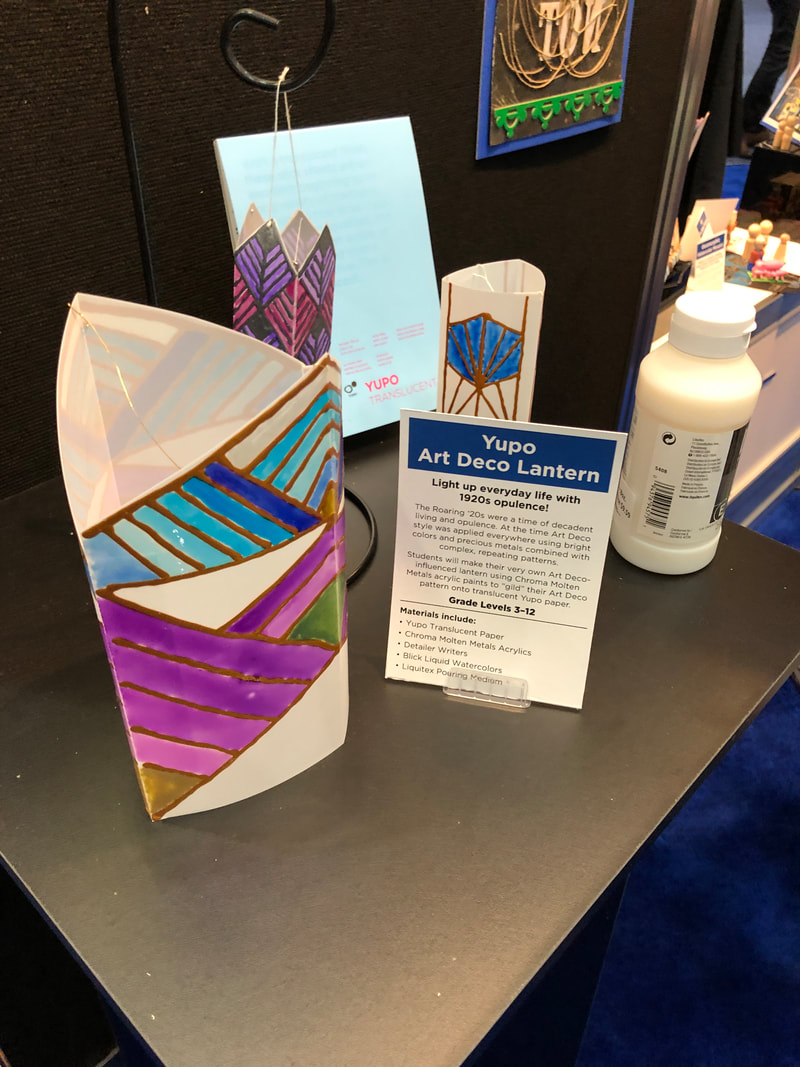
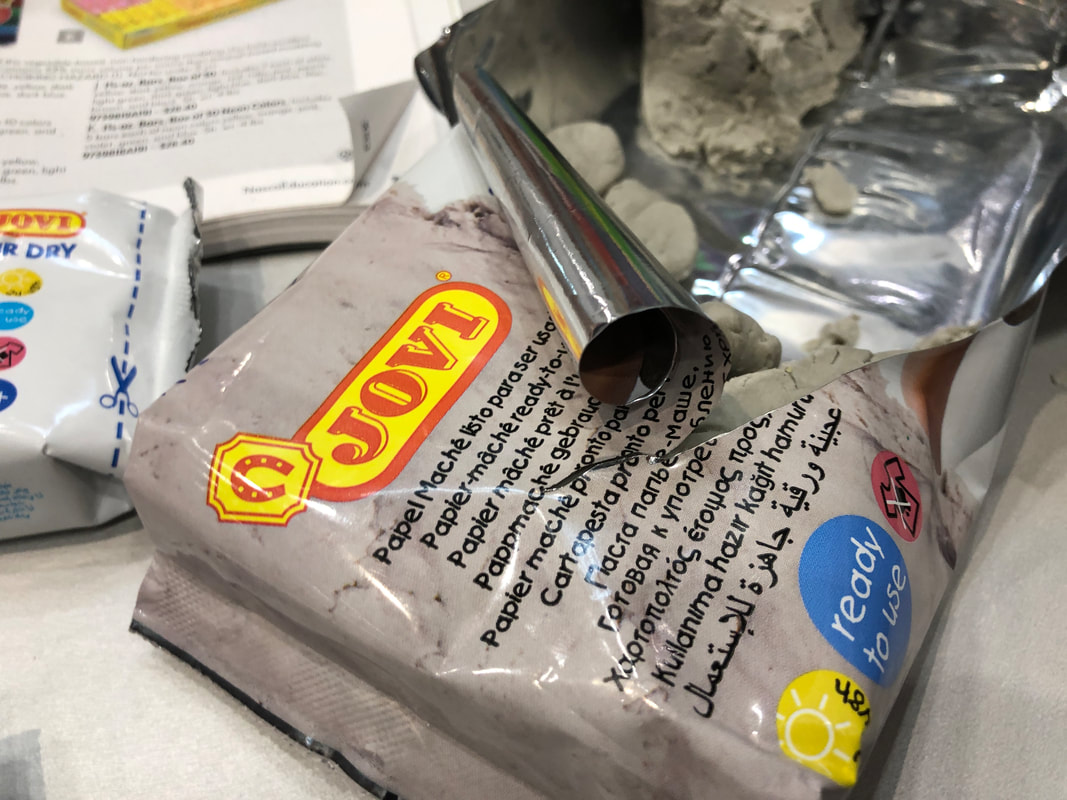
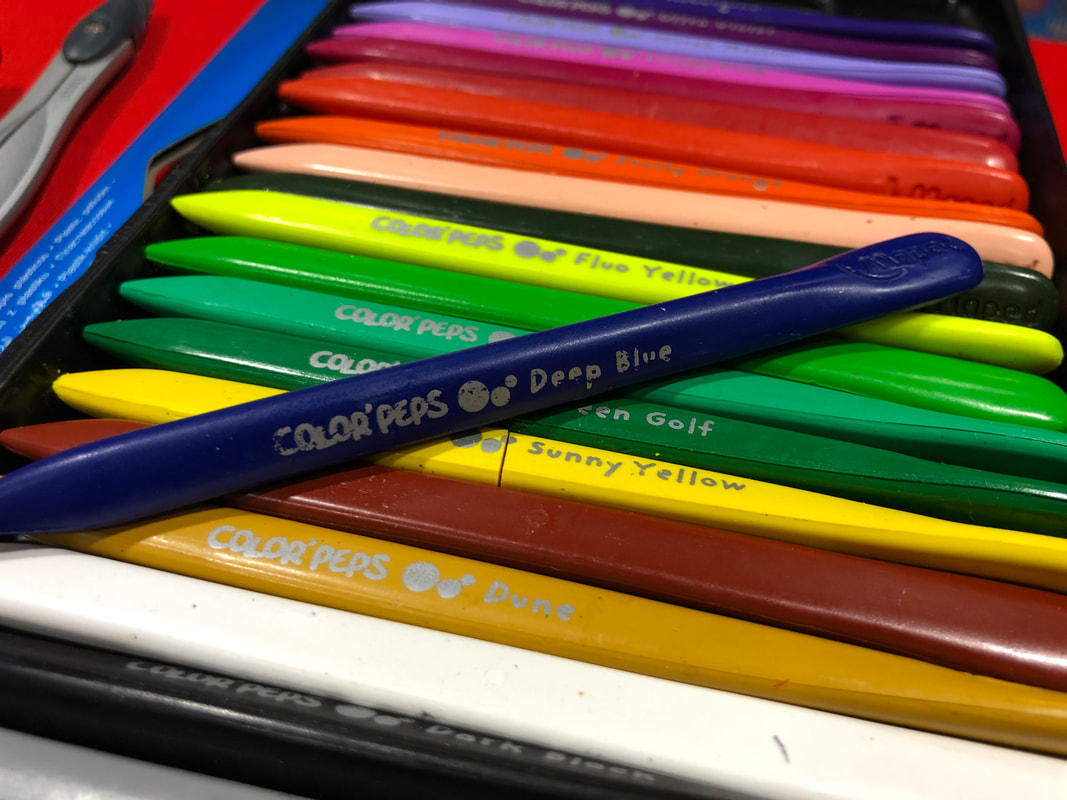
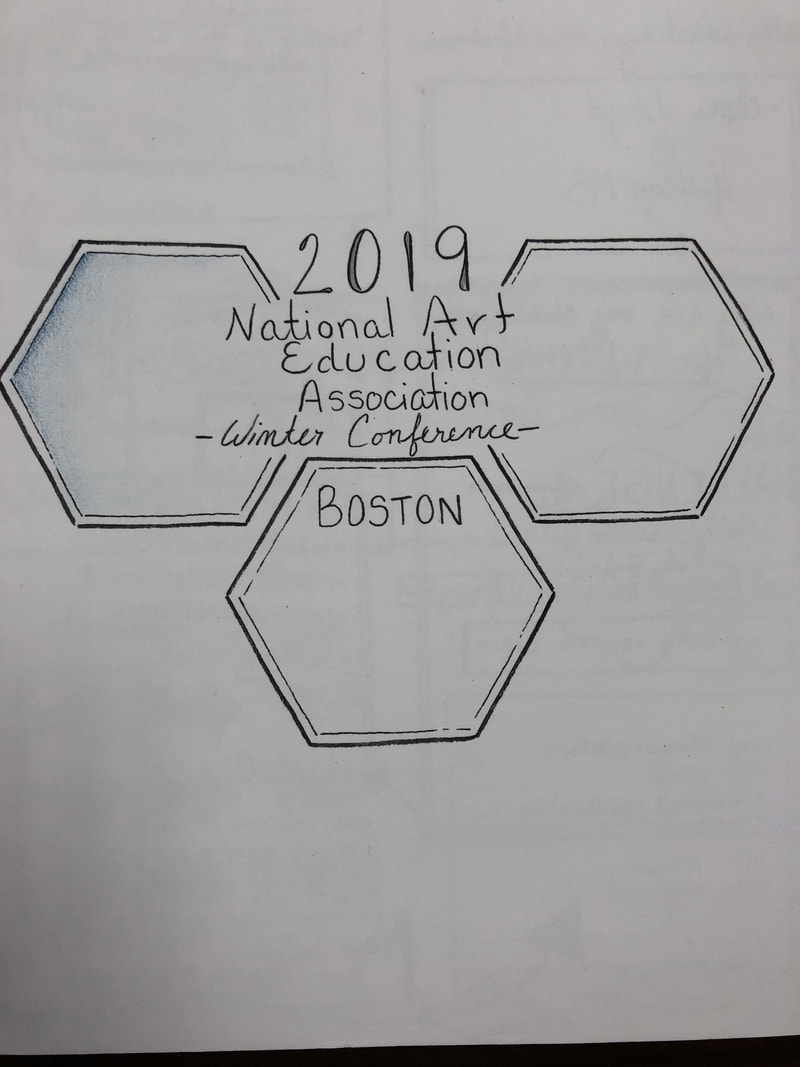
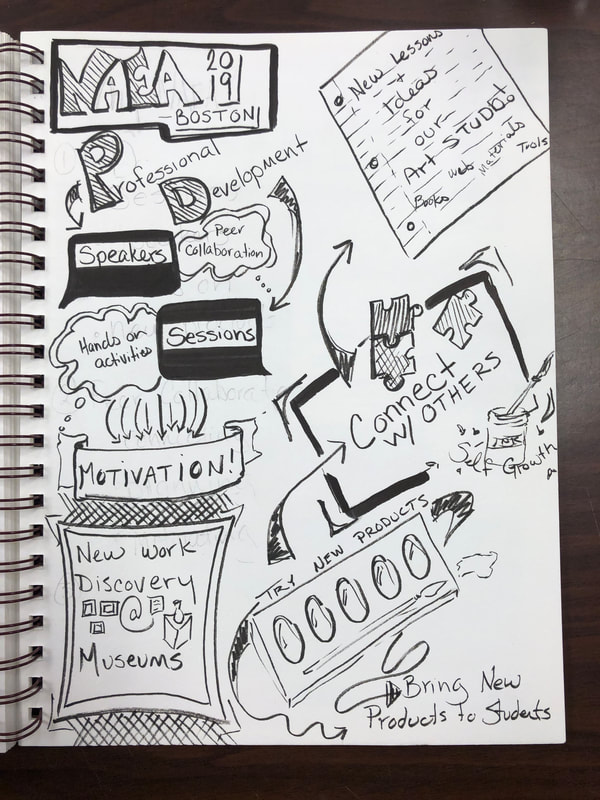
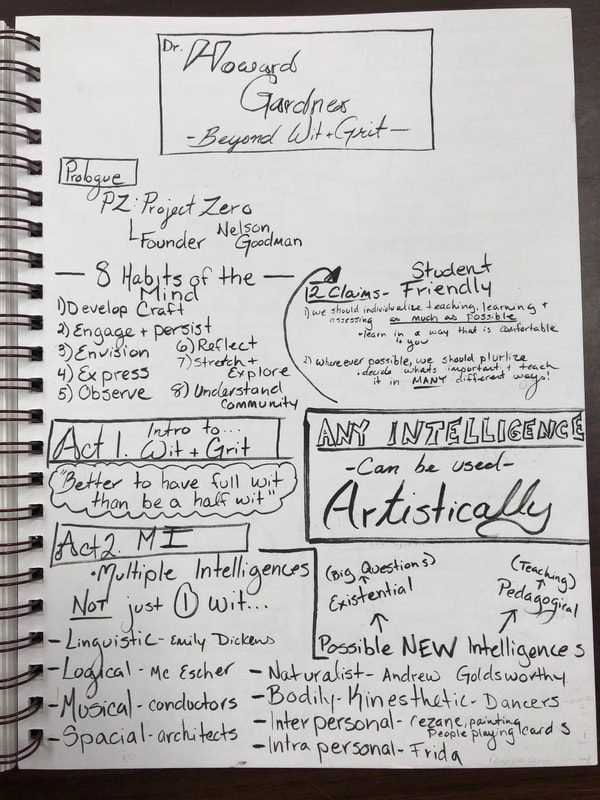
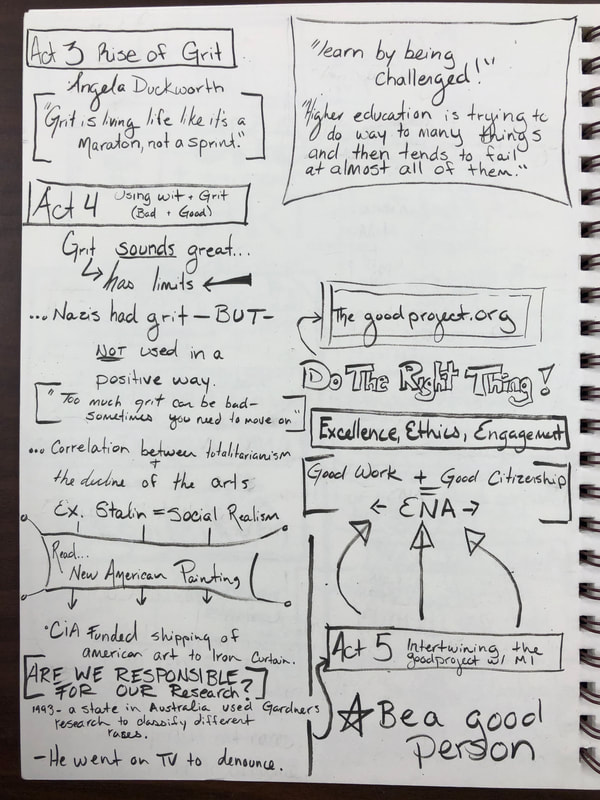
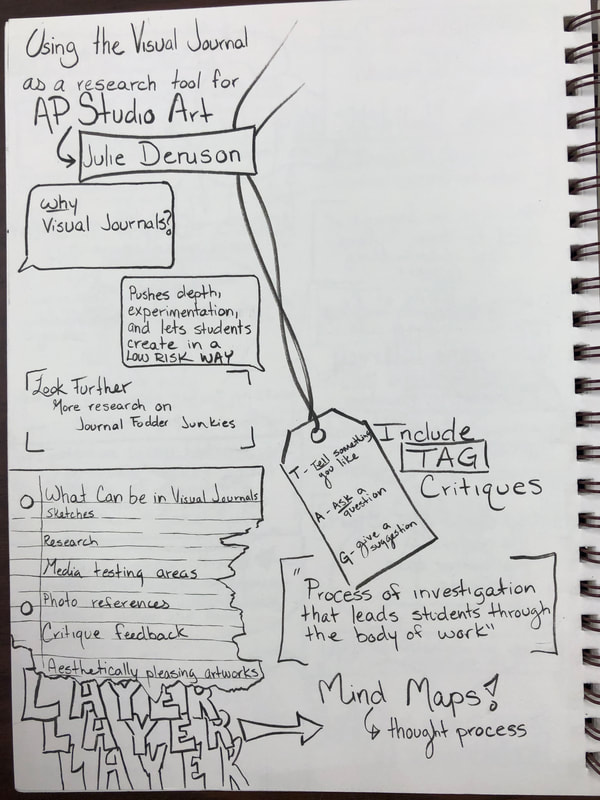
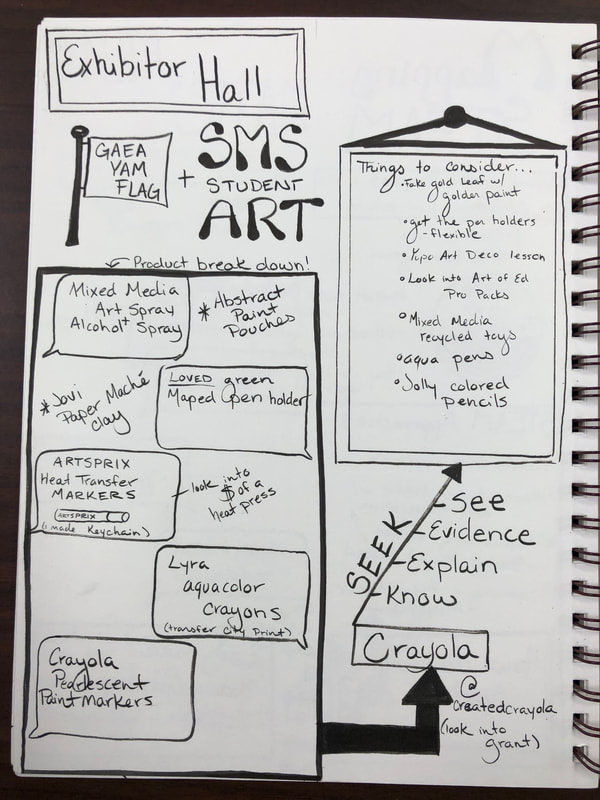
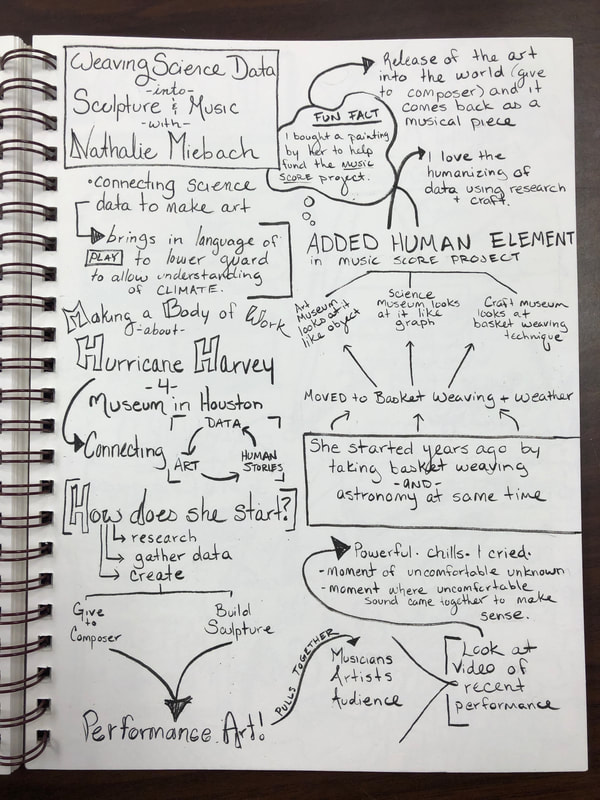
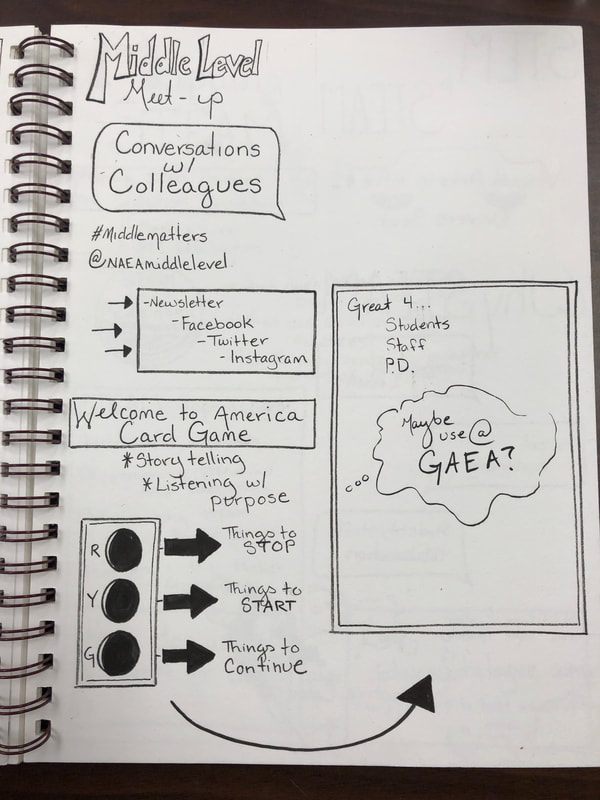
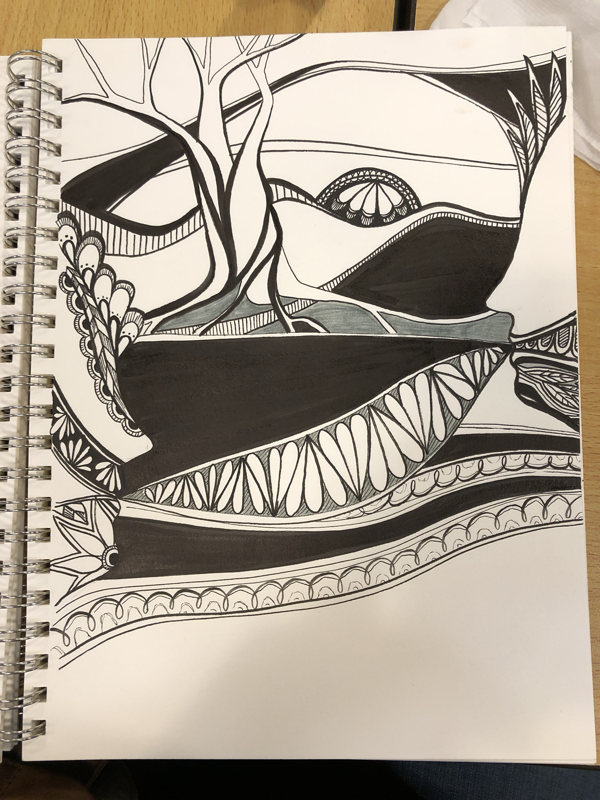
When I think about why going to NAEA and GAEA is important- my statement from my last post wraps up how I feel perfectly: "Professional development is important in the growth of educators. As the world grows and changes around us- so must we in order to be the best teachers our students can have. If we want our students to be constant learners and we need to model that behavior. I have been to many professional development sessions in the past that did pertain to me (something I am pretty sure is similar with all fine arts teachers). Finding meaningful, thought provoking, content specific professional development for art education is rare. When found- it needs to be taken advantage of." I am lucky to be part of a county that supports the arts (and the teachers) and allows for meaningful professional development. This year I was able to fly to Boston to attend my 3rd National Art Education Association conference- and it was AMAZING.  When I landed in Boston I headed over to the hotel to unpack and get ready for the conference. I checked in early and decided to check out the Museum of Fine Arts-Boston before sessions started. Going to different museums and creative spaces is important because I am able to gather information on new artists and styles for my students. I loved seeing the open art conservation spaces and the mix of ancient and contemporary art. Also- I was lucky enough to be there during the Frida Kahlo exhibit. The speakers this year were fantastic and inspiring. I heard Amy Sherald, Howard Gardner, and Nathalie Miebach talk on topics like storytelling, creativity, and data in art. I missed out on the Peter Reynolds session- which is one of my regrets from the trip. One of the things I did differently this year was make sure to schedule time in the vendors hall. In the past I was rushing from session to session and left little time for the awesome hands on activities and freebies that the vendors give. I spent an entire afternoon trying new products, studying new resources, talking to vendors, and learning about contest opportunities. I even won $150 worth of supplies at the Crayola booth! One thing I did differently was to make time to "unpack" all I learned each night in my sketchbook. I am on a sketchnoting kick... and this helped me think about how I can incorporate all I learned into my classroom. Being able to collaborate with my peers is a huge benefit to attending NAEA. Not only am I able to meetup to art teachers from all over the world, but I am also able to put a face to the names of teachers I follow on social media. Building relationships with other teachers allows us to feel like we are not an island alone in a sea of creative chaos. One night I attended a small get together with other teachers at an bookstore and just sketched for a few hours. A different night I met up with the #k12artchat group. I can’t wait to incorporate all I learned into my classroom- and I am already excited for the next conference!
0 Comments
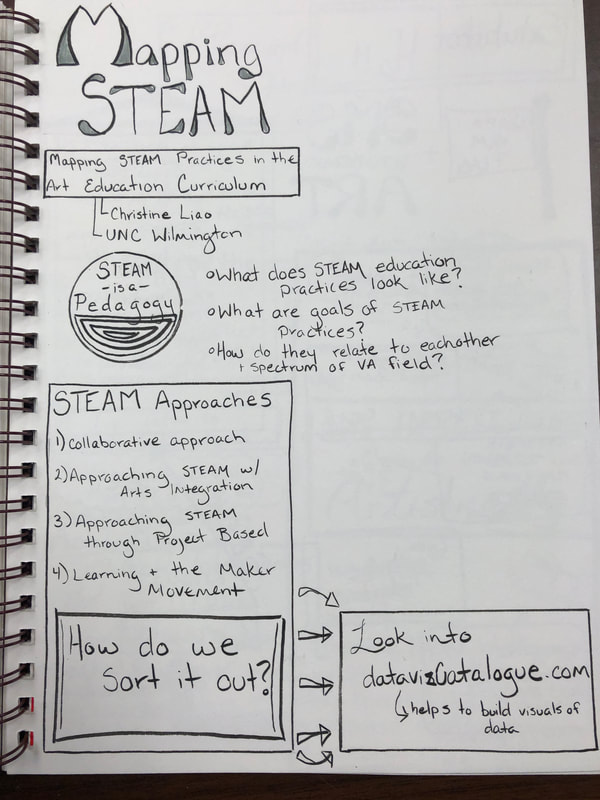
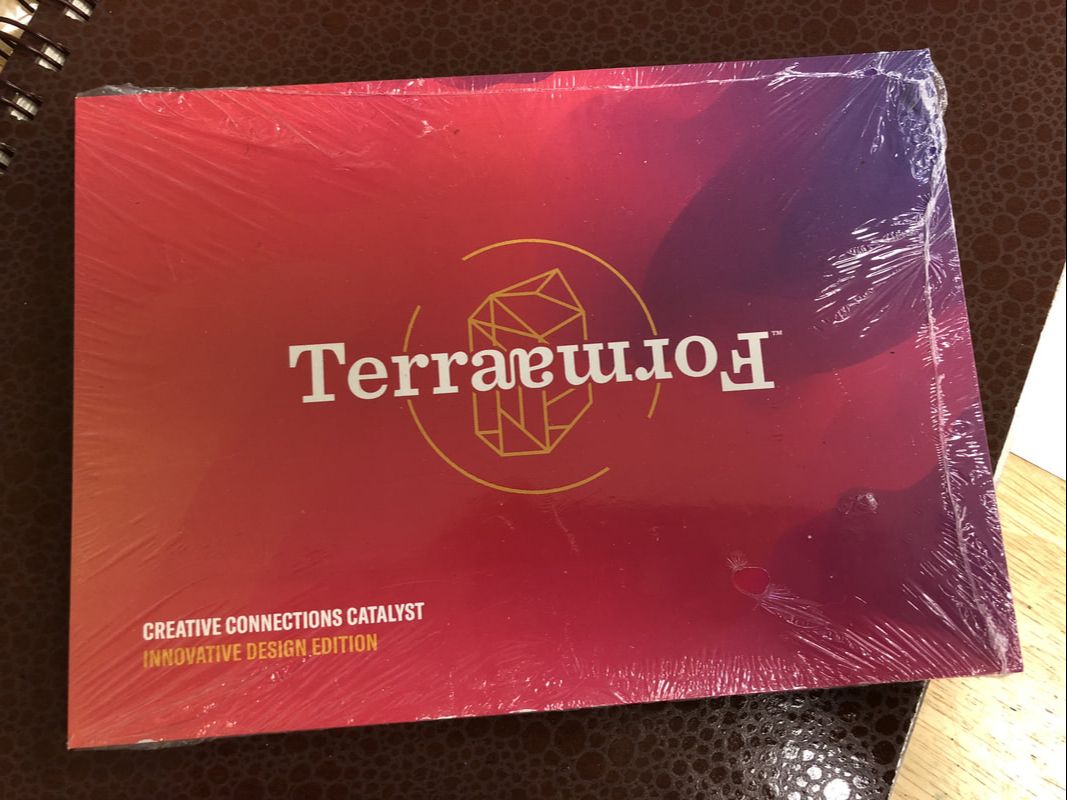
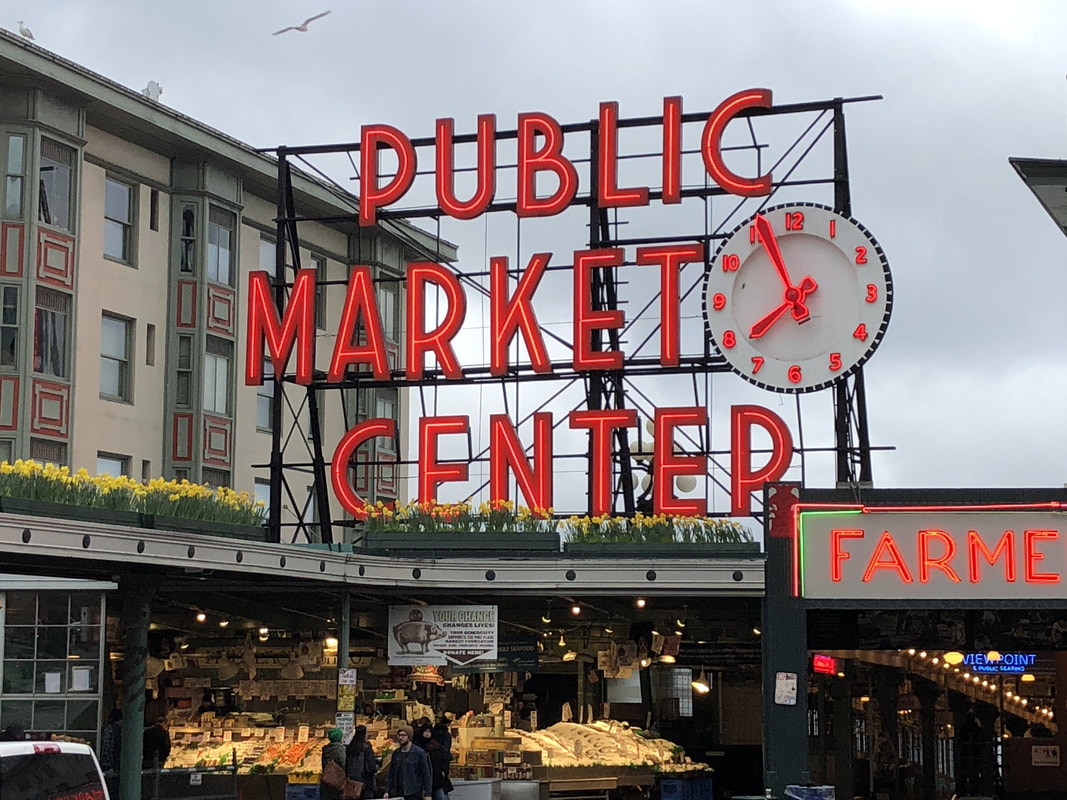
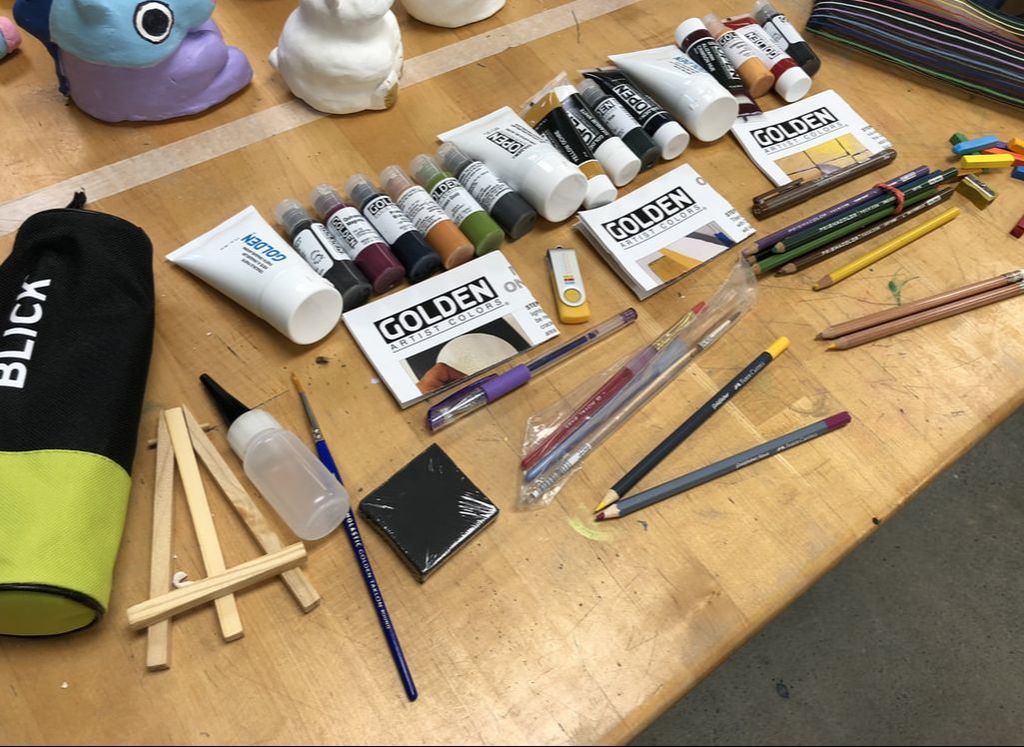
Over the past few years I have started attending visual arts conferences. Most recently I attended the National Art Education Association's conference in Seattle, Washington. The theme this year was STEAM and I was so excited to expand upon my knowledge and learn new things to bring back to my students and other art teachers in my community. Professional development is important in the growth of educators. As the world grows and changes around us- so must we in order to be the best teachers our students can have. If we want our students to be constant learners and we need to model that behavior. I have been to many professional development sessions in the past that did pertain to me (something I am pretty sure is similar with all fine arts teachers). Finding meaningful, thought provoking, content specific professional development for art education is rare. When found- it needs to be taken advantage of. With both NAEA and GAEA, I can pick the sessions that fit my needs best. There are so many sessions that everyone can individualize the experience. Before I arrived in Seattle I searched the sessions offered and made a schedule for myself. I found many free ones- but I decided that I would benefit more from some of the paid sessions. I made some changes after arriving in Seattle... but I stayed pretty close to the original plan. 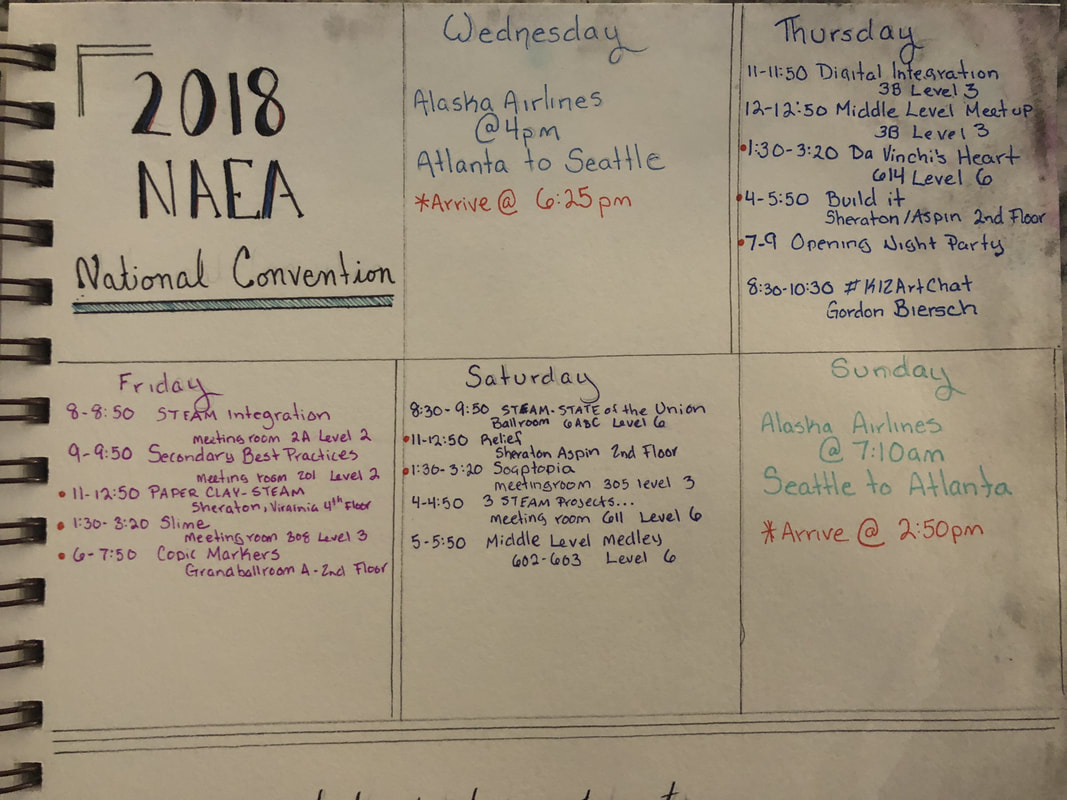 My original plan. Some things ended up changing. NAEA also has a great app to use for your schedule! I visited the vender hall between sessions to try new art materials, get new ideas for lesson plans, and to get free samples. I was able to meet up with a few people I have been working with over the past few years (Maryellen from Arts and Activities Magazine and Tim from The Art of Education). I bought the latest deck of Terraforma cards and I learned more about the SCAD program for teachers in the summer.
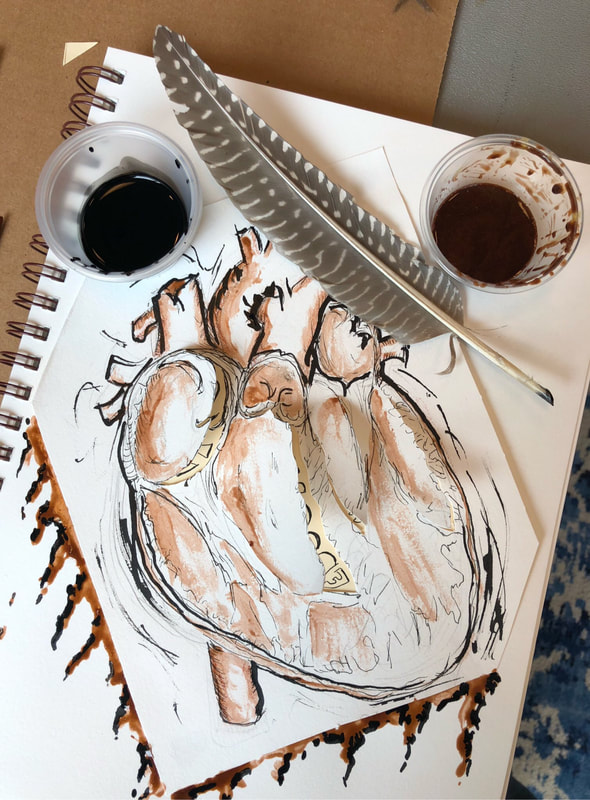
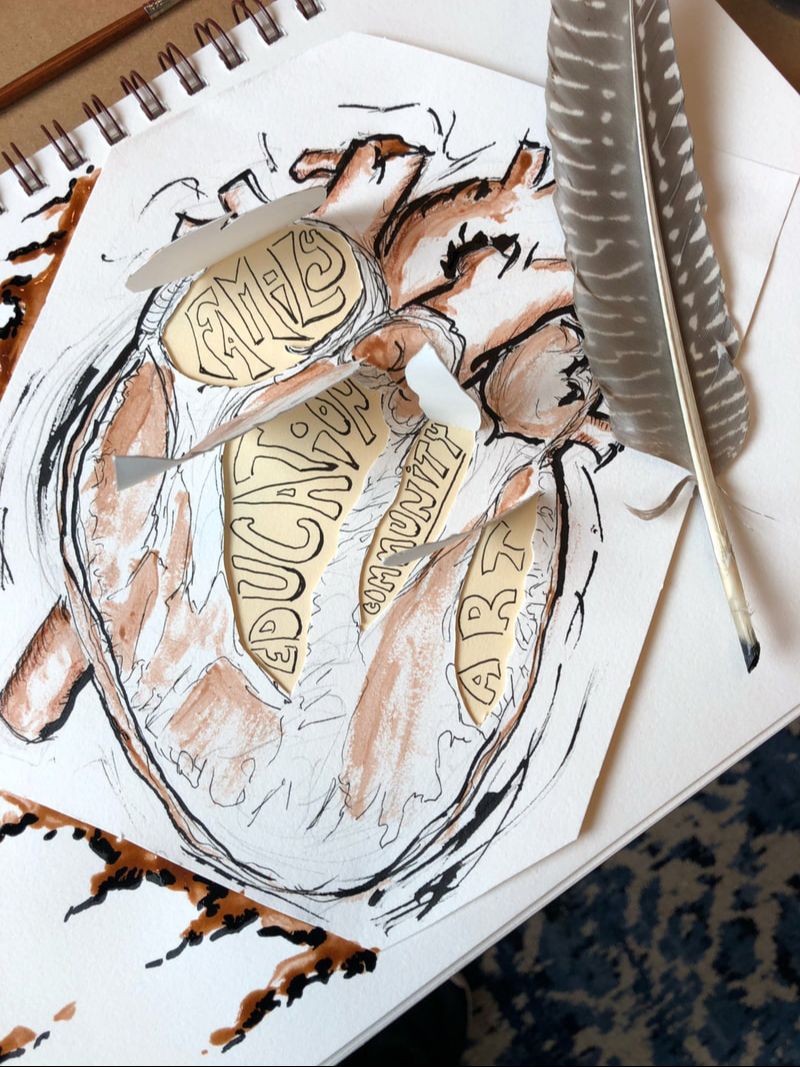
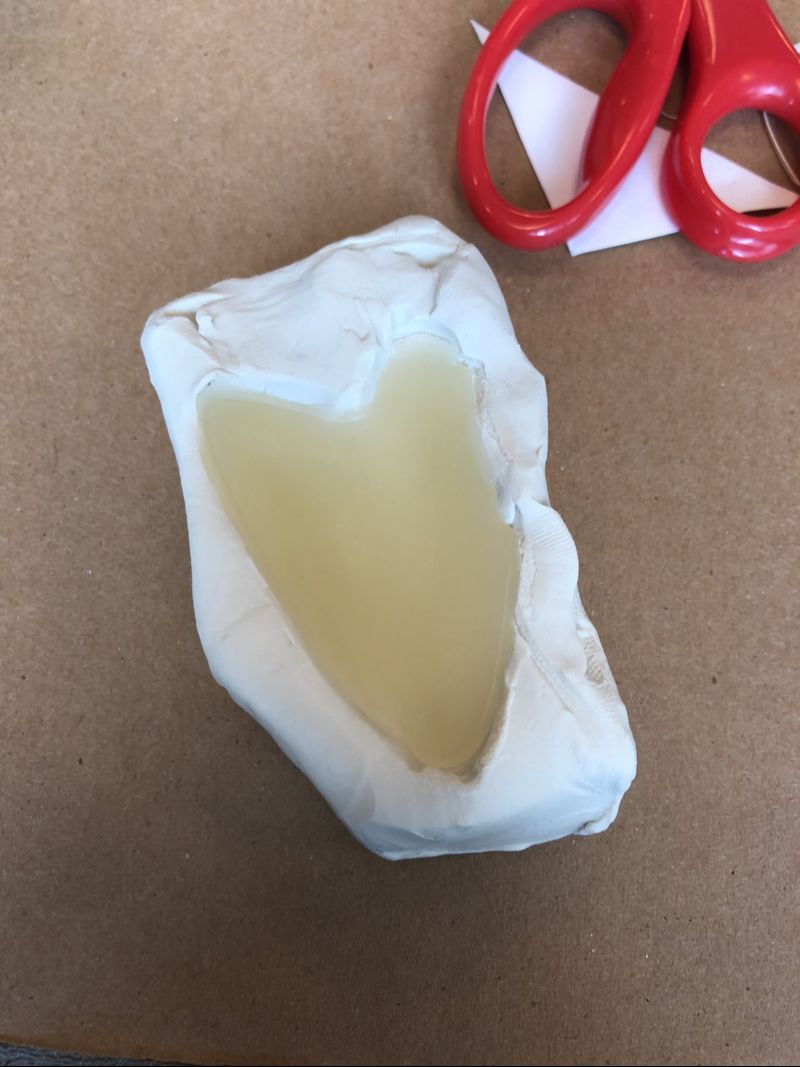
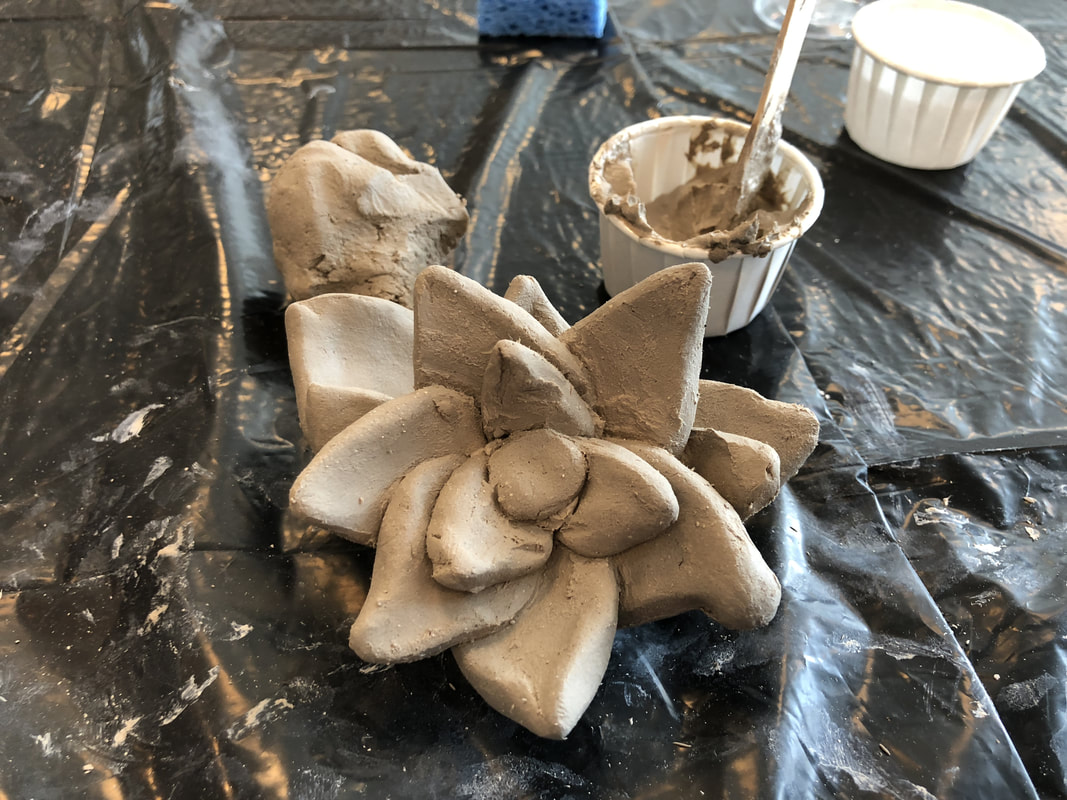
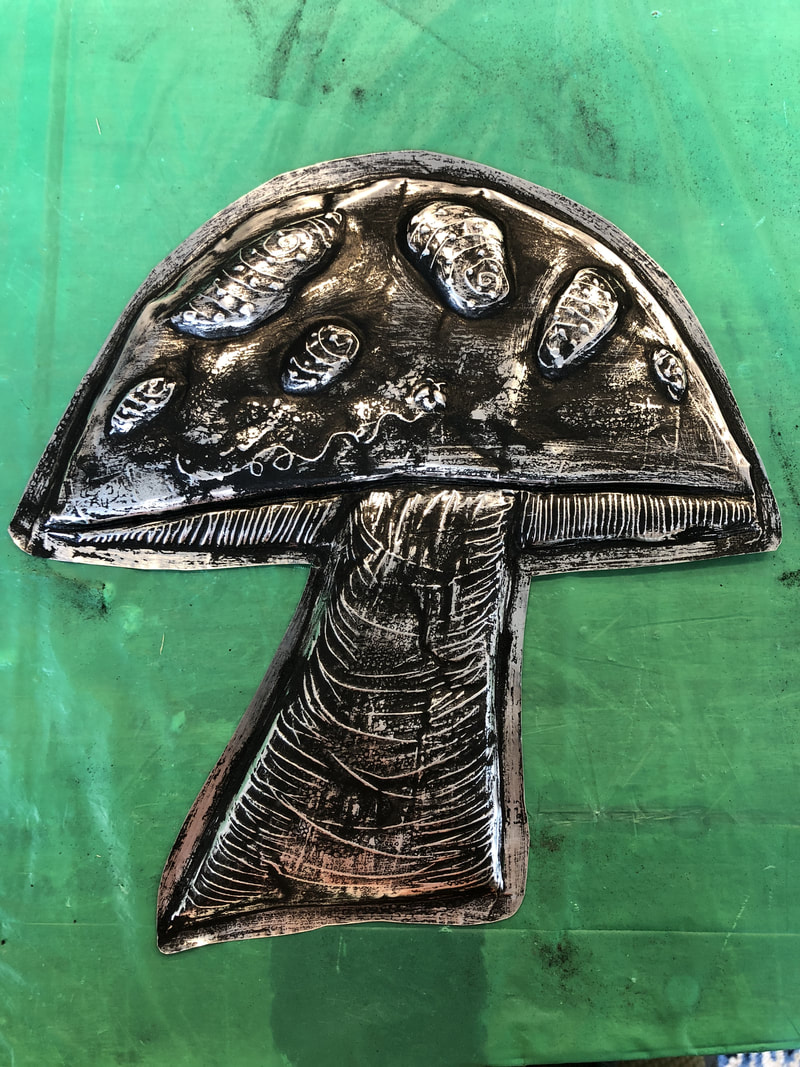
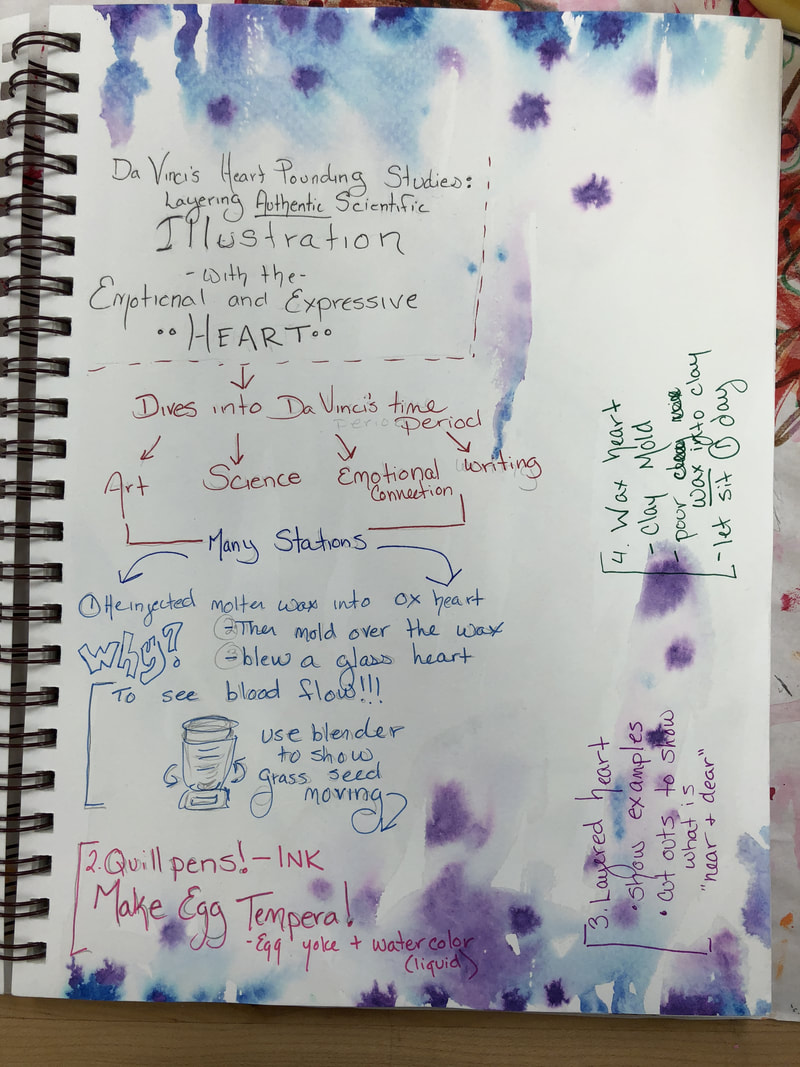
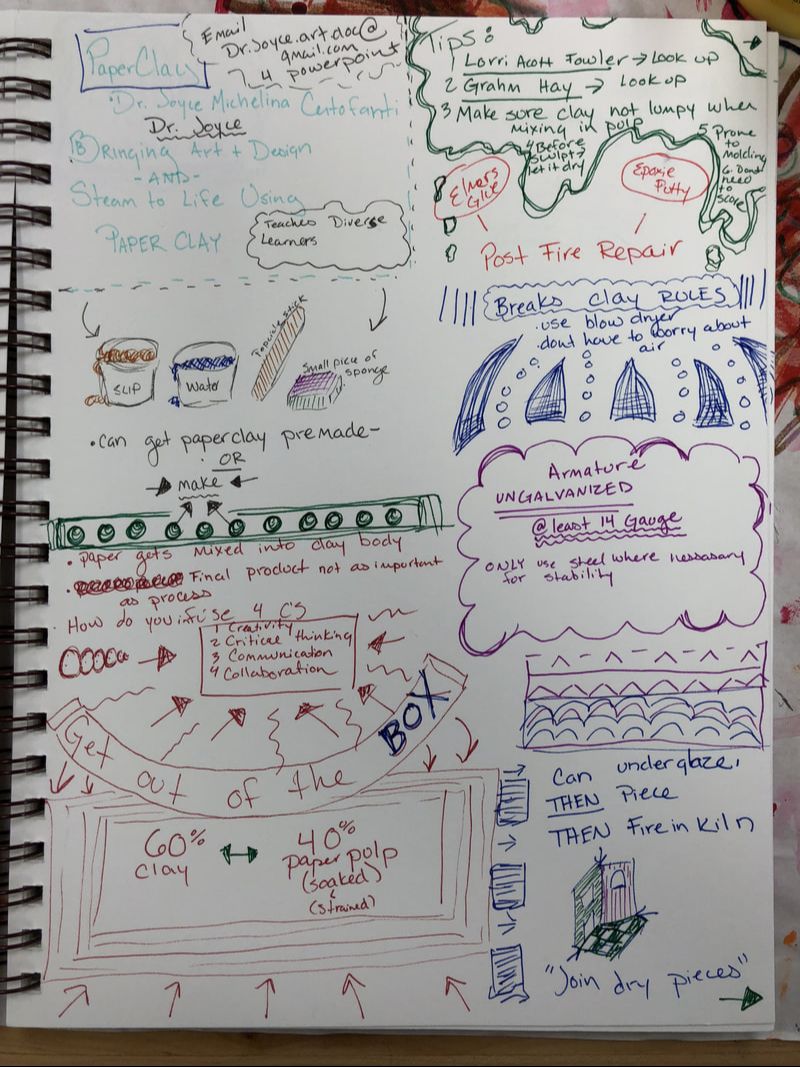
STEAM Sessions I liked best: Da Vinci’s Heart Pound Studies: Layering Authentic Scientific Illustration with the Emotional and Expressive Heart Paper Clay- Bring Art + Design and STEAM to Life Using Paper Clay STEAM SLIME- When Science & Art Collide: STEAM Magnetic Slime Package Design Modern Rendering Techniques using Copic Markers Oh, What a Relief! Fabulous Tooling Foil Soaptopia: Children’s Book Illustrations Using Soap Resist with Drawing and Painting Techniques
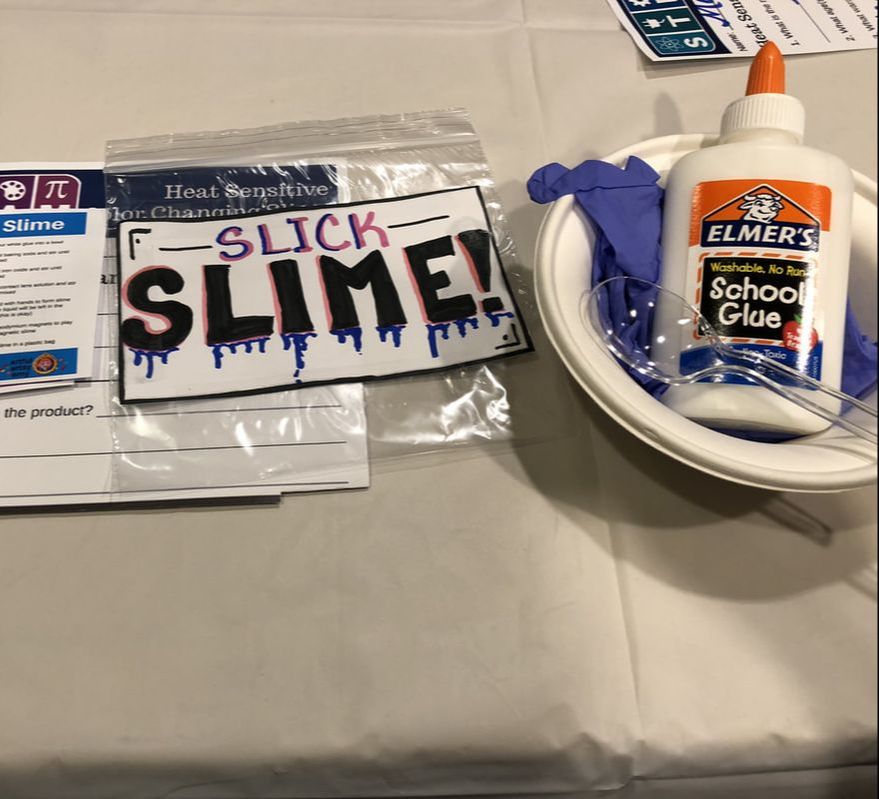 With the STEAM slime session we made slime that changed colors with temperature and slime that was magnetic AND a cool way to teach packaging. 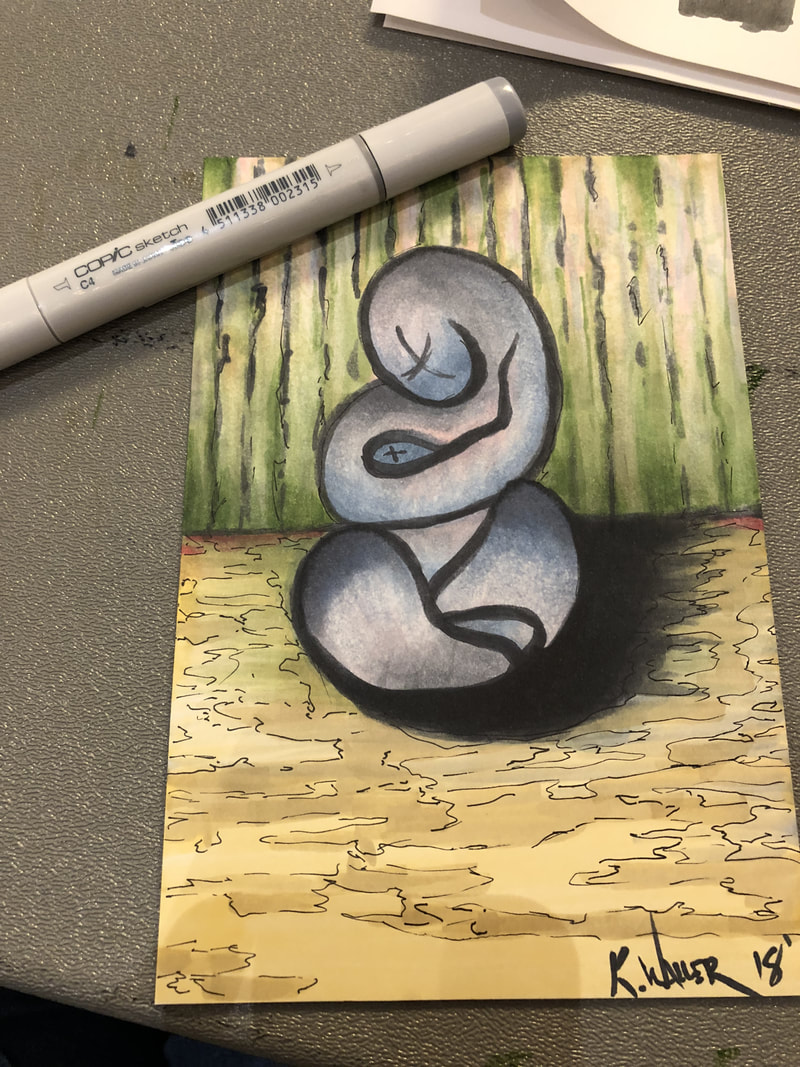 Copic markers! I really liked the markers for me- but not so sure about the cost and using them with middle school students.
While attending the sessions I utilized my mixed media sketchbook. I wanted to be able to keep as much information as possible in the book so I had it in one place. I also wanted to work on my sketch notes!
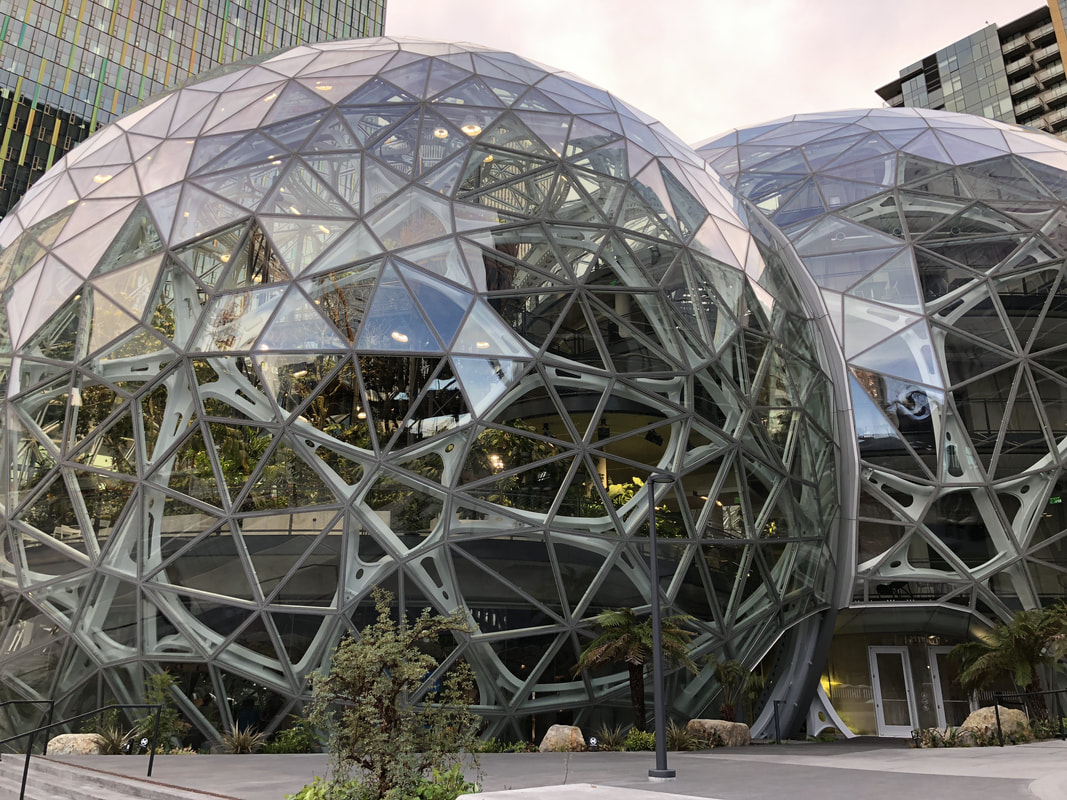
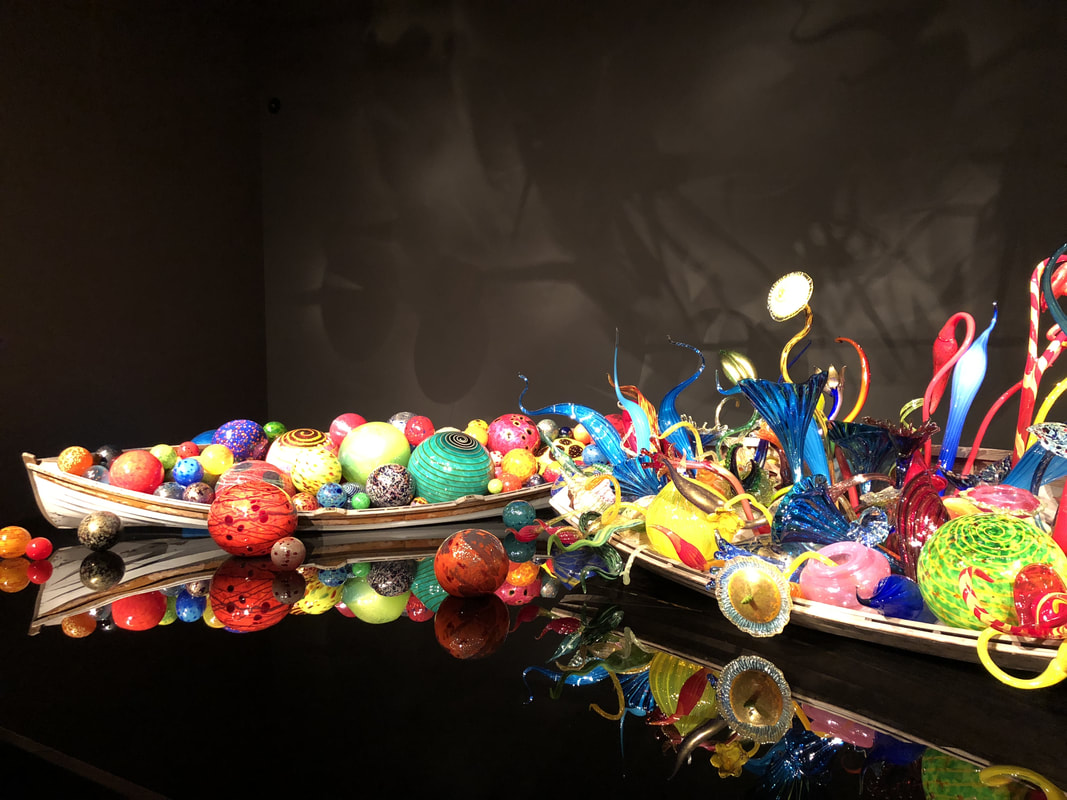
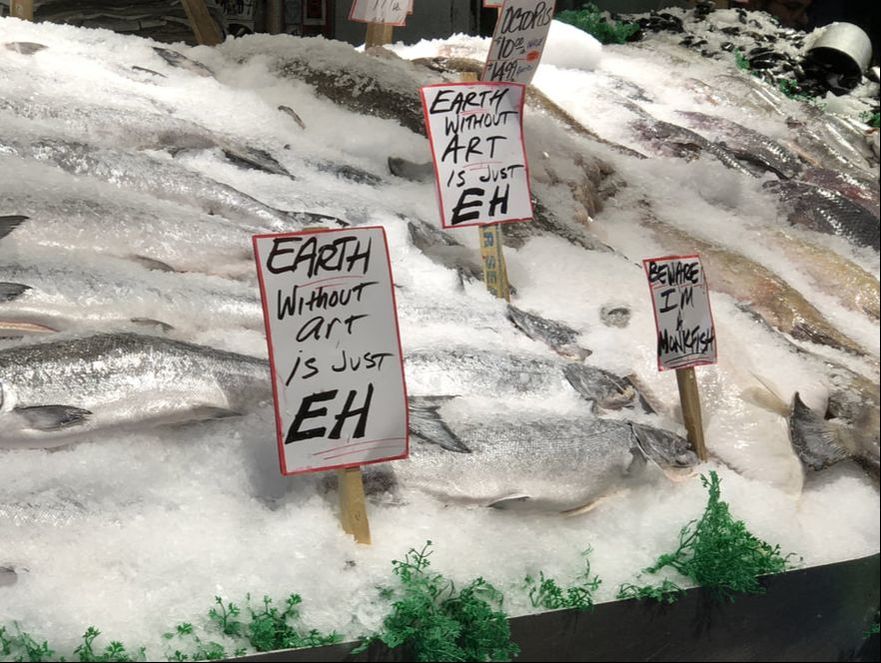
Events and Museums: While at NAEA I was able to meet up with the #K12ArtChat group! Toured the bottom level of the Amazon Spheres. Visited the Chihuly Garden and Glass Museum and watched a glass blowing demo Opening night party for NAEA Walk around Seattle looking for street art and sculptures
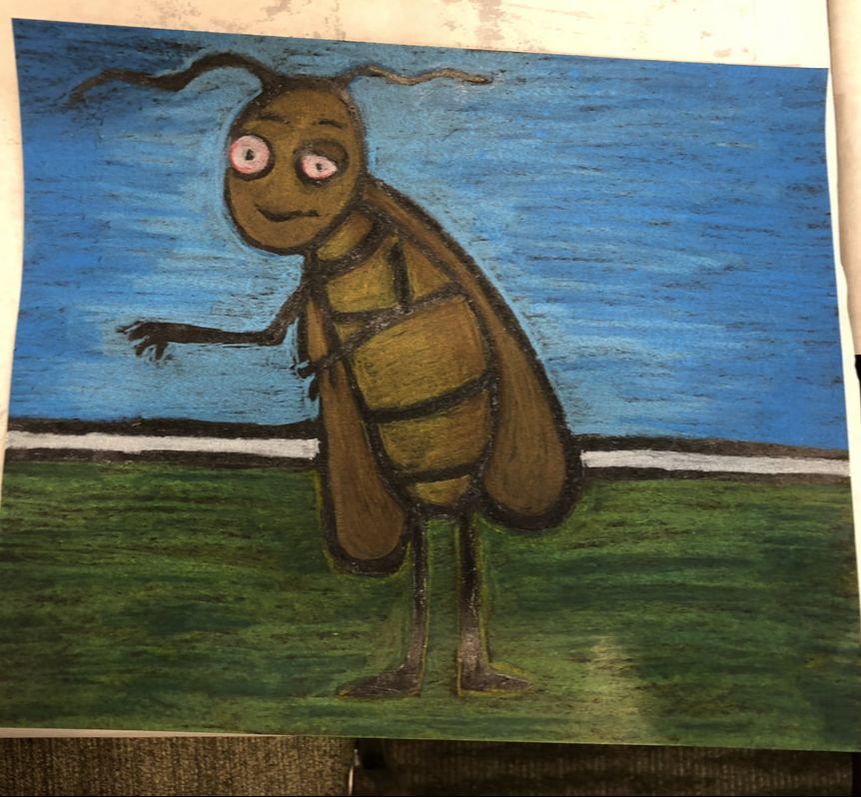
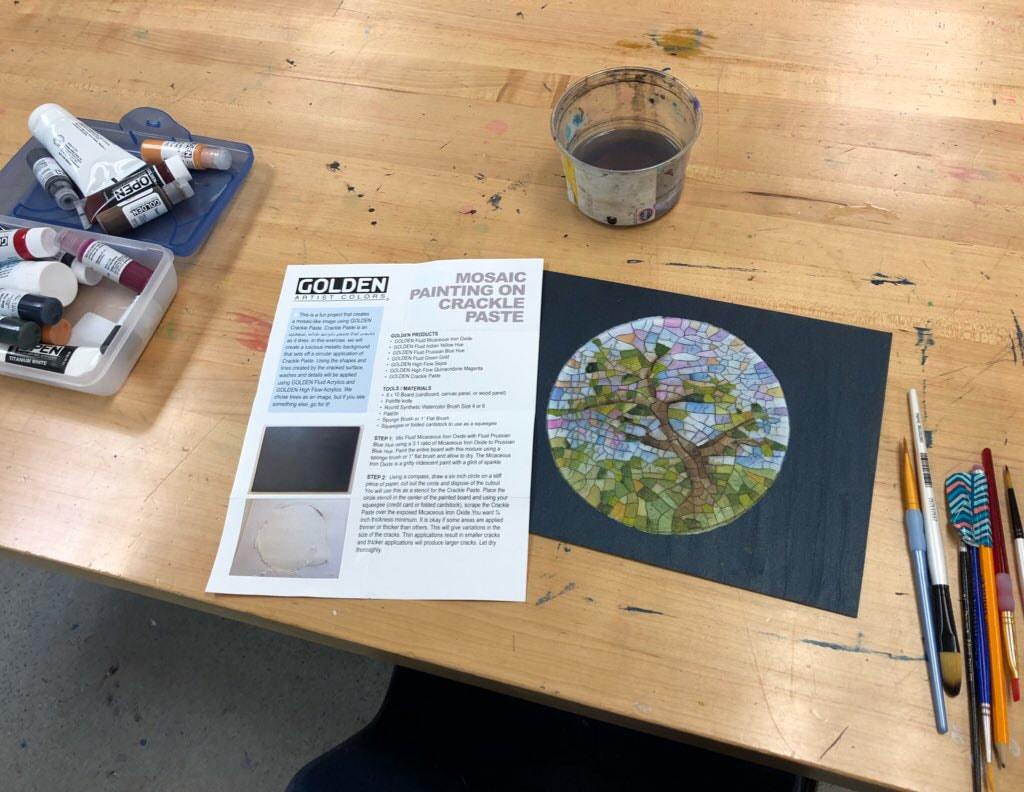
I think one of the best parts of the conference happens AFTER the conference! Once I get back to the art classroom I can try out all the new media I got as freebies and try out some of the new lessons before teaching them to my students!
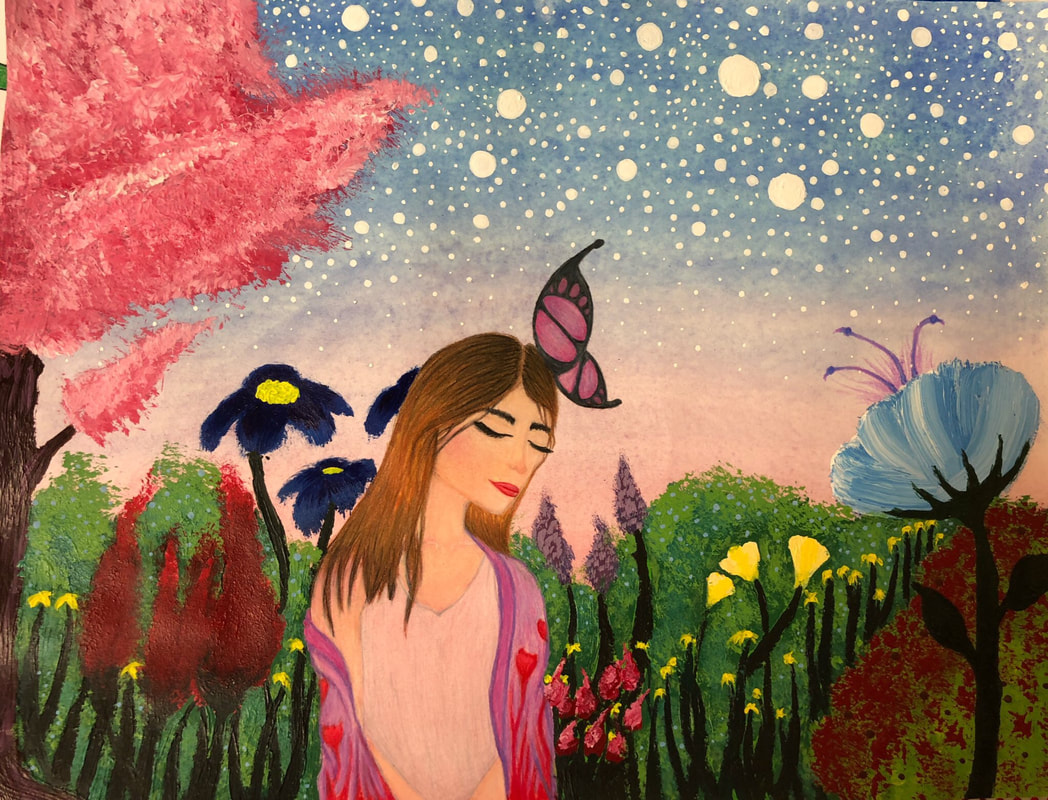
 My finished sample lesson that I created AFTER the conference. I left this years NAEA conference with my mind buzzing with STEAM lessons and new ideas. Collaboration with my peers brought up my confidence levels and made me feel more connected to other art teachers and not as isolated. I love that I get to bring all this new information to my students, my school, and my art teacher community!
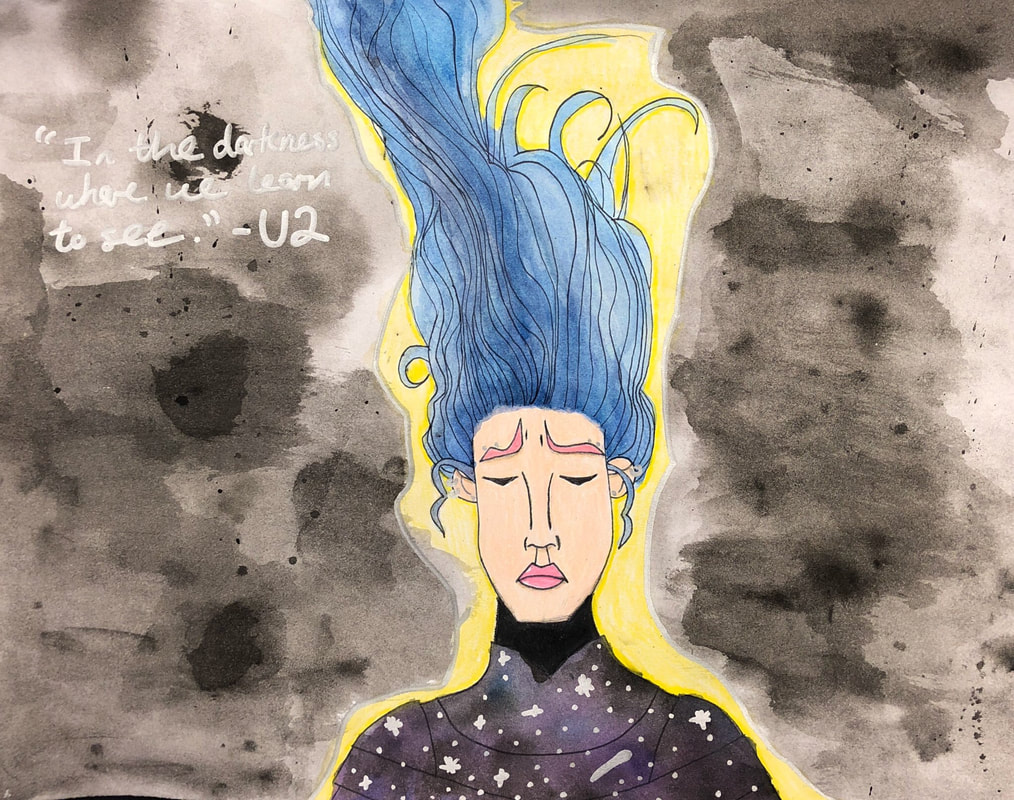
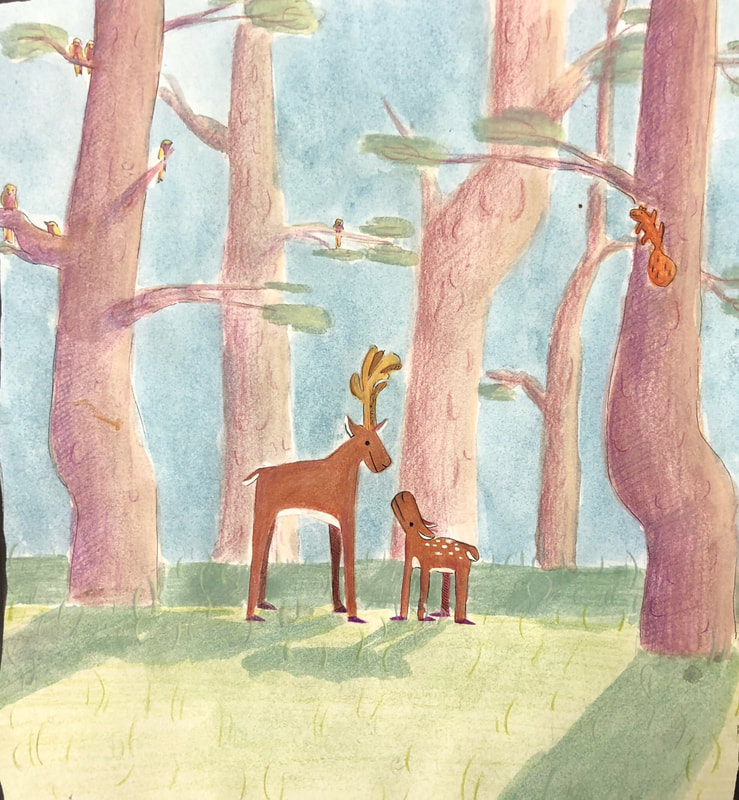
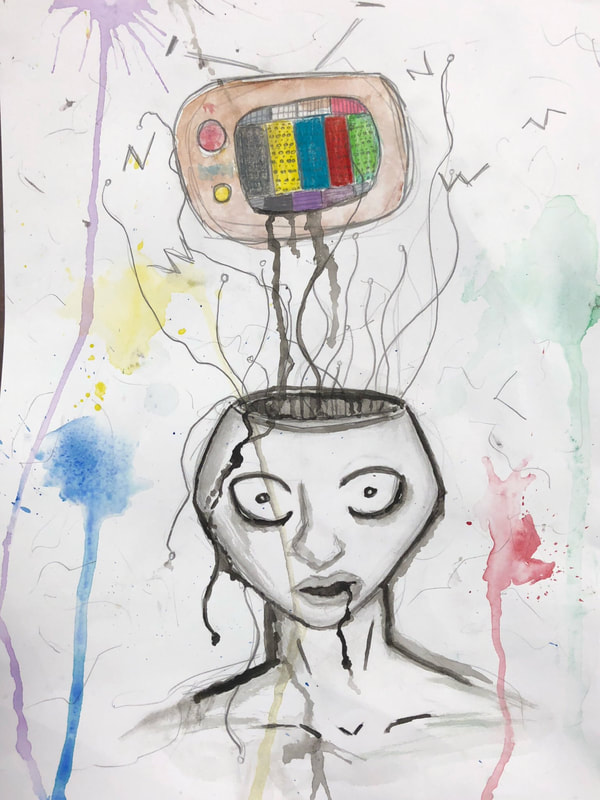
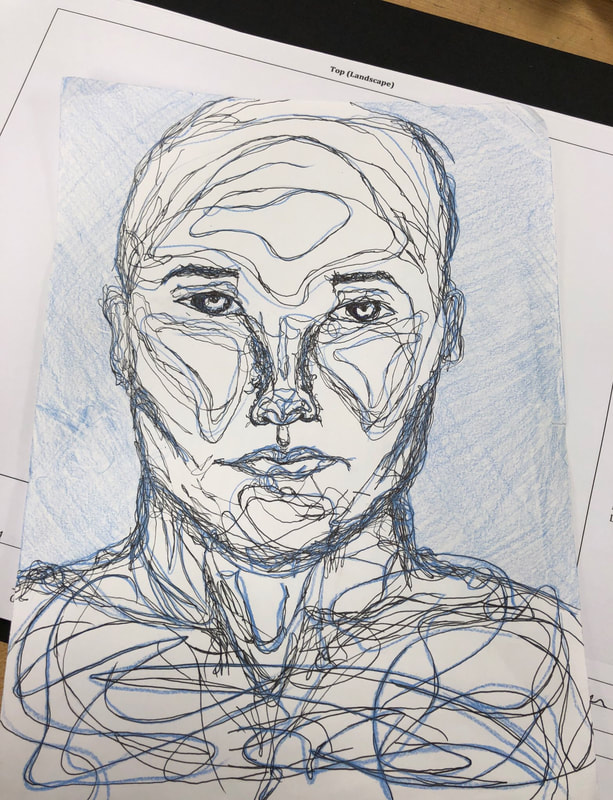
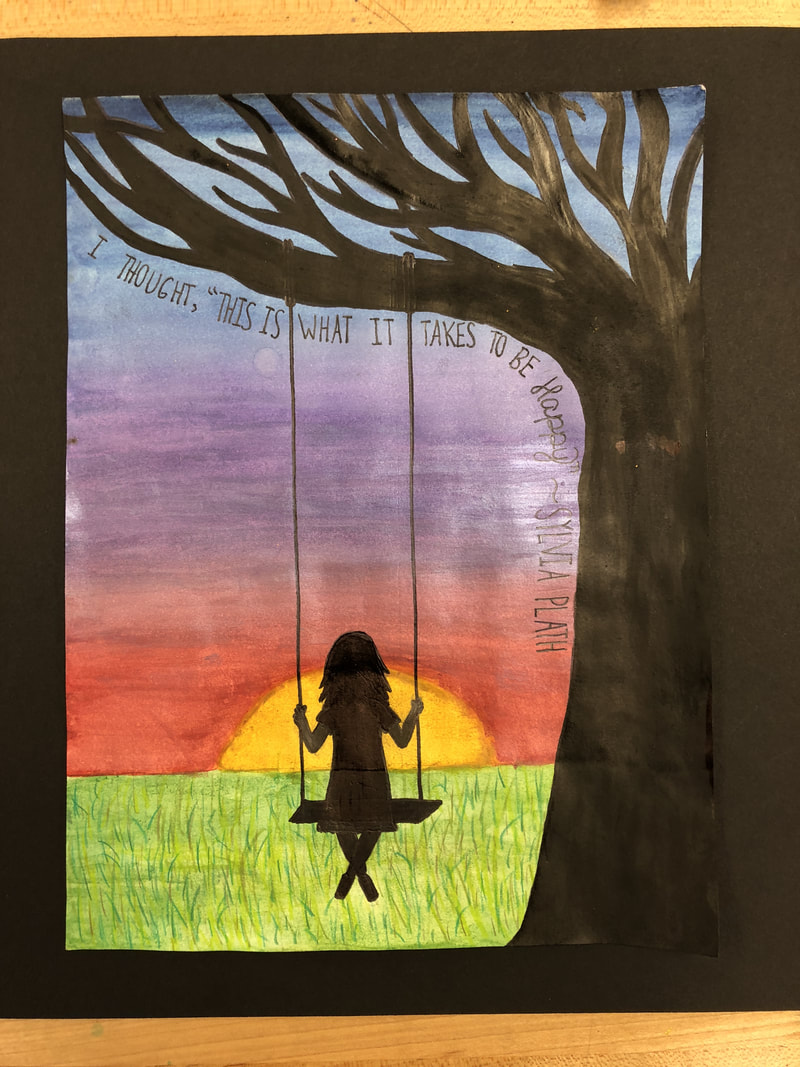
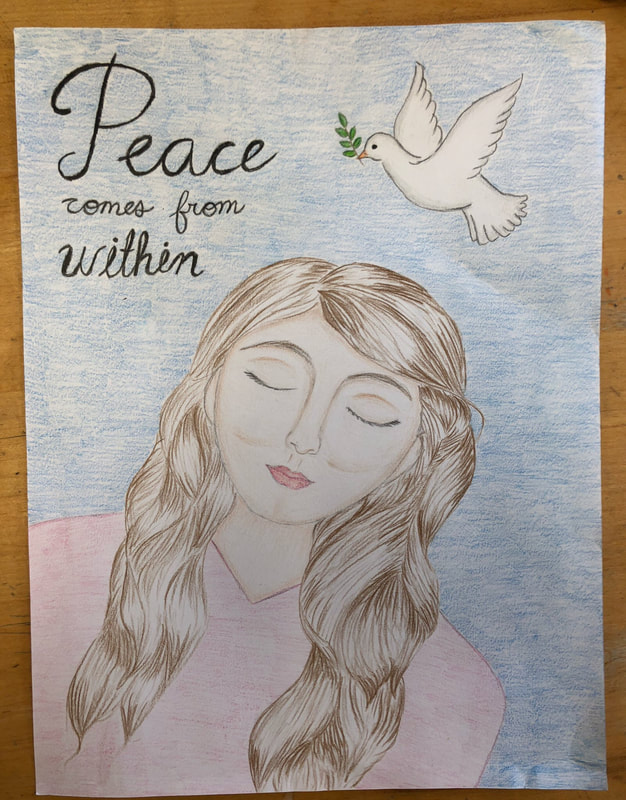
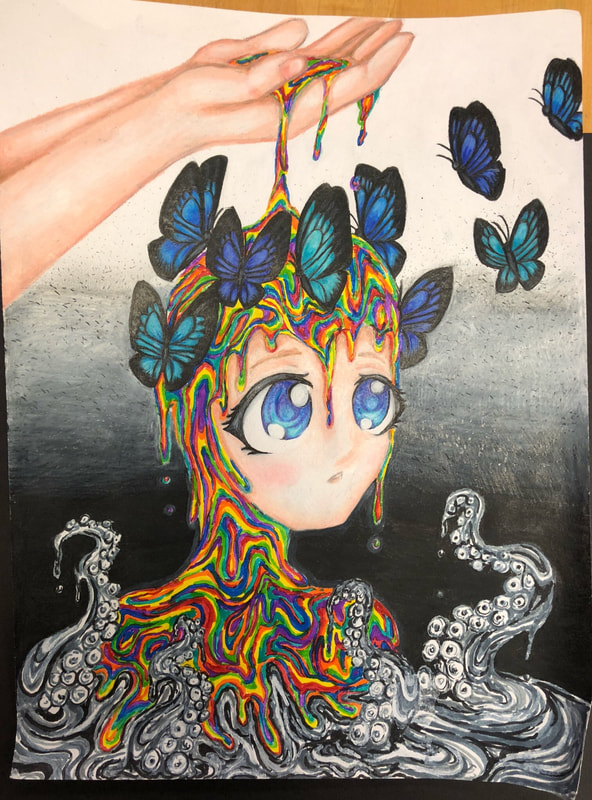
The year was halfway over and I noticed that a handful of students were still having a difficult time working through the artistic process in order to create interesting, dynamic, and individualized work of art. These students were amazingly creative and talented- but still struggled to go from their idea to a completed piece successfully. After thinking about what I could do to take them to the next step- I formed a new lesson: Emotional Breakdown. Not only would we focus on emotion within a work of art, but the artistic process would be broken down and chunked so the students could see why each part was important. Students viewed artwork that conveyed emotion. Each student was asked to pick an emotion and set up 4 pages in their sketchbooks for the project. Students were told that they had to have to GAP (Get Approved Please) after each page before they could move on to the next.
Setting Up and Breaking Down: On page 1, students had to write down what emotion they picked and find 1-3 quotes or song lyrics that showed that emotion. I told the students they may use the quotes and lyrics in their work- but they could also choose to just use them as inspiration. The rest of the page was to be used for brainstorming, doodling, or noting research about that emotion. Page 2 was used for thumbnail sketches. Students were told they had to do at least 4 thumbnails to get their ideas down on paper before they moved on to the rough draft. I have found that understanding the difference between a thumbnail and a rough draft is tricky for my middle school age group- but this project helped them to understand a little more clearly. Students were asked to talk to their tablemates about their ideas and thumbnails before getting the page approved. For page 3, students were asked to pick one of their previous thumbnail sketches and to create a rough draft. I explained how the rough draft needed to flesh out the ideas from their thumbnail sketches. We had a class discussion about how a rough draft was the step between thumbnails and a final copy. It was a place for mistakes, and changes, and it did not need to be perfect. I reminded them that they could change their ideas as they went and nothing was carved in stone. If something was not working or if the emotion was not being displayed in the piece- they could come up with something new. On page 4, students wrote a short description of how their artwork will look. They had to write down step by step the process they would use in order to create the art. I likened this to a writing a lab report in science class.
Up to this point in the year students had been introduced to a variety of media. I set up their supply area with watercolor color and Prismacolor pencils but the students knew from the beginning of the project that they could choose a different medium if they wanted to do so. Students were prompted to talk to their table group multiple times during the project in order to get informal feedback on their work. Students worked on the Emotional Breakdown project for 2 ½ weeks. The projects covered a range of emotions and media. Students used Prismacolor pencils, watercolor, sharpie, pencil, acrylic, chalk, and oil pastel.
Other notes and ideas:
So... my question to you now is... Are you ready for YOUR emotional breakdown?
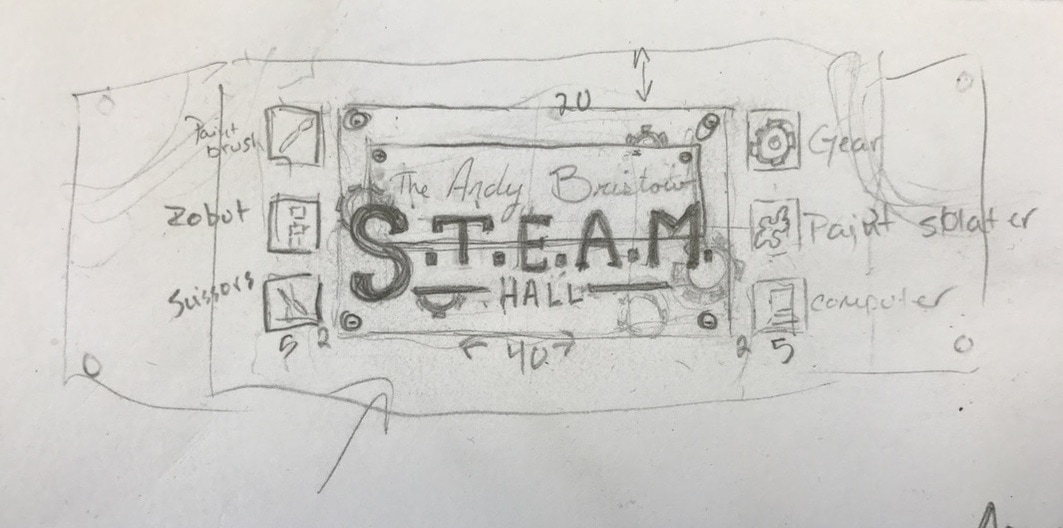
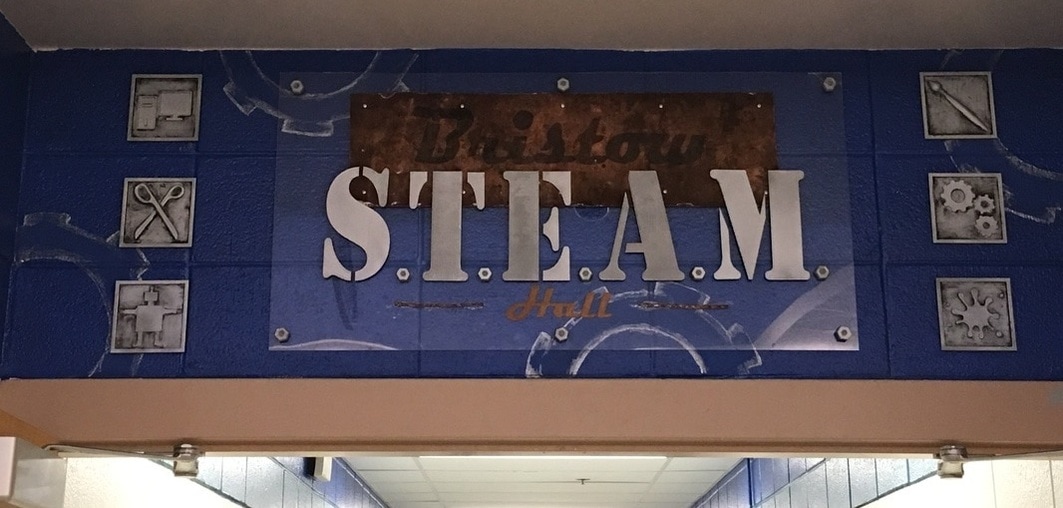
 Today I attended an amazing art tech camp (mini conference). I presented the Osmo device and a few apps that one can use to further the Osmo experience. I love my Osmo and I was happy to share. I am including my presentation below incase anyone is interested. One of my professional goals is to try to STEAM it up. I have been working closely with the STEM department at my school and helped to create this awesome new sign for our hallway:
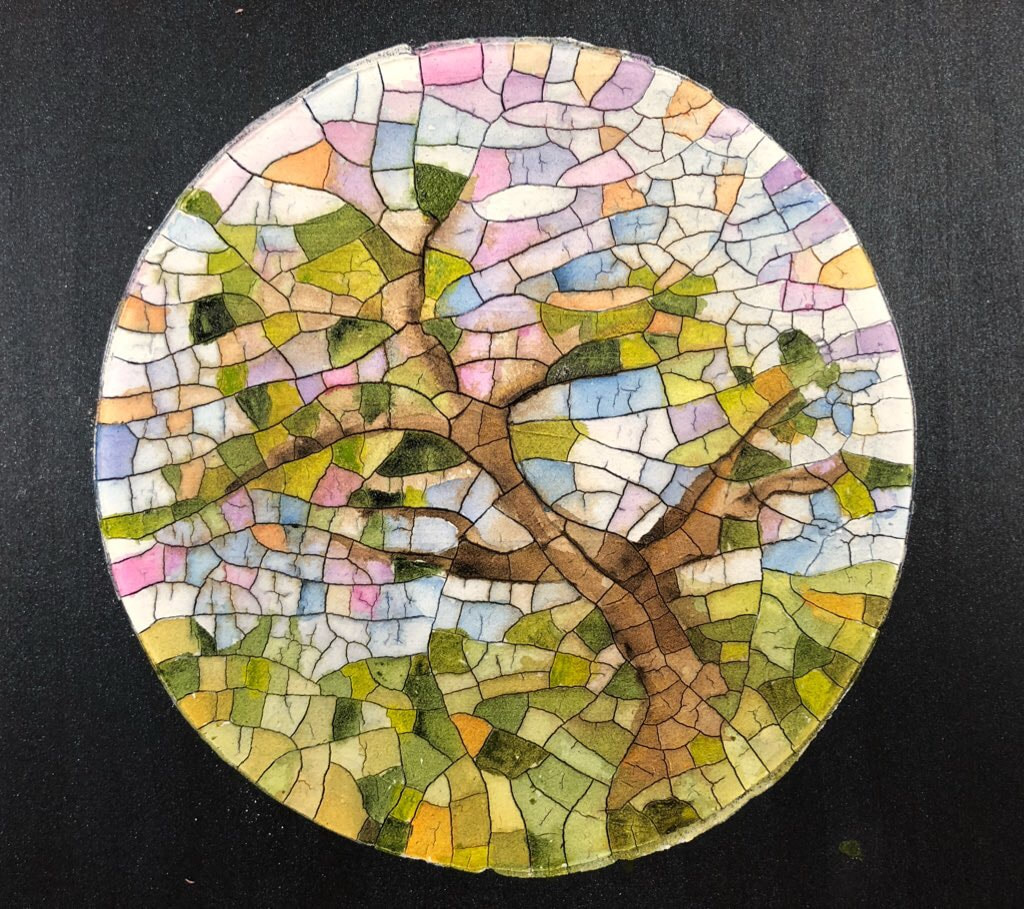
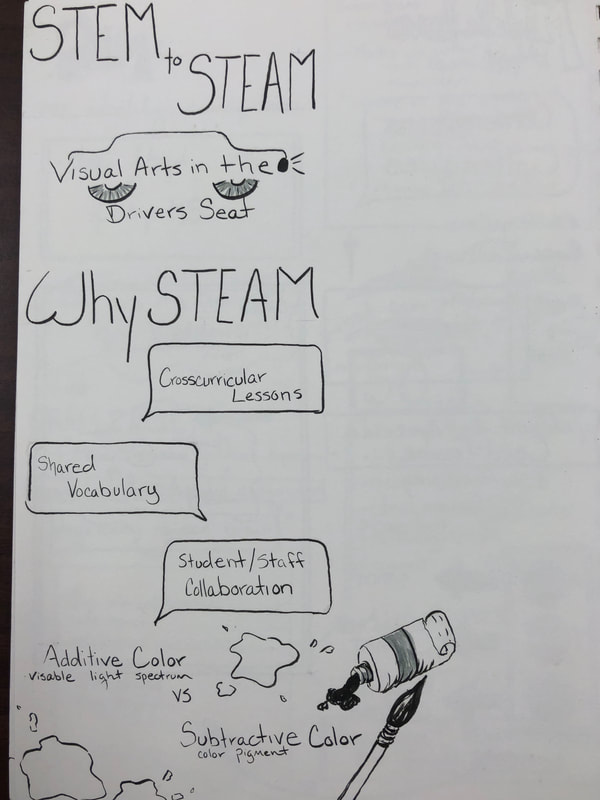
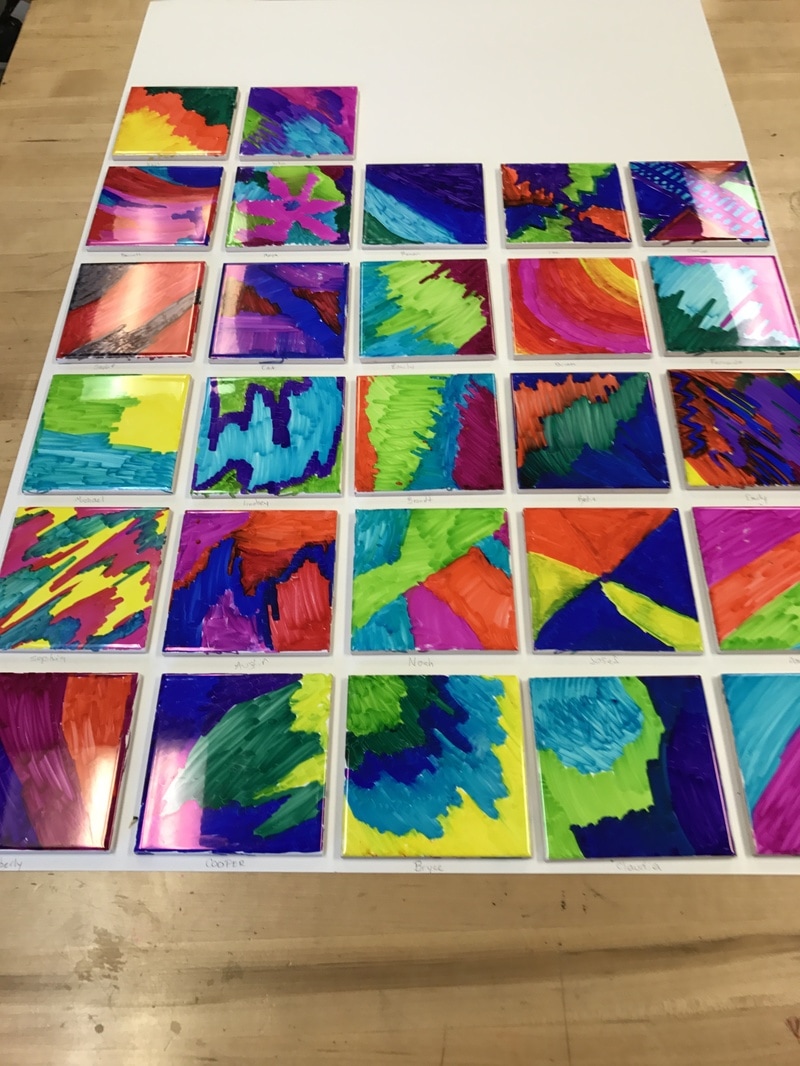
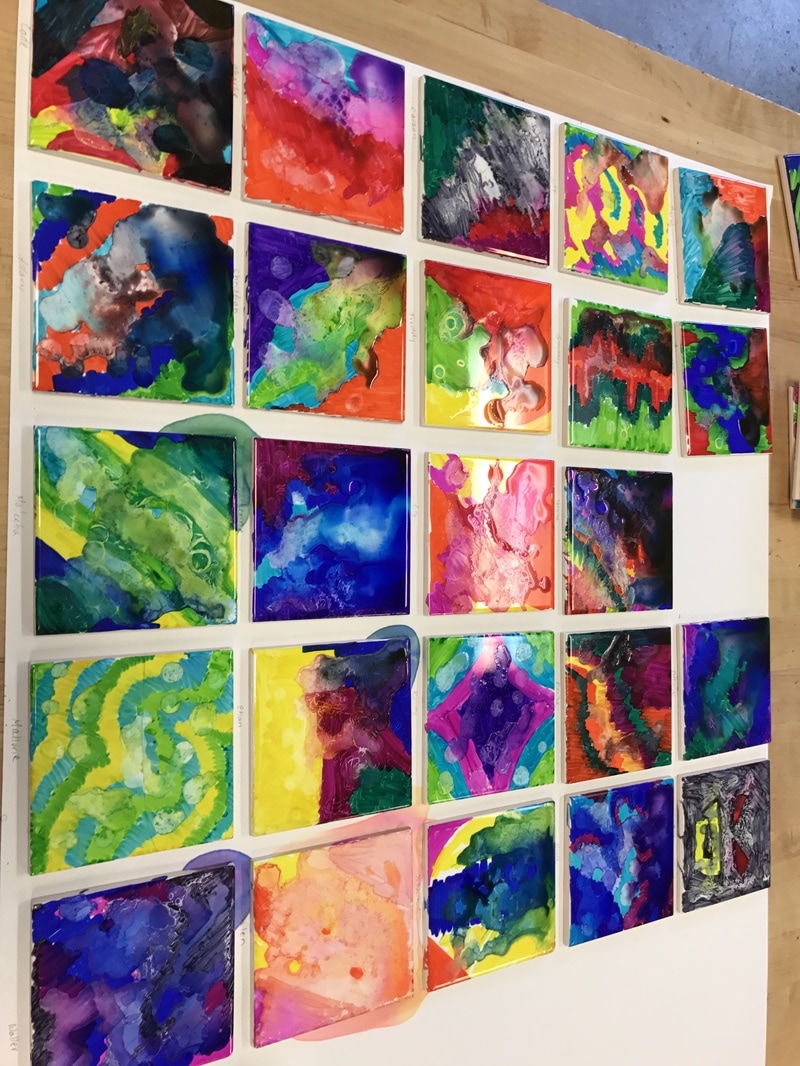
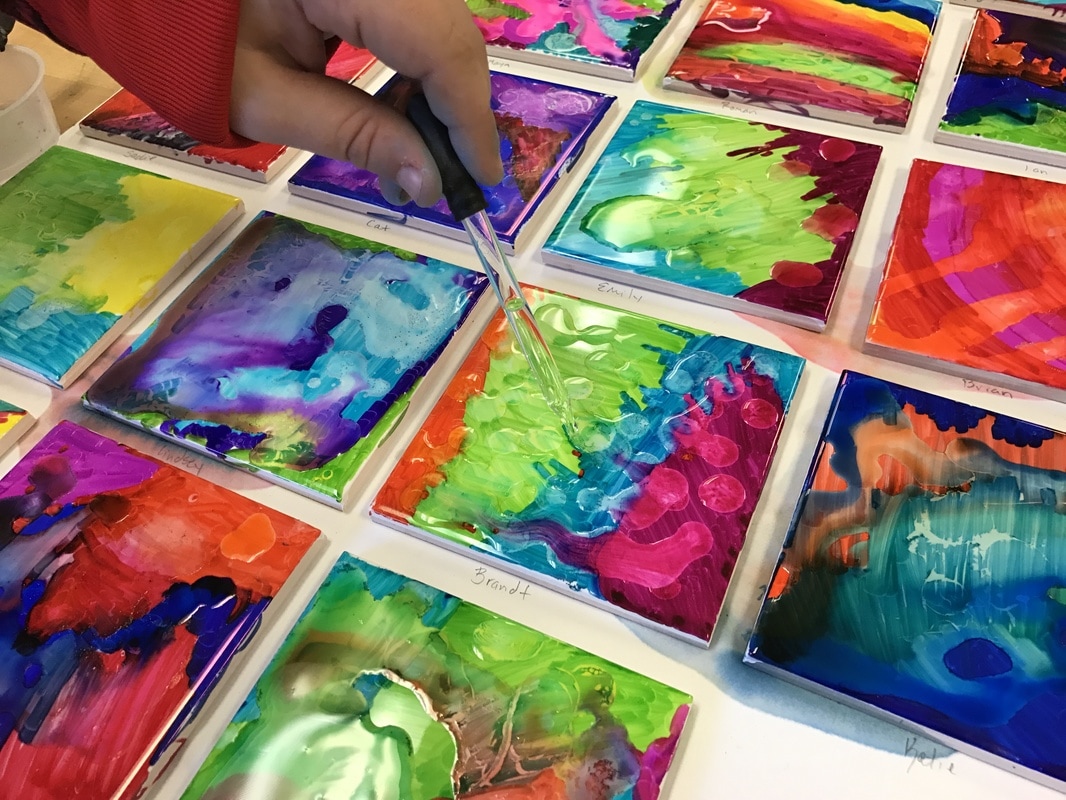
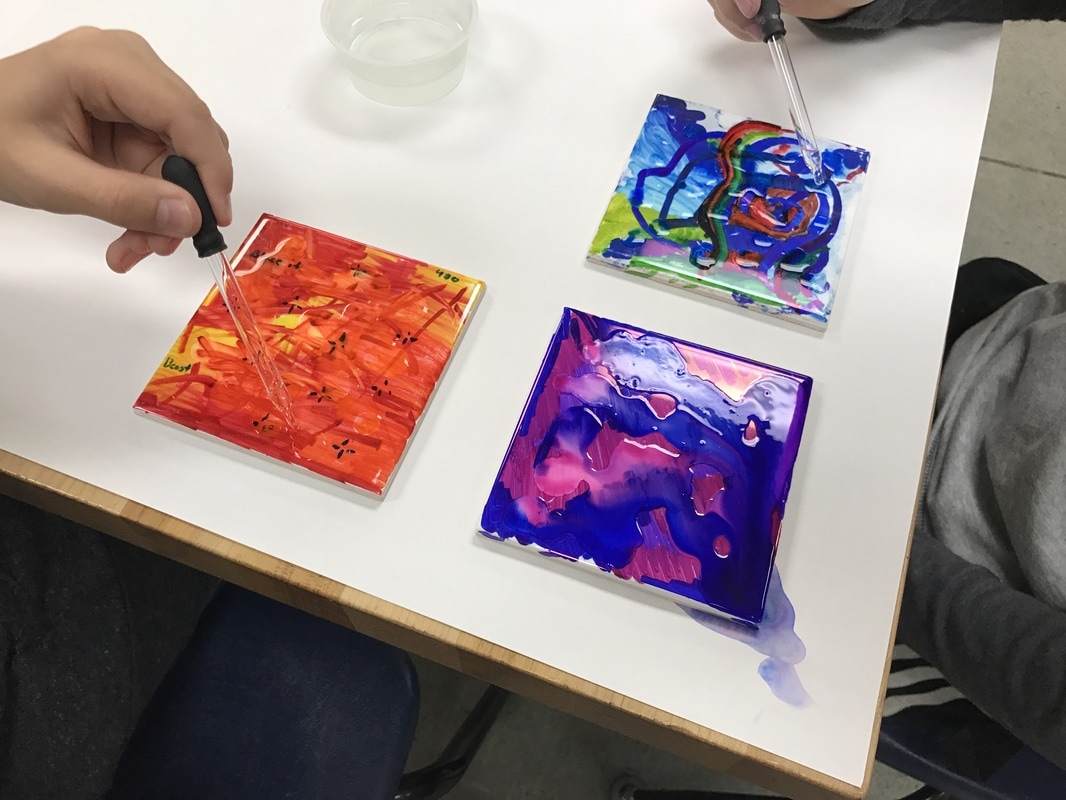
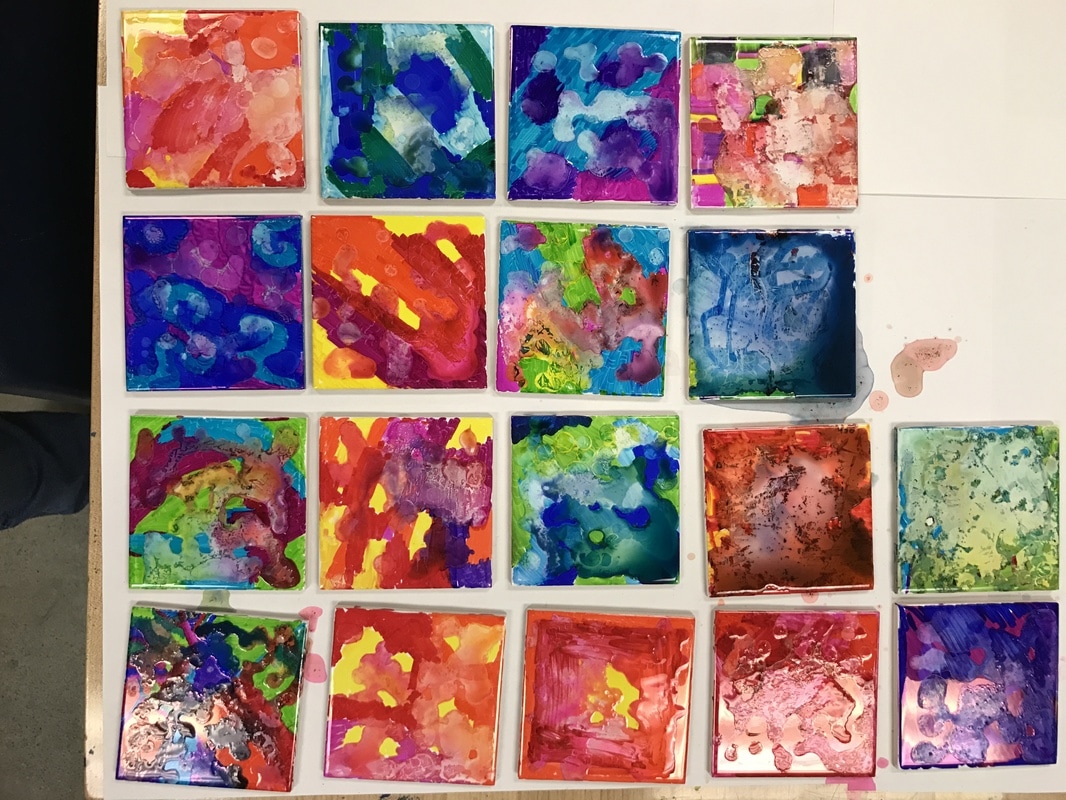
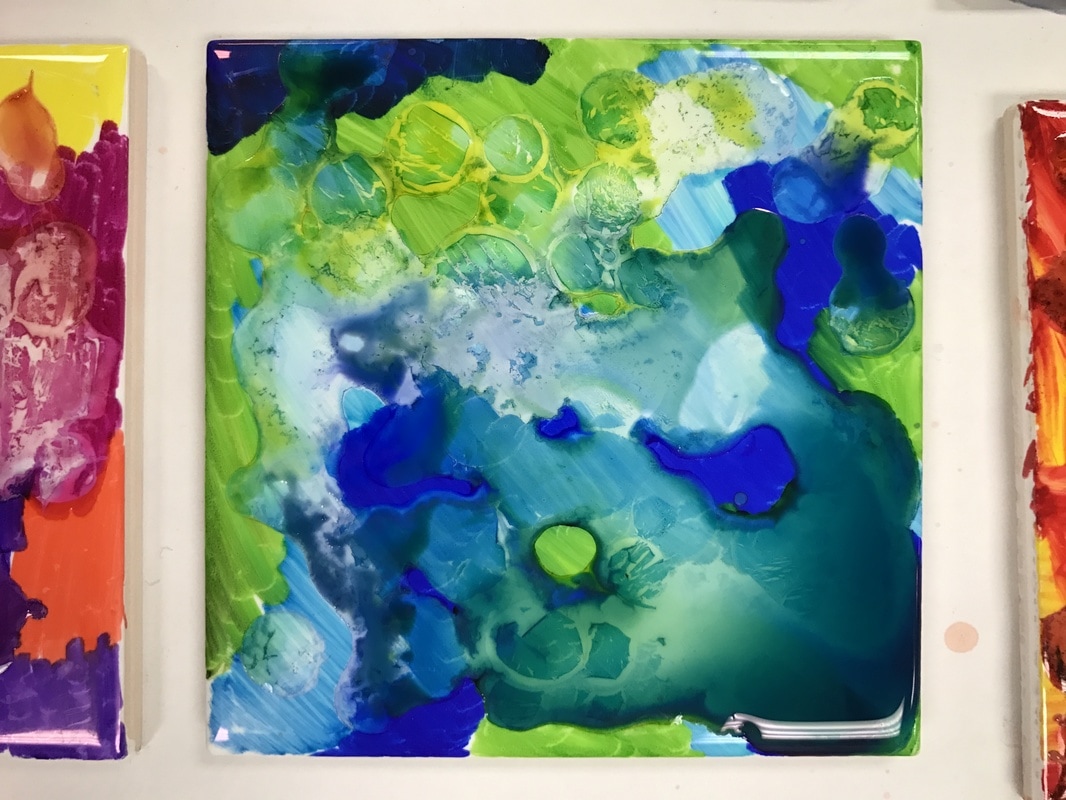
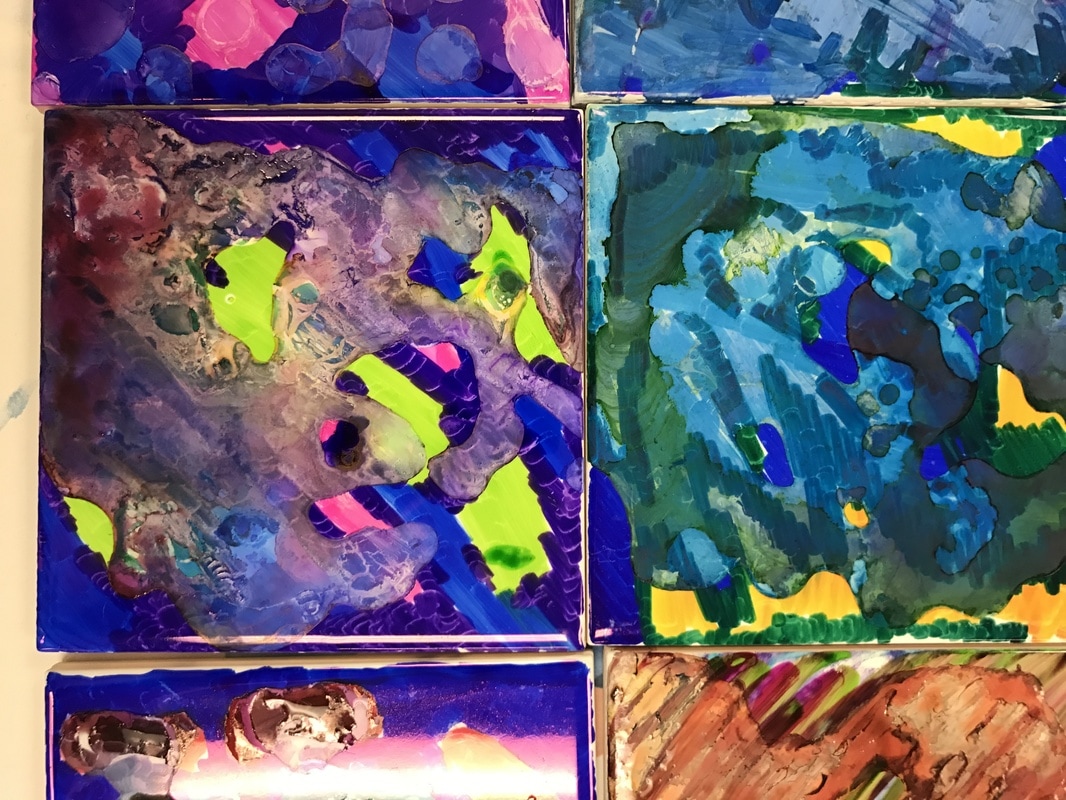
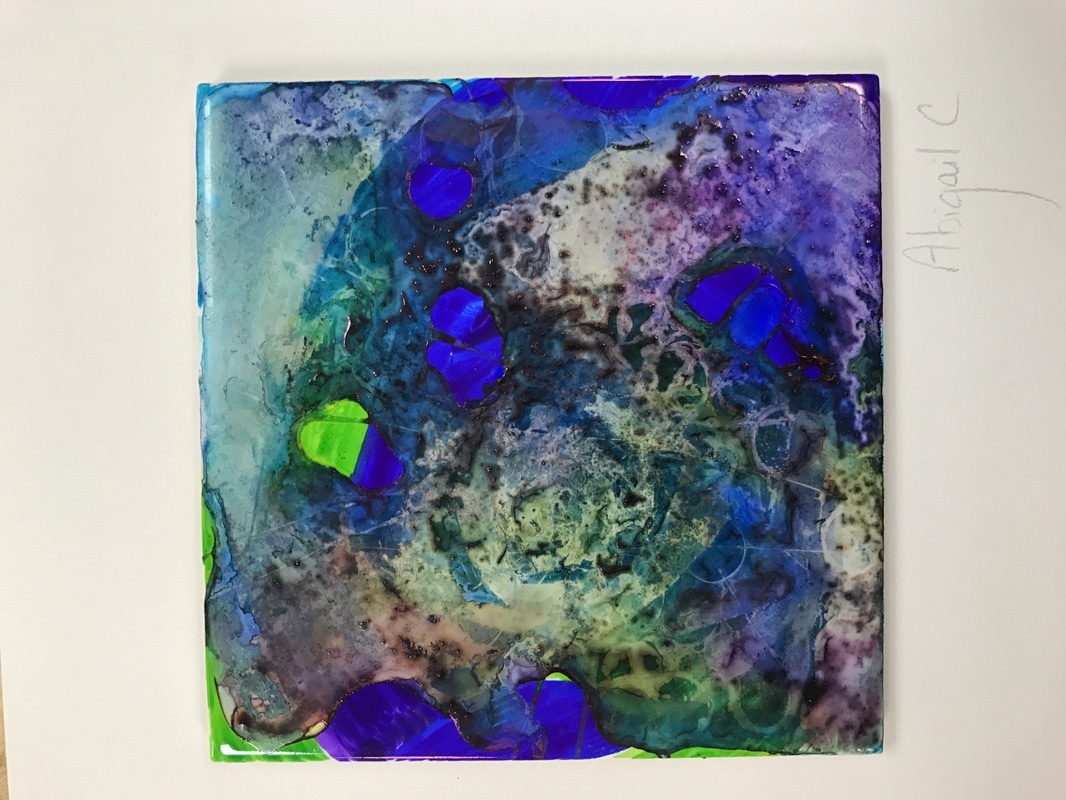
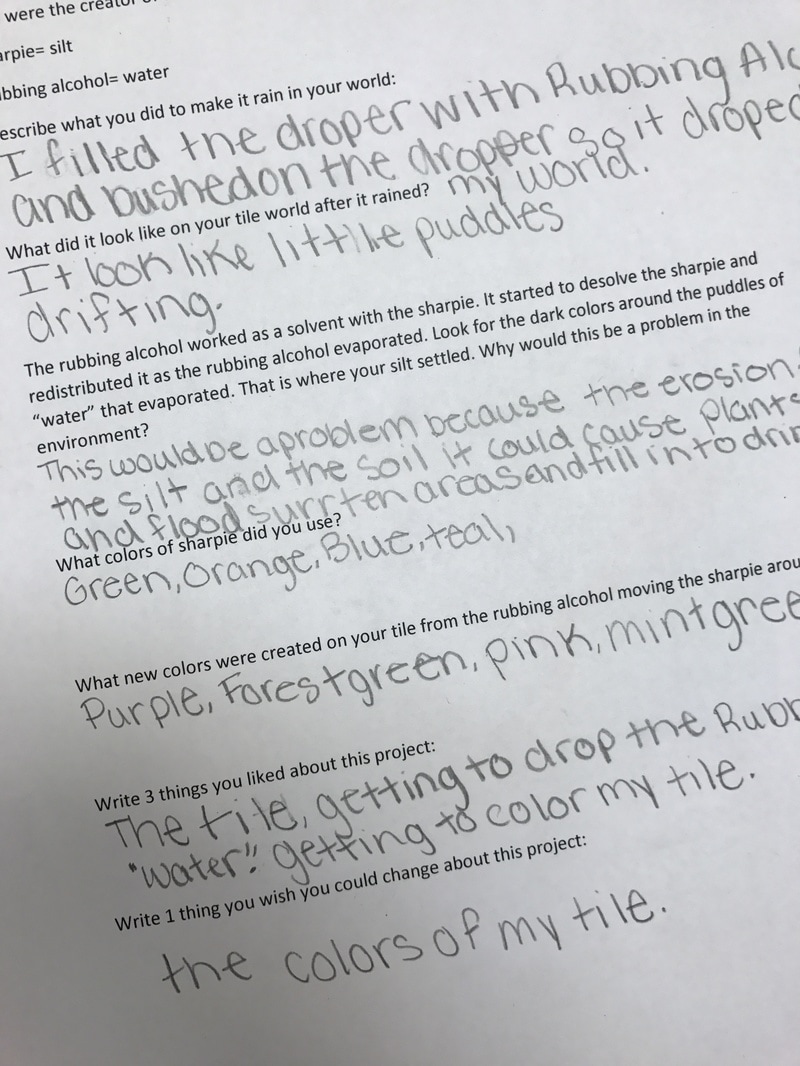
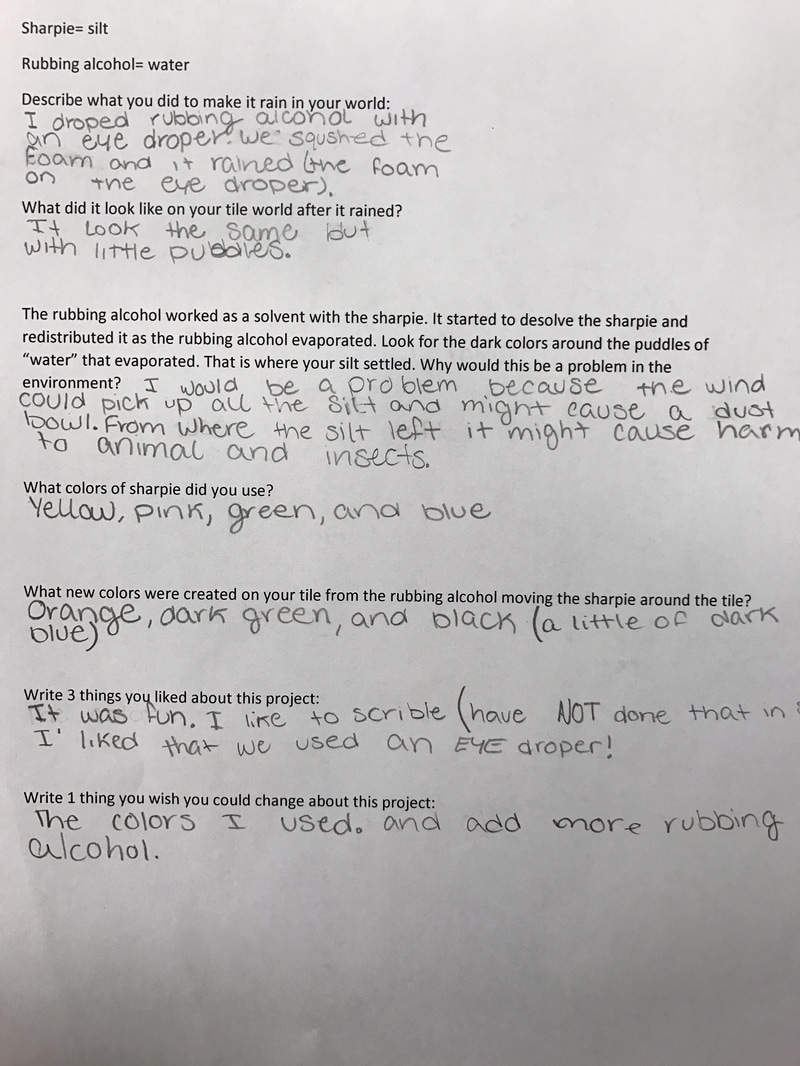
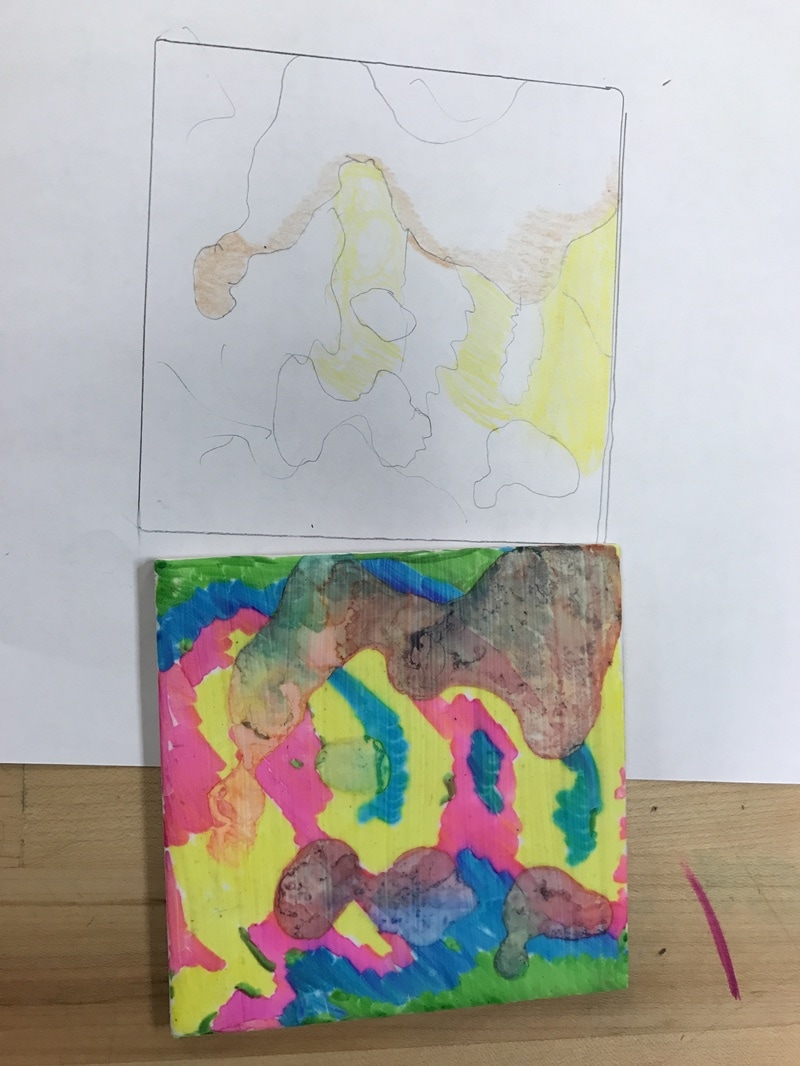
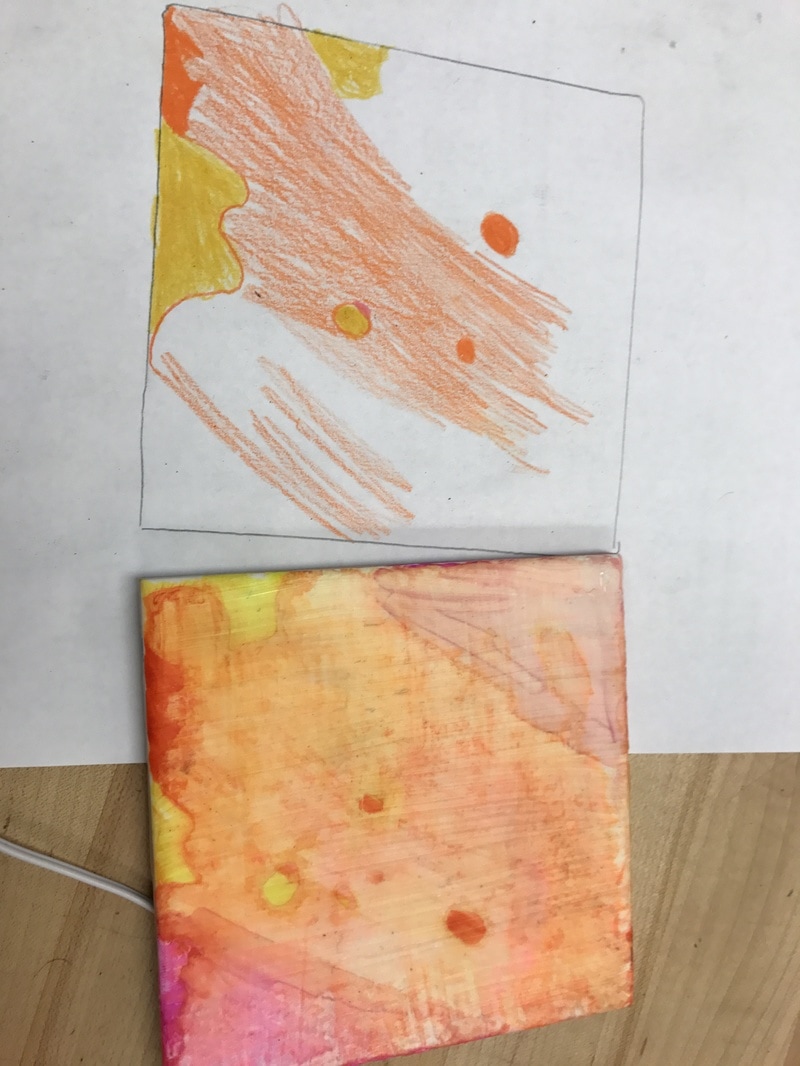
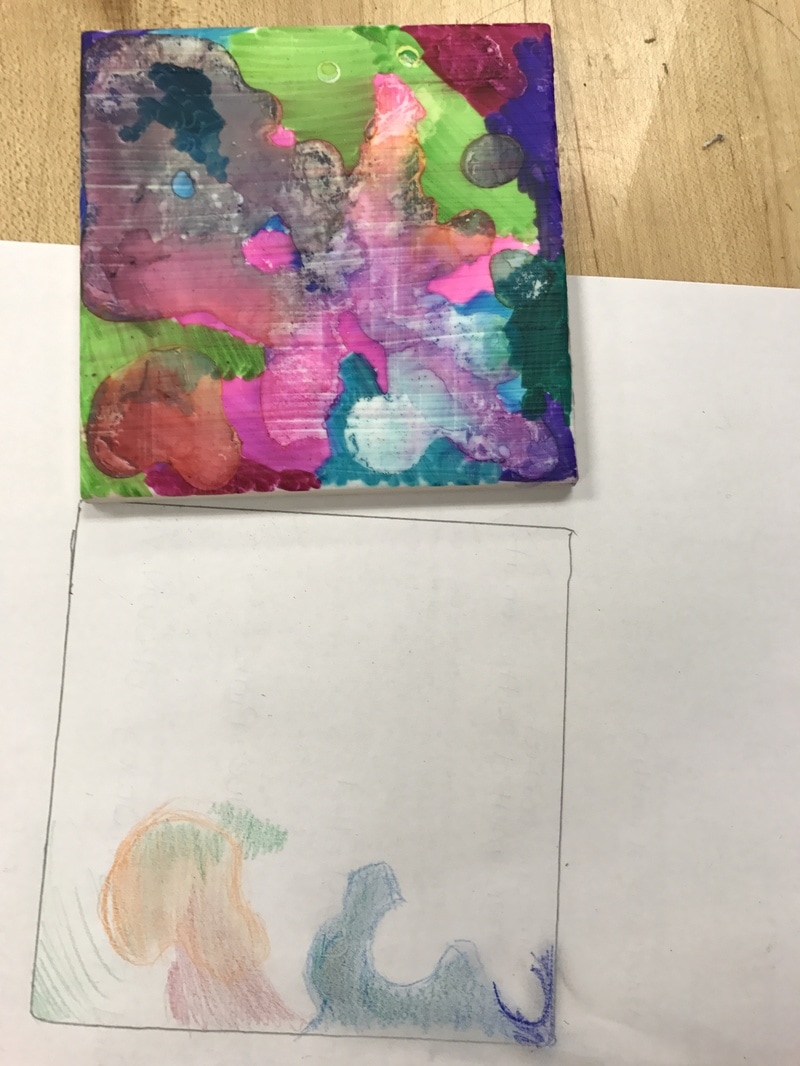
I want to incorporate more STEAM concepts and ideas into my art room. We have a strong STEM department that is willing and to work with me and help me grow as an educator. I have found that opening my mind to STEAM in the beginning was more difficult than the actual incorporation. I realized that STEAMing up my art room was less about changing what I was doing and more about verbalizing the ties to science, technology, engineering, and math that were already happening. Inspiration: Recently I was inspired by a collaborative tile wall created by Janet Malone in her elementary school studio. Students were each given a 4x4” prefabricated glazed white tile. They used Sharpies to add color, dropped on rubbing alcohol, and Janet sprayed each tile with clear acrylic. The tiles would have been beautiful on their own, but together they made up an amazing, eye-catching wall above her sink area. I knew that my middle school students would respond to the aesthetics and process of the project, and I knew that I could manipulate the lesson to hit some of my STEAM goals. 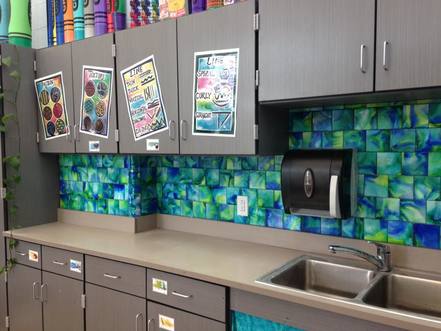 Photo of Janet Malone's tile wall. Permission granted for use of image. Teacher Pre-Work: My journey began in a local home improvement store. I bought 100 4x4” glazed white tiles in a box for about $15. I then headed over to Walmart to pick up some rubbing alcohol, a few eyedroppers, and clear acrylic spray paint. I pulled out my massive stash of Sharpies and started experimenting on my own to get the process down before introducing it to the kids. I discovered that I like the way the brush Sharpies worked when the rubbing alcohol was added better than the fine point Sharpies. I also realized that a limited color palette worked best to keep the colors from getting muddy. STEAMing Up: While making my own tiles, I started seeing the ties back to STEAM. I was able to come up with a lesson that embraced concepts like solvents, environmental impacts, silt distribution, evaporation, weather, and color theory. For the build up to the project, students spent time rediscovering color theory concepts previously taught. Students were each given a tile and told that the tile was a representation of land. The Sharpie on their tile was representative of silt while the droppers of rubbing alcohol represented rainstorms. Students were guided in the process of ‘making it rain’ on their tile by dropping 2 full droppers of rubbing alcohol onto the tiles. I asked students what events could happen to their silt that could change the flow of the water. Some students shook the table to imitate earthquakes, some students blew across the surface of their tile to create wind. A few students added an extra dropper full of rubbing alcohol to create monsoons, while other students did all of the above! As the rubbing alcohol worked to dissolve and lift the Sharpie from the tile, we discussed how the rubbing alcohol worked as a solvent. Students made scientific observations about the changes in their tile periodically during the class period. The next day we made connections to evaporation. Students studied their tile and were able to infer that all of the rubbing alcohol evaporated leaving the Sharpie behind. We revisited the discussion we had in the previous class on the silt/Sharpie analogy. We explored the idea of silt disruption due to weathering and construction. Students were asked to think of what construction sites look like, and we talked about what steps construction workers take to keep silt from filling the streets and drains. Students brainstormed the lasting effects in the environment due to erosion and silt displacement. I asked students to study their tiles. In each tile there are very evident dark lines that surround the evaporated puddles of rubbing alcohol. These areas are where the Sharpie was displaced from its original spot and then resettled during the evaporation process. Students made connections to what they saw in the tile and where soil would be left behind after being displaced. The tiles were given two coats of clear acrylic spray paint and left to dry. Taking it further: Students were given a 10 minute wrap-up review to help reinforce the concepts, ideas, and explorations of the lesson. I asked students to write as many ideas down as they could from the project within a 10 minute period. They then shared those ideas to their peers at their table groups. Students were given a sheet of paper cut down to the same size as the tile and were asked to mimic the colors and color blending seen on the tile onto their paper. This extension activity allowed students to study color in a new way. The Standards:
Georgia 6th Science: S6E5. Students will investigate the scientific view of how the earths surface is formed S6CSI. Students will explore the importance of curiosity, honesty, openness, and skepticism in science and will exhibit these traits in their own efforts to understand how the world works. Georgia 6th Art: VA6MC.2 Identifies and works to solve visual problems through creative thinking, planning, and/or experimenting with art materials, tools and techniques. VA6PR.1 Understands and applies media, techniques, and processes. VA6PR.2 Creates artwork reflecting a range of concepts, ideas, and subject matter. VA6C.1 Applies information from other disciplines to enhance the understanding and production of artworks. I was recently asked why I was against school-vouchers. At the time I couldn't put my thoughts into words that a non-teacher would understand. I thought about it... my explanation is below.
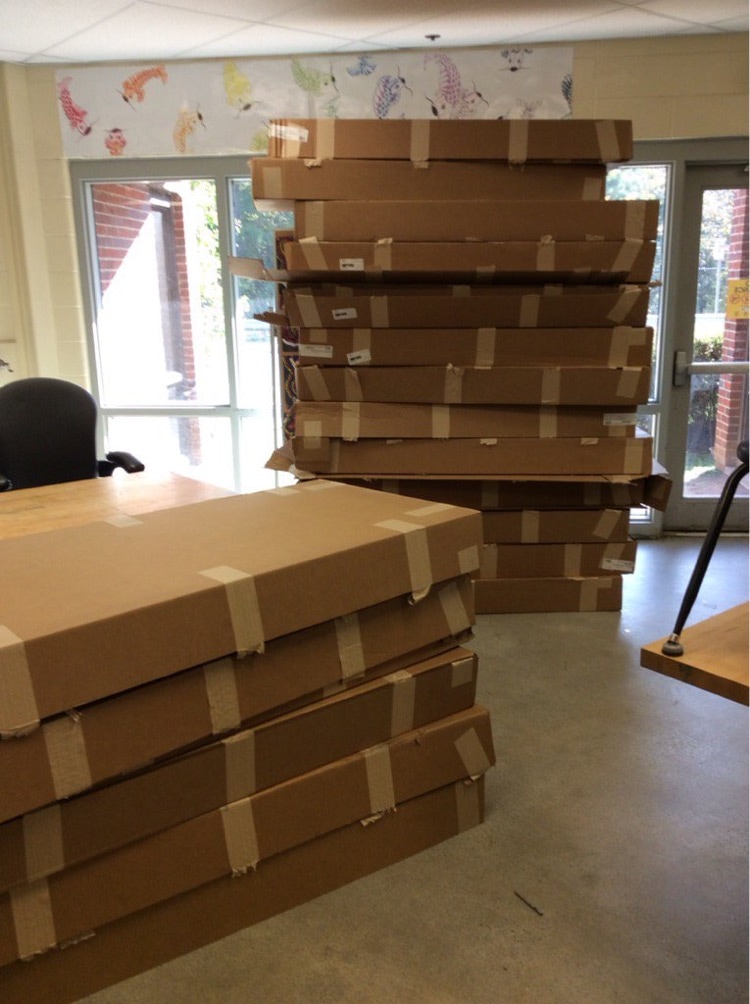
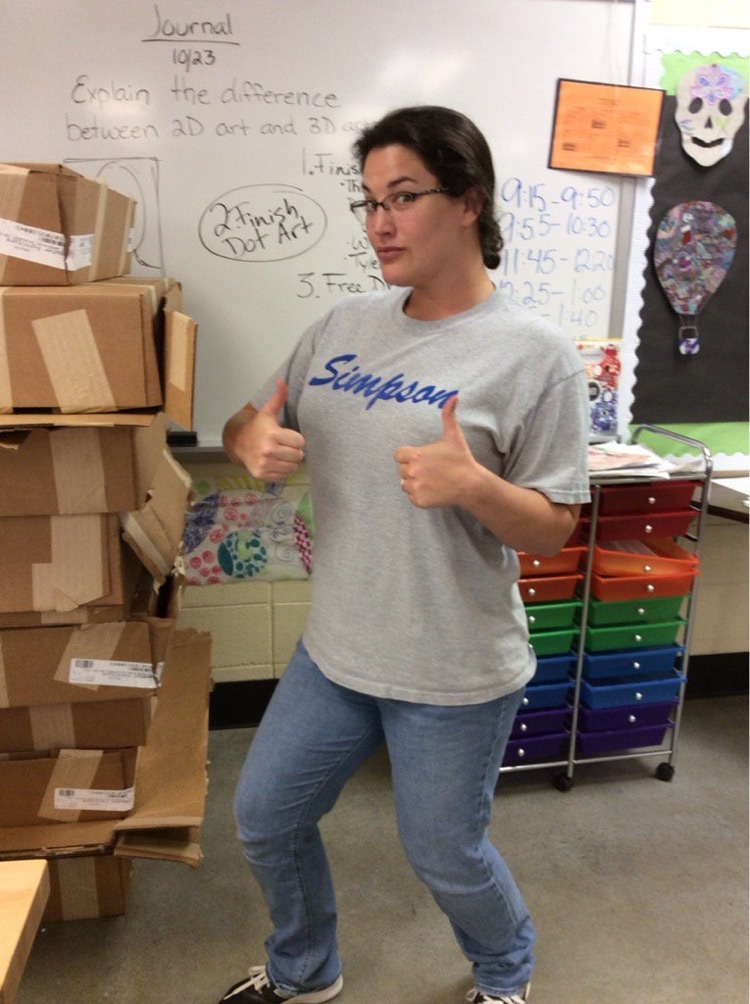
What if you lived in a "failing" state? You wanted to stay in that state BUT you wanted all your taxes to be spent in the state of Florida instead of your state because you like the beach and Disney and oranges. What if more and more people kept paying taxes but requested the money all be spent in Florida? You know what happens? Your state sucks and Florida gets voted best state ever. Then Florida gets roads covered in Swarovski crystal while your state can't even fill a pot hole. People stop trying to better your state because the money is gone. Florida gets better and better, your state gets worse and worse, and they start filming post apocalyptic documentaries in your state because they are low budget films and your state already looks like it was hit by a Sharknado. When I discovered empty boxes as tall as me, I did a happy dance and made room for them in the art room. My neighboring STEM teacher was equally as happy about her new tables that were in the boxes... it was a gift that kept on giving.
At first I was unsure of what to use the boxes for. While I waited for inspiration to spark, we used the boxes as a collective gallery space for art works in my classroom. Then, the gallery room boxes traveled the school and were housed in the 7th grade classrooms as a traveling gallery for a few weeks before retuning back to the art room. 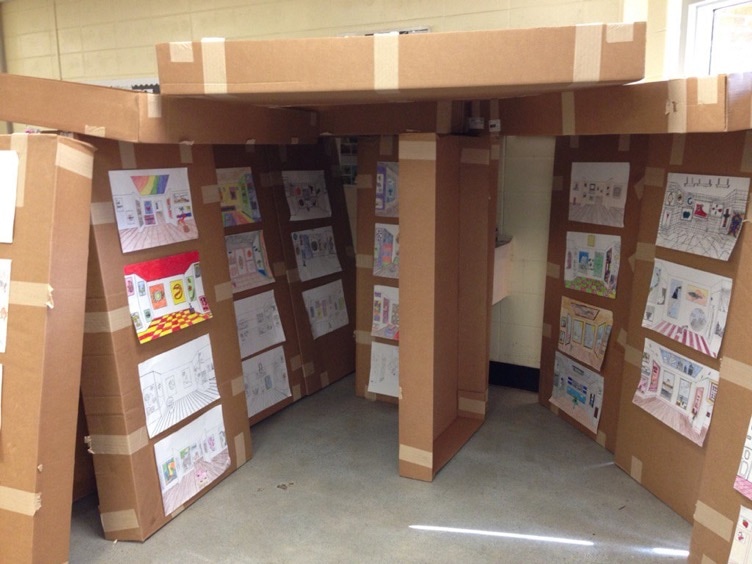 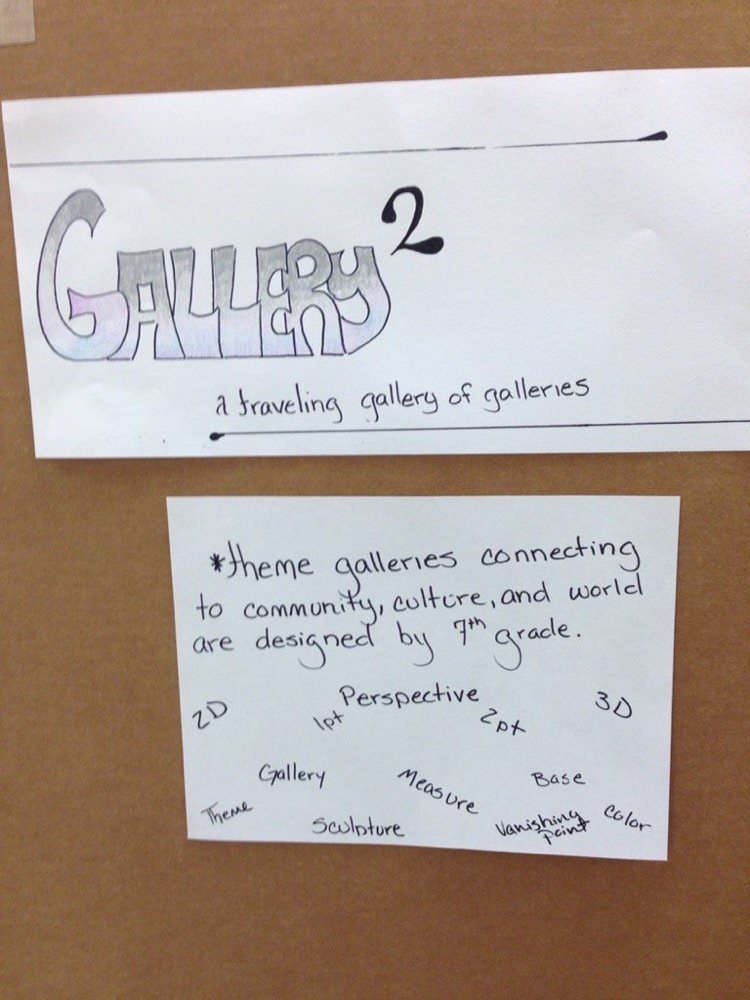 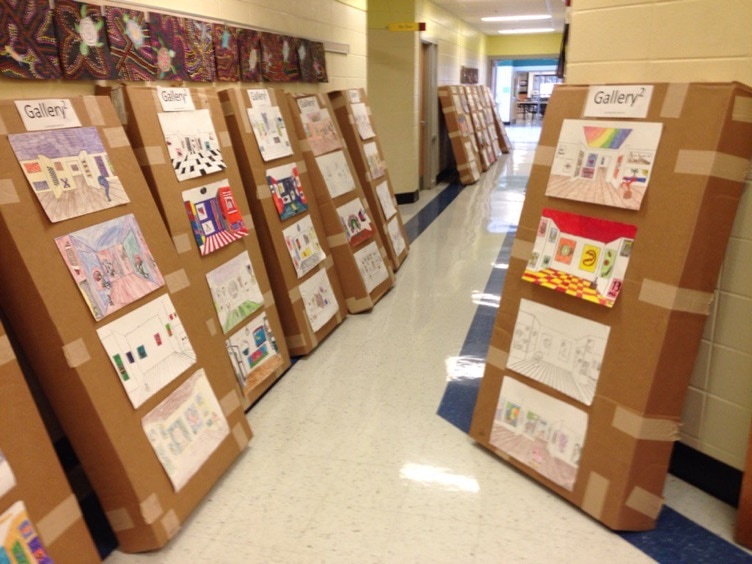 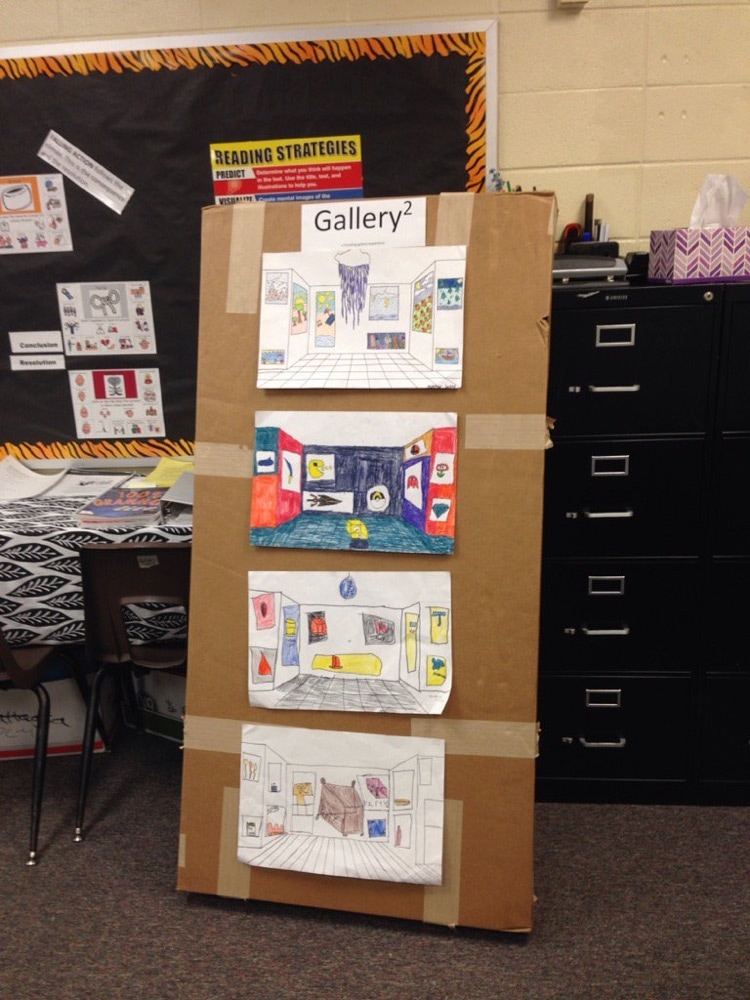 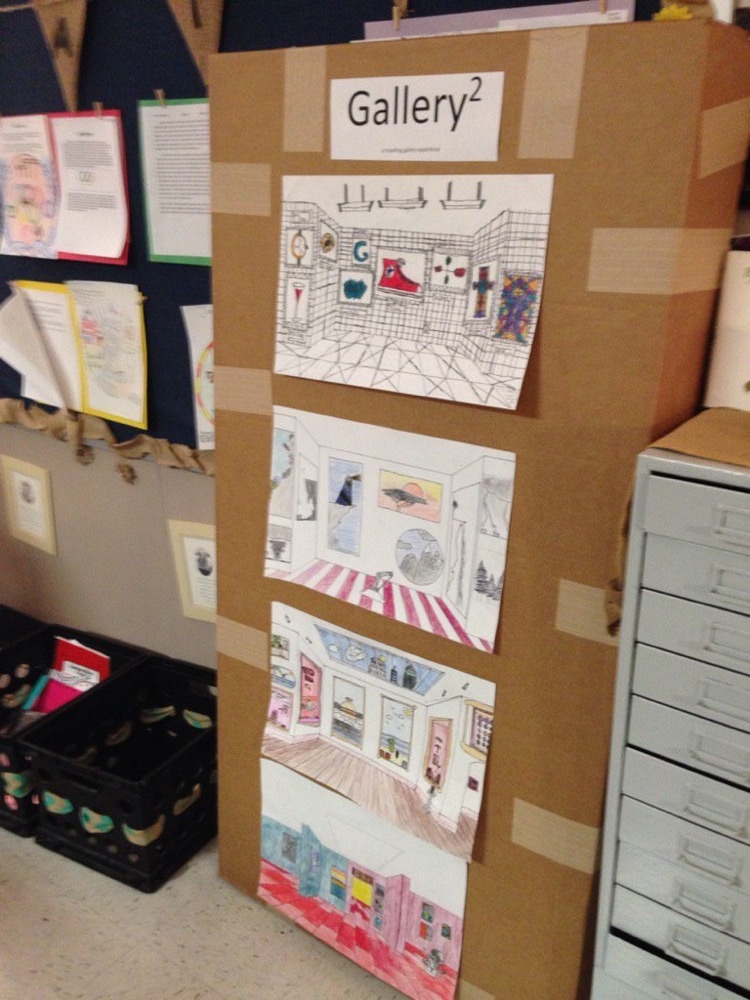 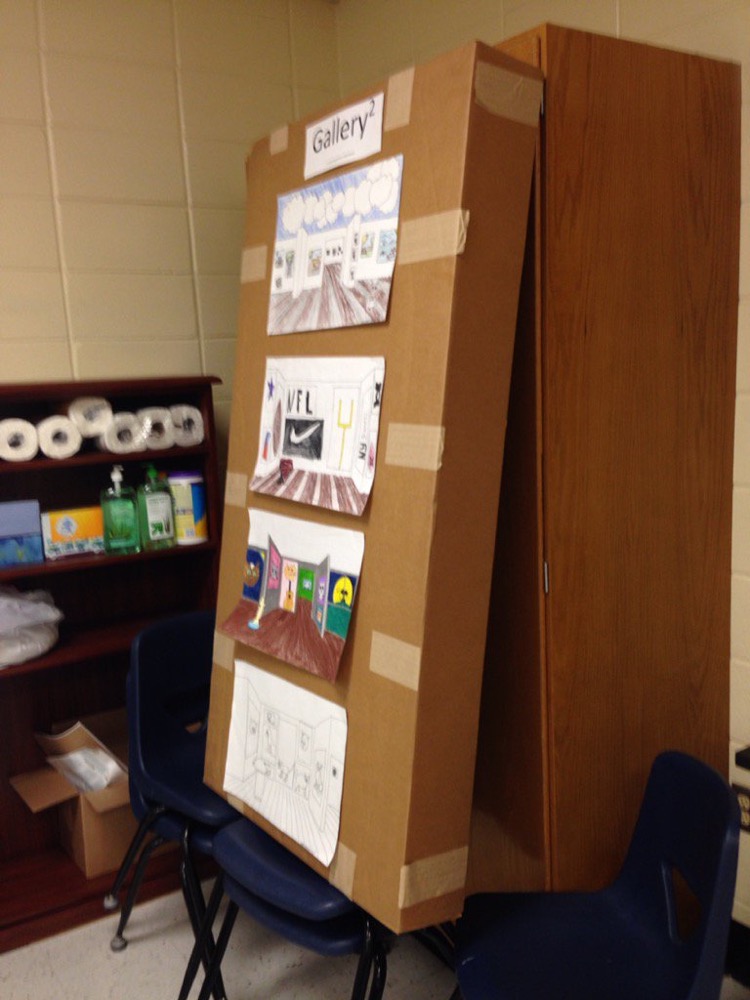 Upon the return of the boxes, I realized that their arrival was a wonderful opportunity for my 8th grade students to work on large scale, mixed-media, recycled pieces. Each student was to create a layered work of art that had to include the boxes as a base, newspaper, paint, added recycled cardboard pieces, and portraiture. My 8th graders were intimidated by the size of the boxes. To get their feet wet we held a contest to see who could fill the inside of the box with torn newspaper pieces using correct care and craftsmanship first. The contest loosened them up, helped them to think on a larger scale, and raised the level of enthusiasm for the project. 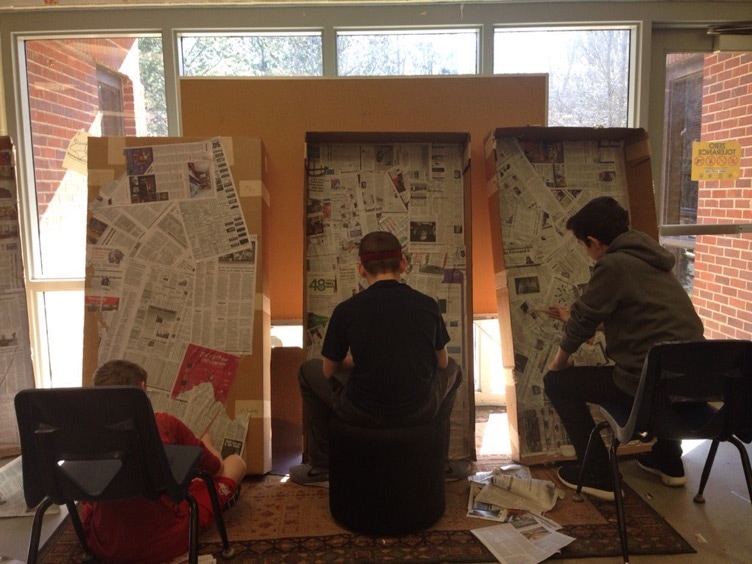 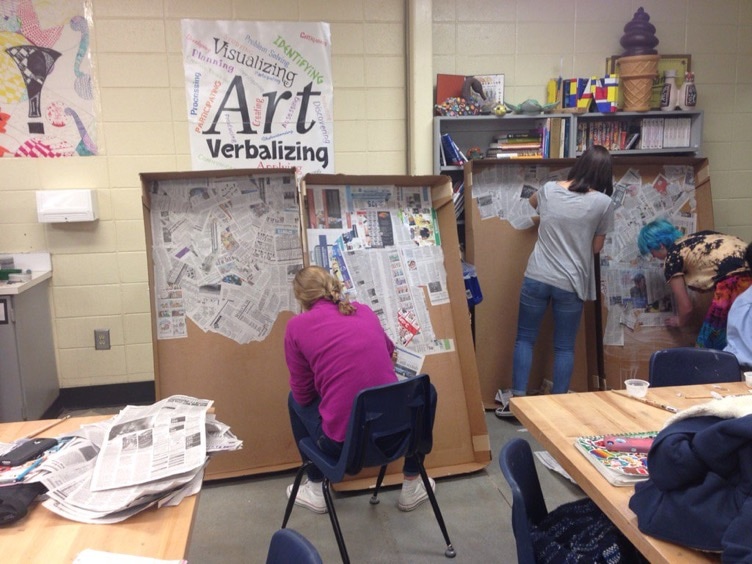 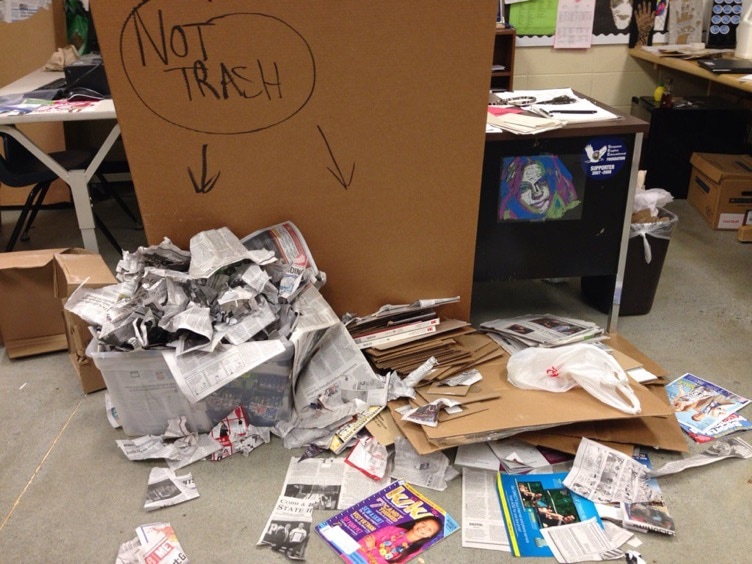 We worked on thumbnail sketches to think of the creative process we would need to follow in order to create a finished piece. Students were asked to write their steps down so they could think critically about the projects before they went any further with their work. Small groups met to give students the opportunity to explain their steps and get ideas for any changes that needed to be made. After students came up with their plan of action they very eagerly got started. I demonstrated tinting the gesso, hot glue safety, proper use of the X-acto knife, and how to enlarge drawings on the projector. Students worked at their own pace for the rest of the project.  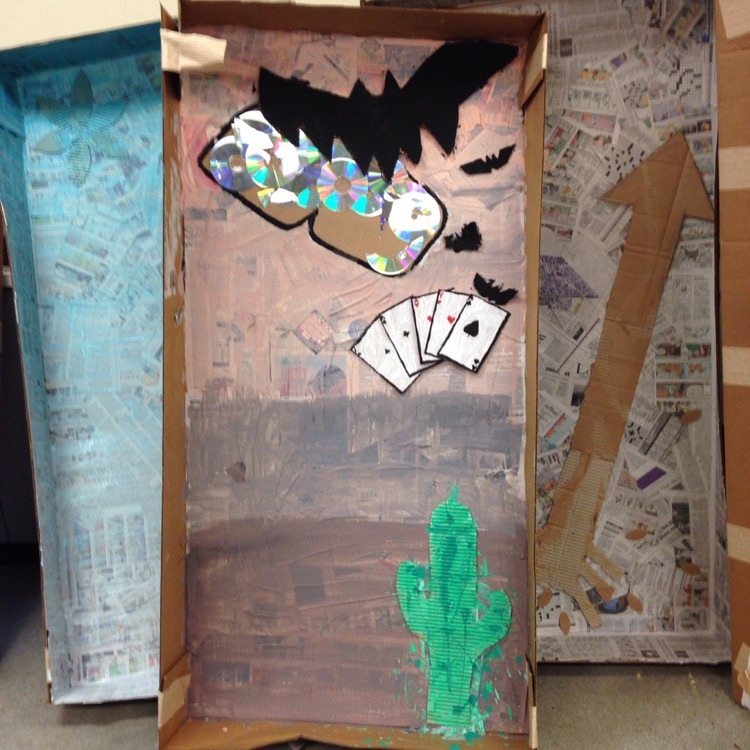 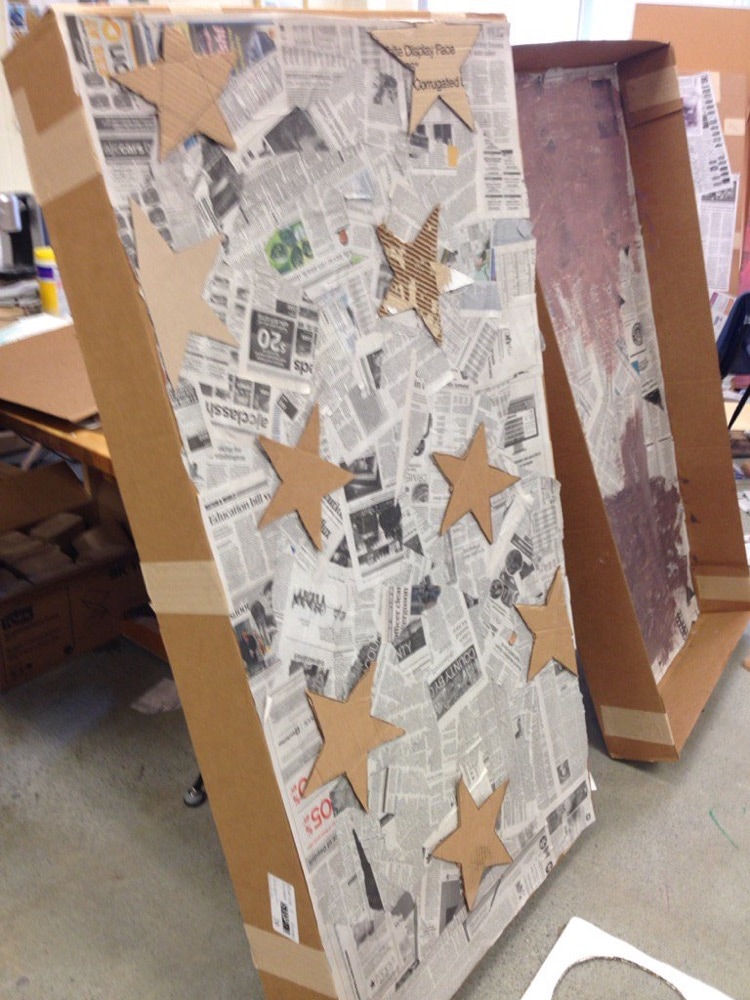  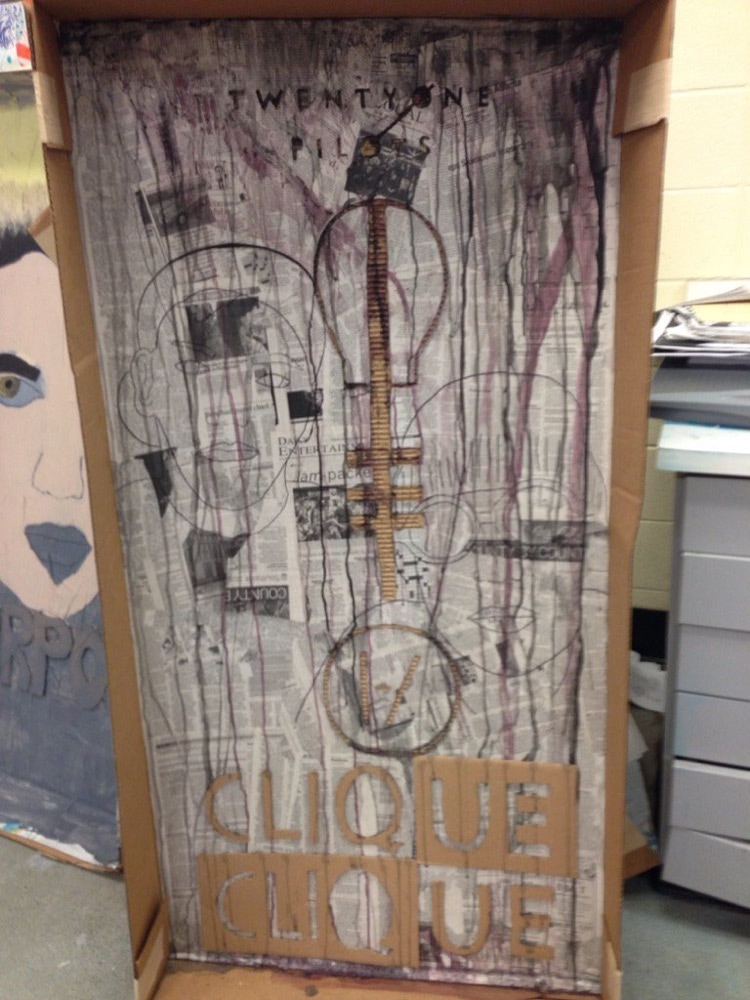 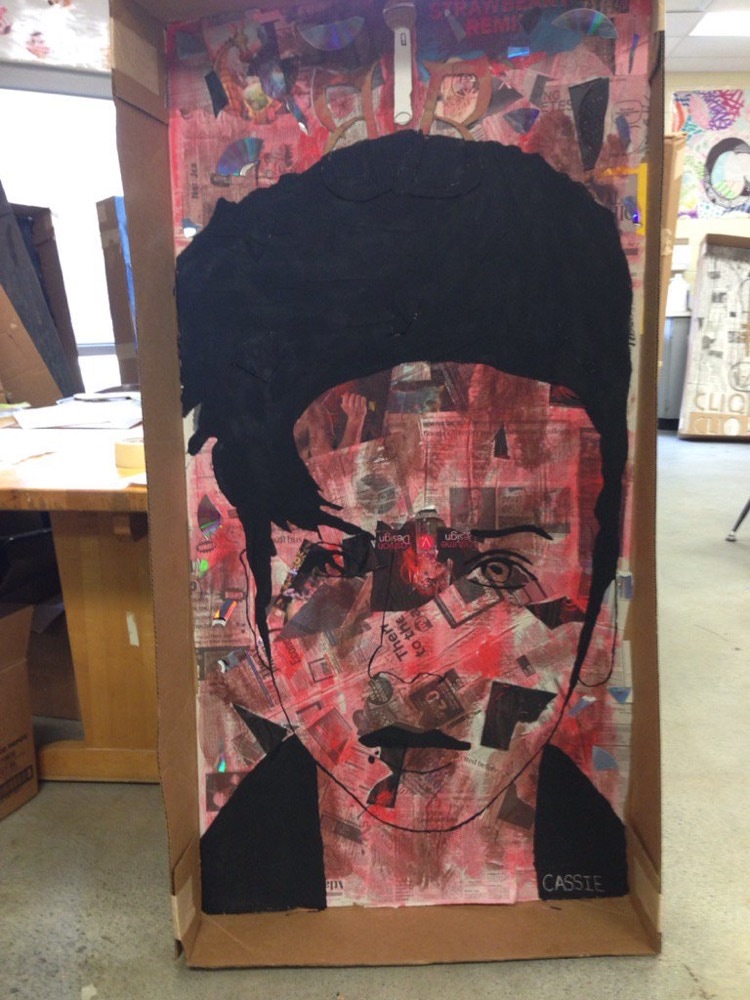 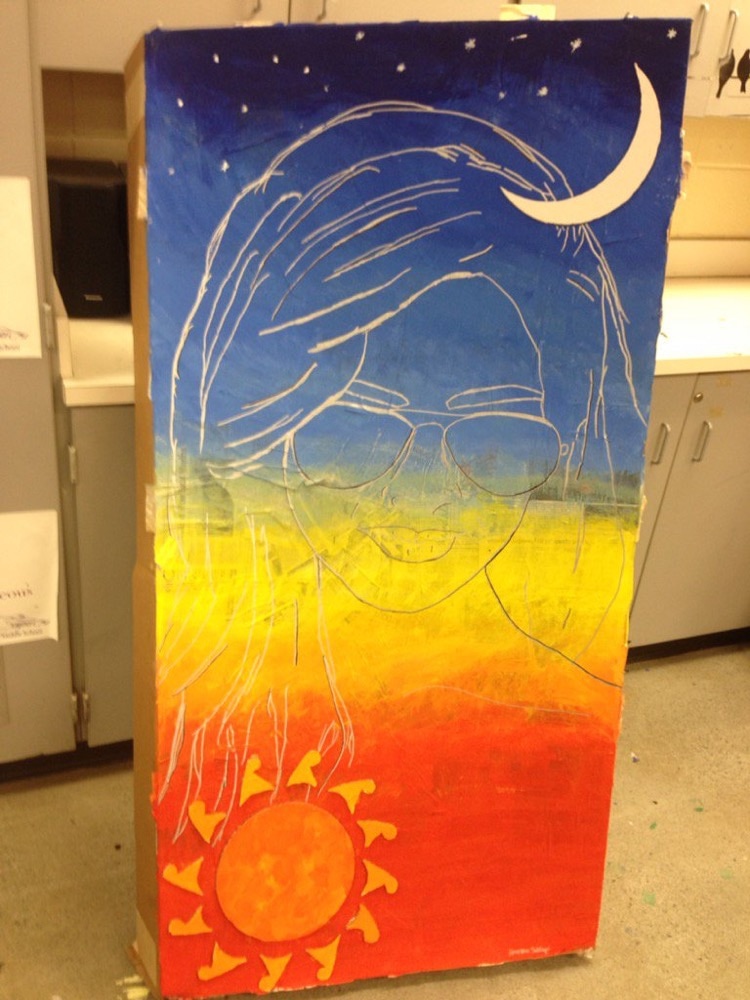 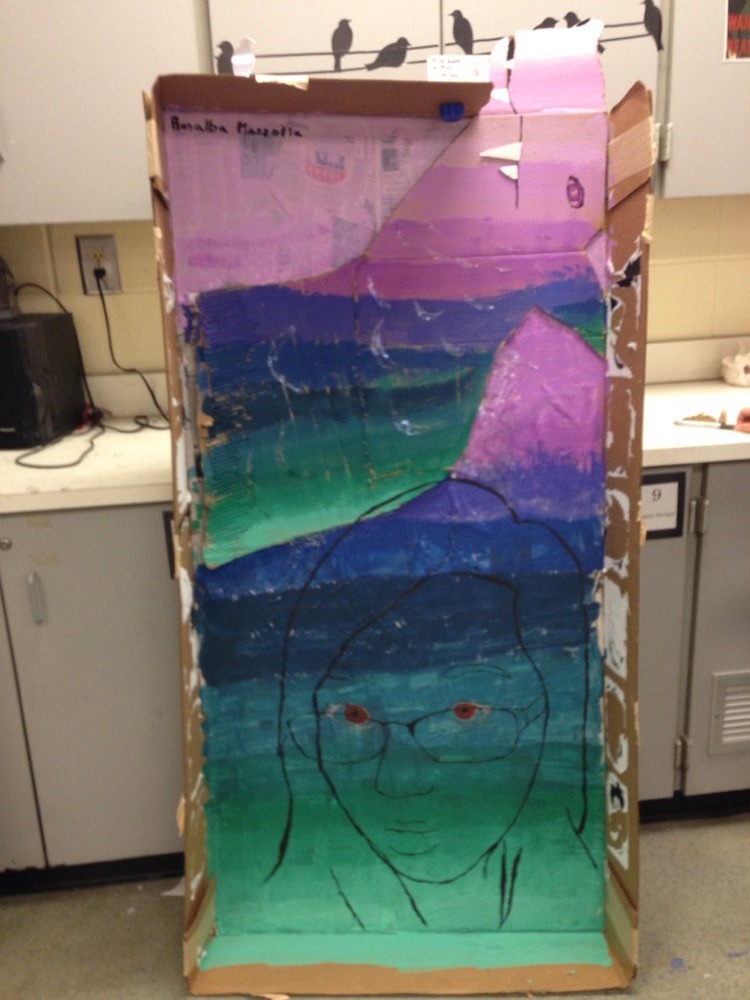 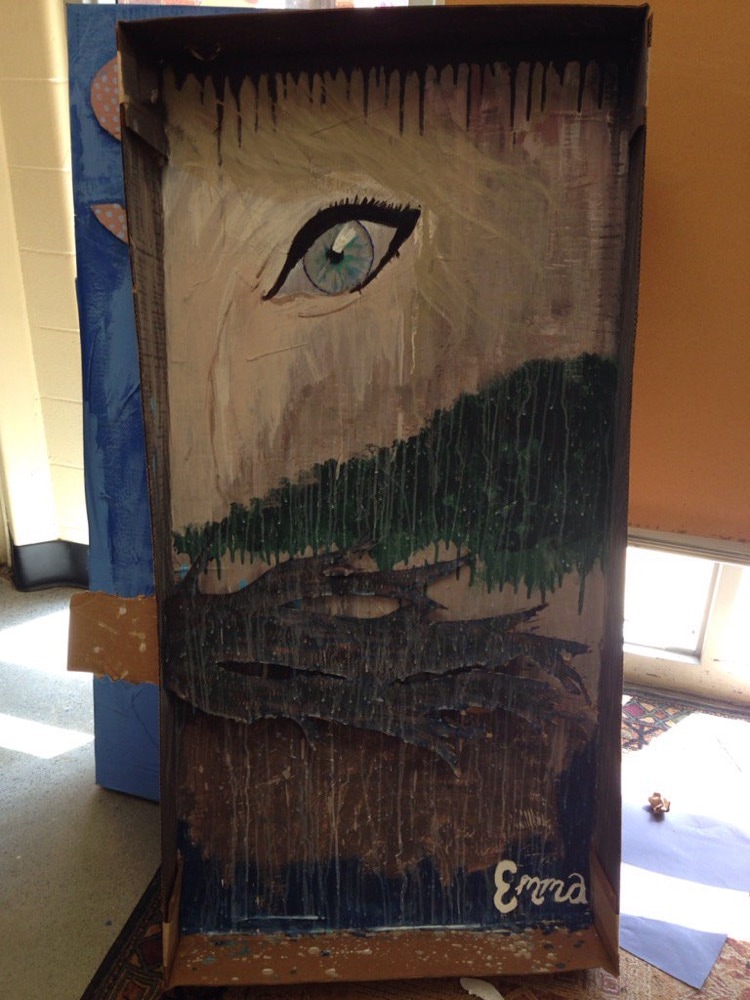 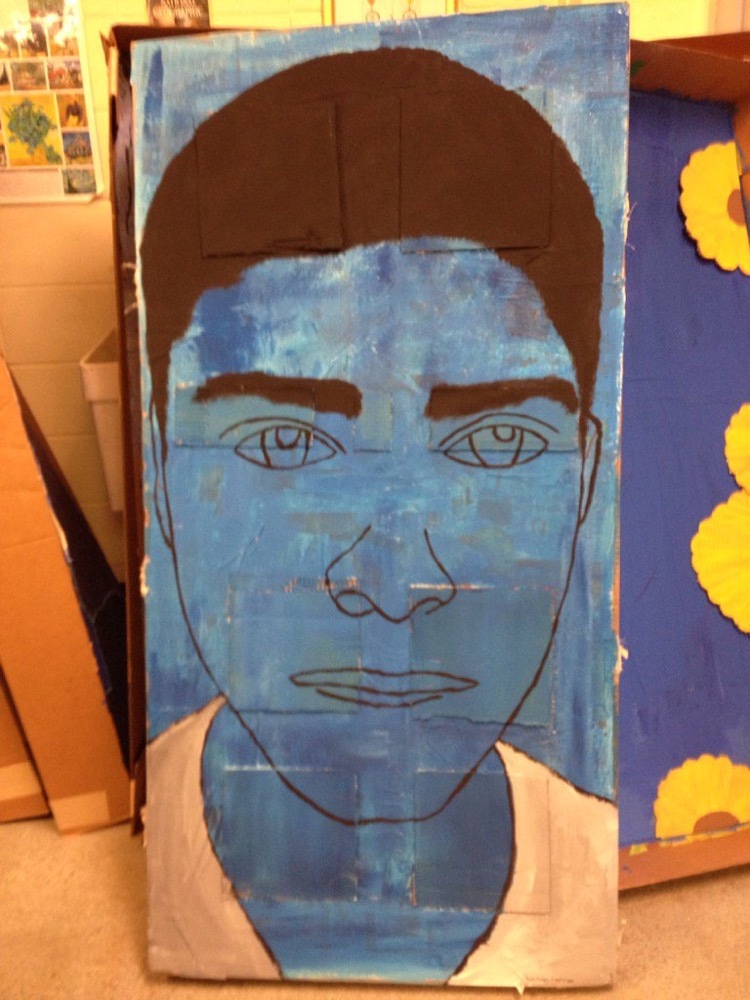 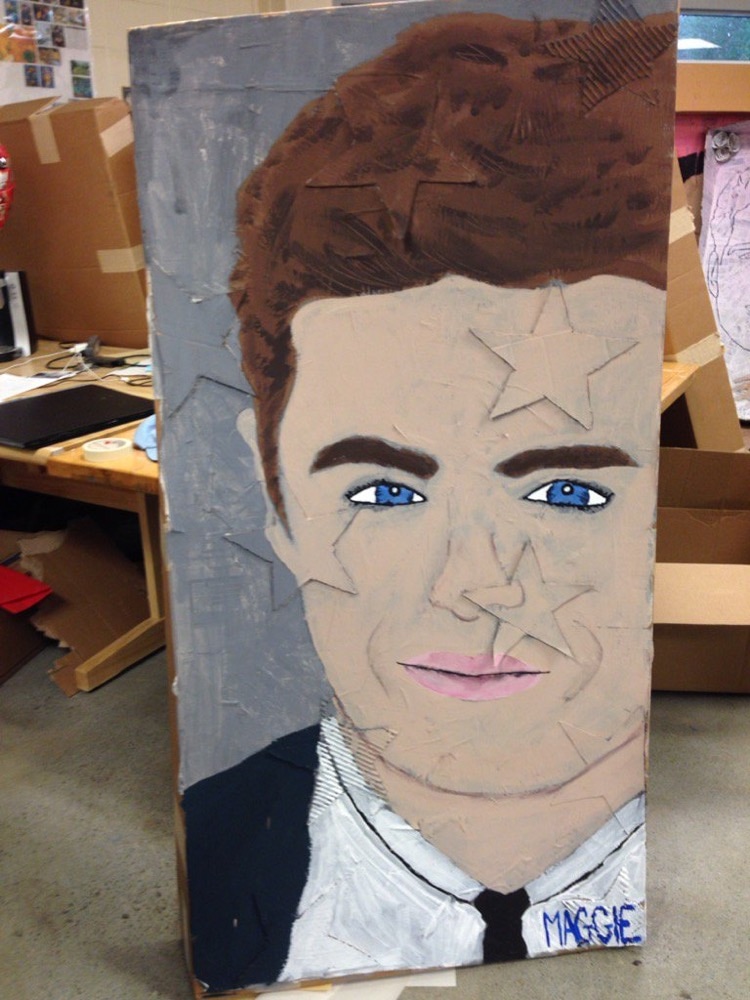 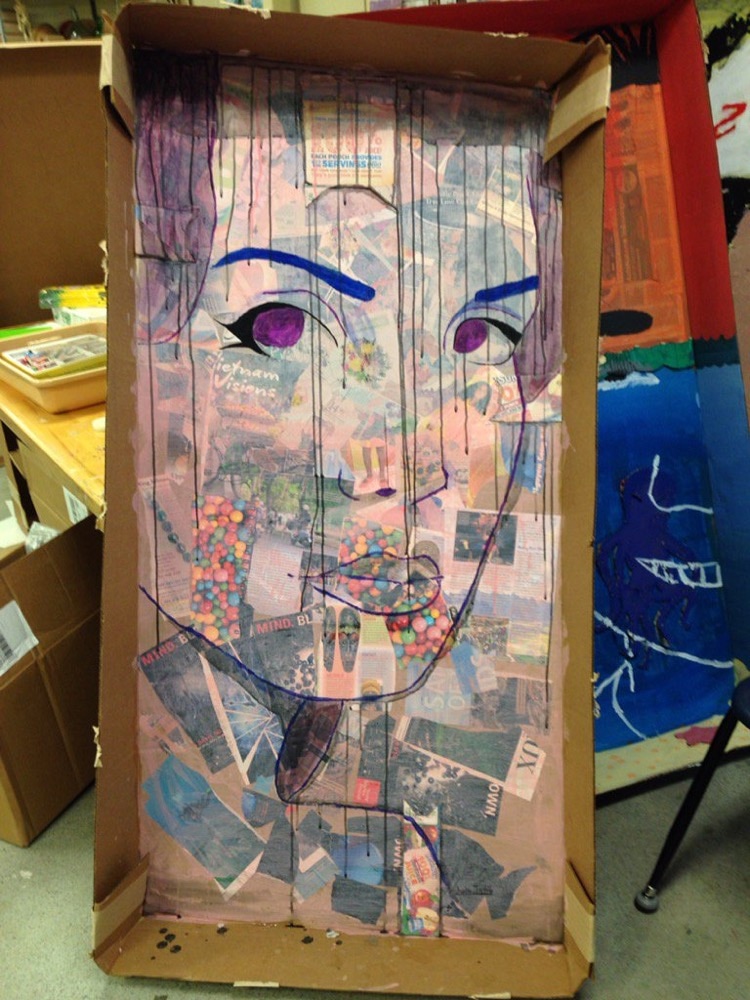 Taking it further: When the projects were completed we had a 2 hour pop-up art show in the media center and invited the 8th grade teachers and administration to come and view the work. A selection of mixed-media recycled portraits were sent in the the Junk Yard Wars recycled art show put on by Jamie Richardson and her students at Cooper Middle School. 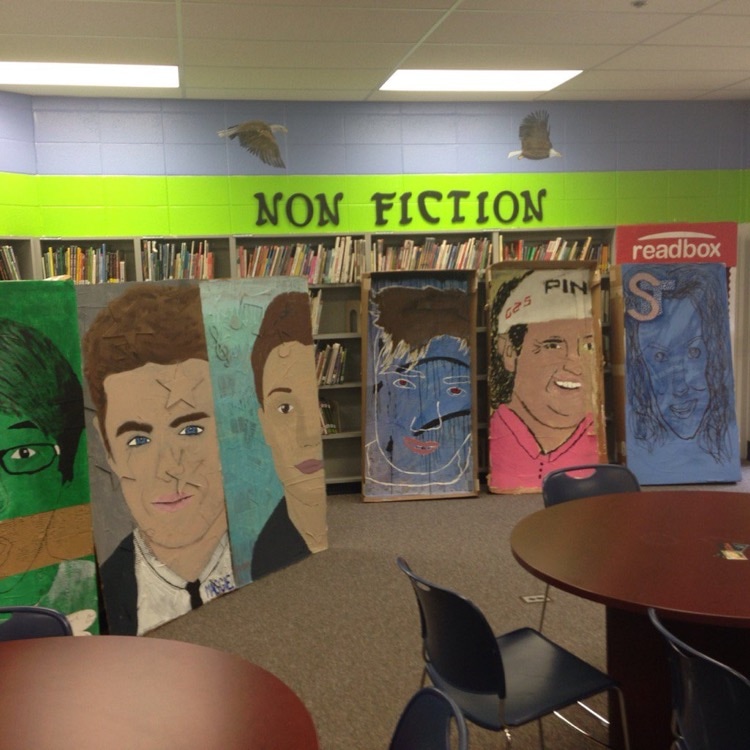  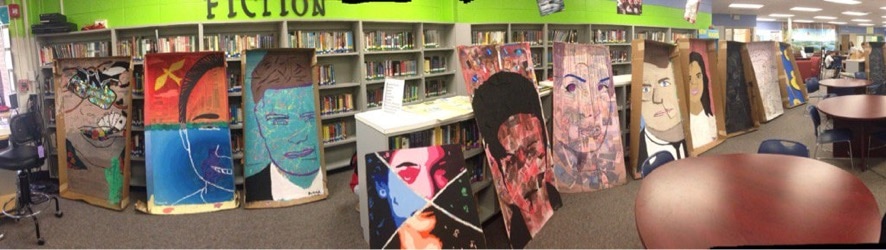 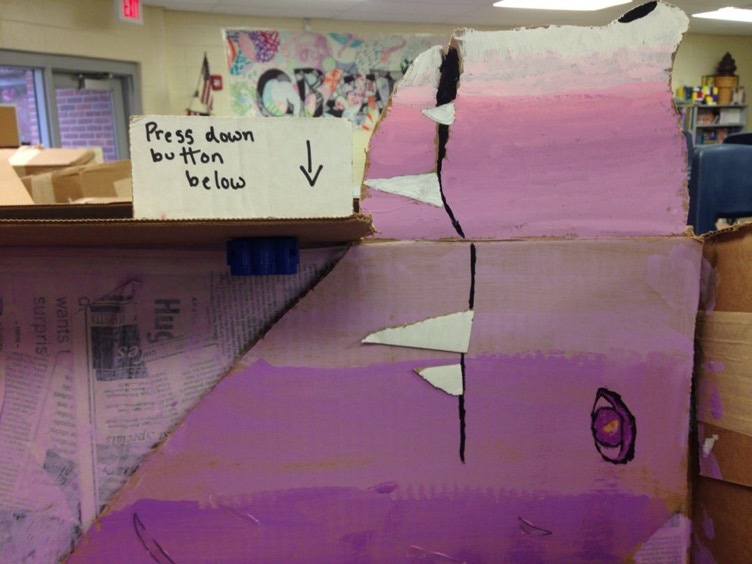 
Just when I thought STEAM camp couldn’t get any better...
HOLOGRAMS. That’s right, holograms. I stumbled upon the idea of turning your phone/electronic device into a hand held hologram device a while back. I thought it would be too difficult and let it slide by. Fast forward to a few weeks ago when I was putting together my plans for STEAM camp… I was struggling. I knew I wanted to do catapult action painting for day one, but I needed another activity to teach on day two. I was cleaning out my e-mails and I found the e-mail my STEM teacher (aka the best person ever) sent me about the hologram devices. I decided to give it a try. I made my practice hologram alone in my classroom and went into my dark storage closet to try it out. I screamed (probably too loudly) and ran around the school showing every adult I saw. Every. Adult. Not only can this project be super easy, but it is also AWESOME. I went to this website: How To Make A Smartphone-Powered Hologram
Not only does the have an amazingly easy pattern to follow, it breaks things down so even I could understand it.
Then I showed the kids this video. Even though the video used a different material (CD cases instead of old transparencies), he does a really good job of explaining the process and showing a finished product. He showed off some examples and the kids oohed and awed over it. I did a quick demo for the project, gave them some tips on creasing the folds in the transparency, and let them begin. Students were given the following materials: Transparency sheets (the thicker the better) Pattern sheets (on the website above) Sharpies (to trace pattern) Transparent tape Scissors The students traced their pattern on the transparency sheets. They cut their pattern out, folded it, taped it, and jumped up and down waiting for the next step. Literally. If you search prism videos on google or YouTube there is a plethora of options. Here are some of the videos my students liked: Jellyfish Top 3 Video Plasma Dubstep Michael Jackson
C
Hologram Prism from kerri waller on Vimeo.
STEM camp added the A this year at my school. Yay, STEAM camp!
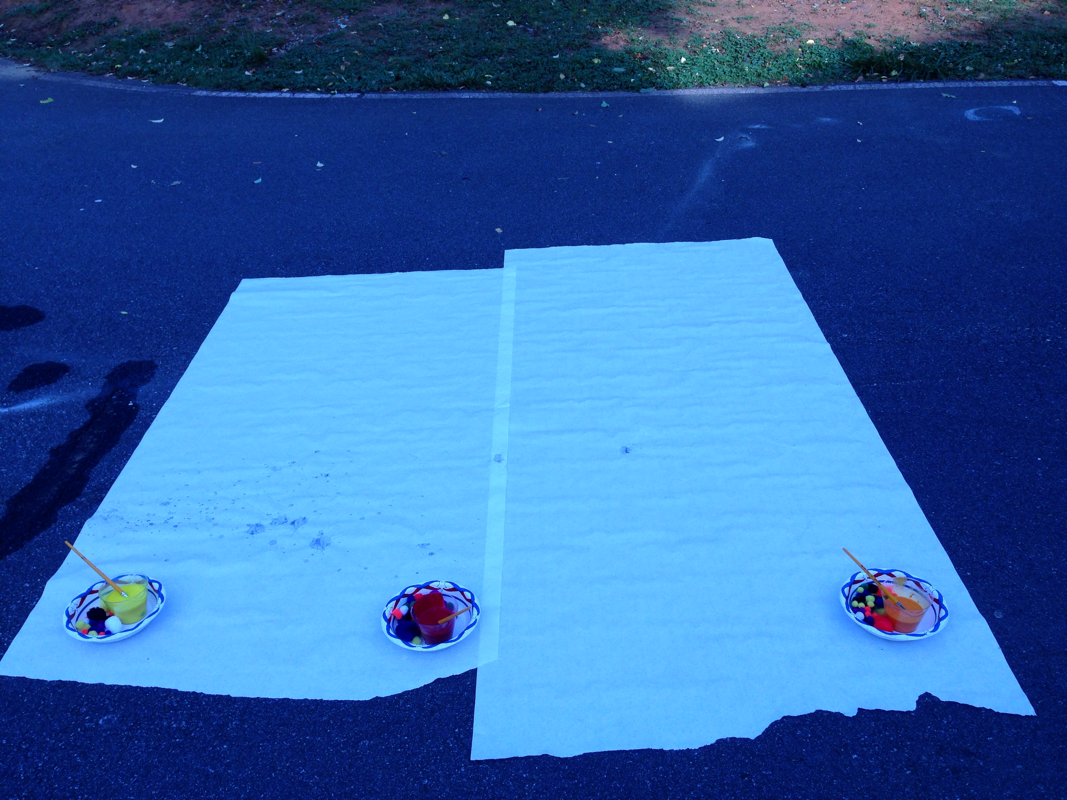
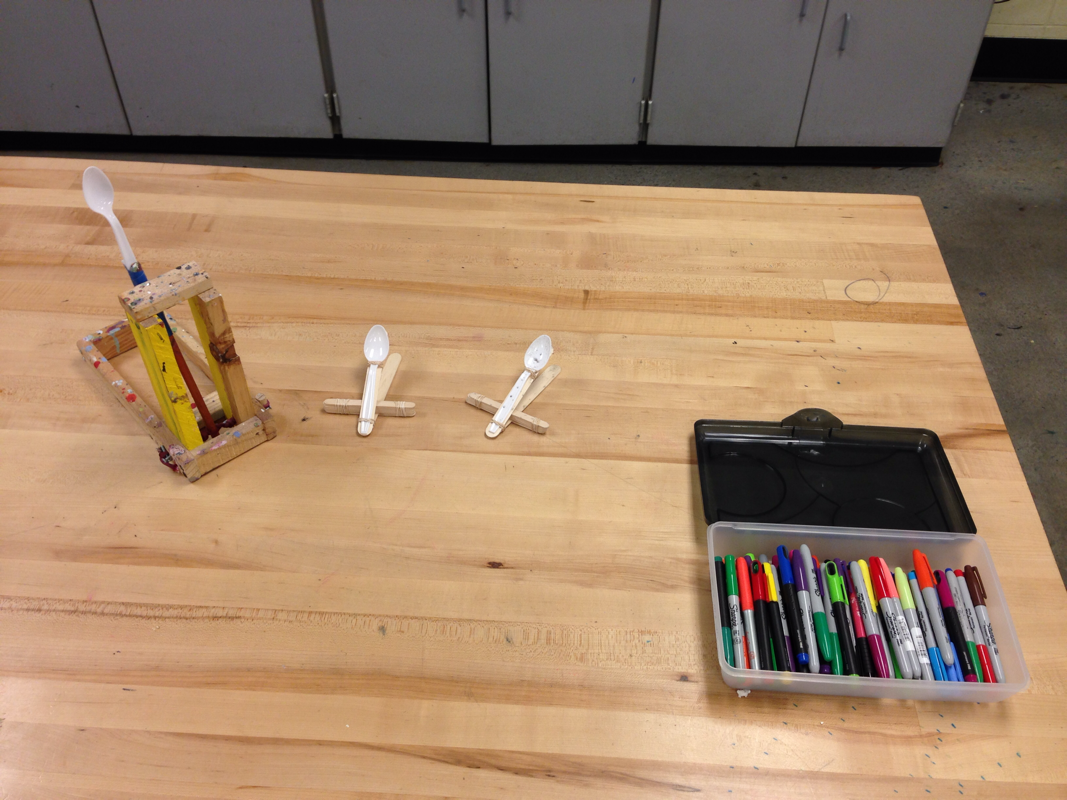
STEAM is not a scary concept. Truthfully, it's just giving a new name to some of the things most art teachers have been doing for a long time. My activity today was AMAZING. Middle school students, summer, catapults, action painting... What's not to like? So ladies and gentleman, I introduce to you... CATAPULT ACTION PAINTING. The setup: Catapult Action Art from kerri waller on Vimeo.
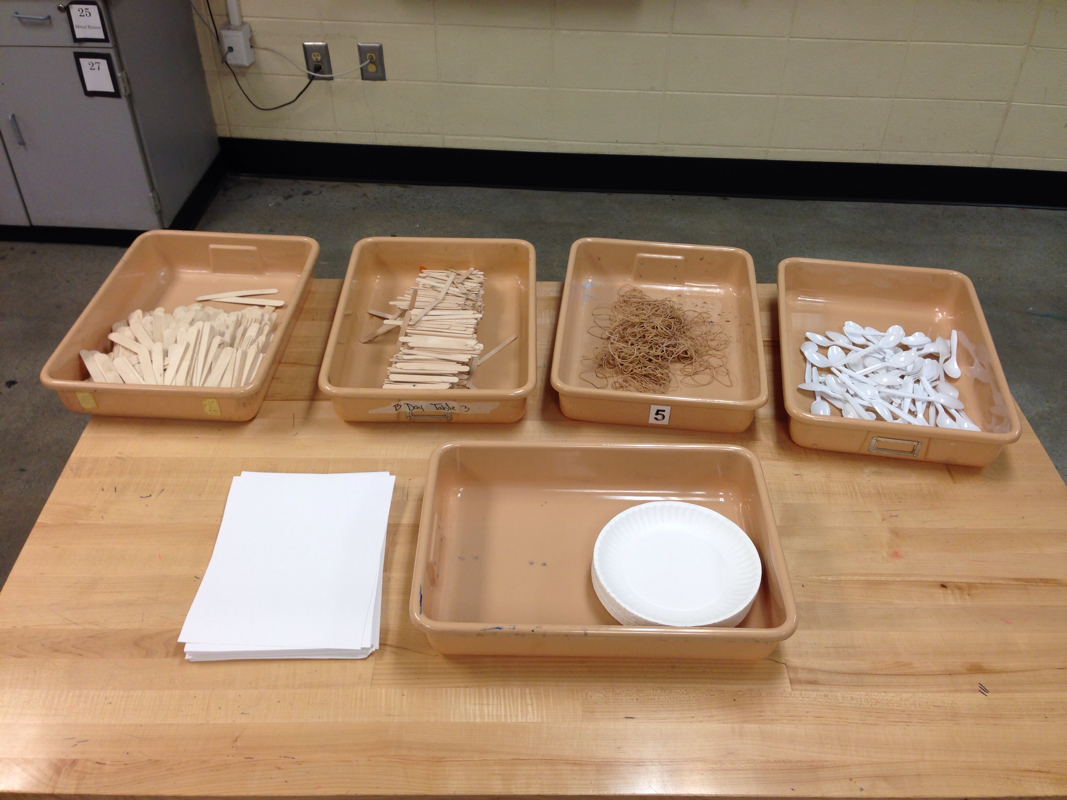
Students engaged in the building of their own catapult. They spent time analyzing force, distance, and accuracy. Some students researched on their own device how to get the best results from their catapult. We painted, regrouped, and discussed our observations on the project. Here are some things we discovered:
1. If we added extra small Popsicle sticks between the 2 larger sticks, the paint covered pompom would go a longer distance. Students used 6-10 smaller sticks each. 2. Smaller pompoms went further than bigger pompoms. 3. The pompoms in the more transparent paint went further than the pompoms in the more opaque (less diluted) paint. 4. The quicker the release the better. 5. The larger the amount of smaller Popsicle sticks, the less accuracy noted. 6. If the pompom is not positioned correctly and the angles of the catapult are not right, there is a larger amount of kick back in the form of splatter (as I learned from a face full of paint) 7. Holding the the side of the catapult (the ones we made) holds more firmly than if you hold the back. 8. Re-position the rubber-bands and spoon... make changes. Make more changes. It is absolutely fine to make changes and regroup as many times as needed. Mistakes happen. Rubber bands break. Paint splatters in the wrong directions. It's the process that matters, not the product. |
AuthorArtist living and teaching in Georgia. Archives
March 2019
Categories |


 RSS Feed
